
Hi everyone, welcome to another alternative review. Today we bring you the JMBricklayer Model A vintage car. Firstly a massive thanks to JMBricklayer for sending this set over for review on behalf of The Brick Post.
I have written multiple reviews on alternative brand sets before and always start a review with a look at the instructions. Because when you are looking at an alternative brand the instructions are so important, they determine how difficult or easy a build will be. JMBricklayer are an alternative brand who produce extremely easy to follow instructions. In some parts they are actually more clearer than LEGO instructions.
JMBricklayer: https://www.jmbricklayer.com/product/model-a-50001/
15% off code JMBTBP15 (valid for all non-sale items within the store)

Set details:
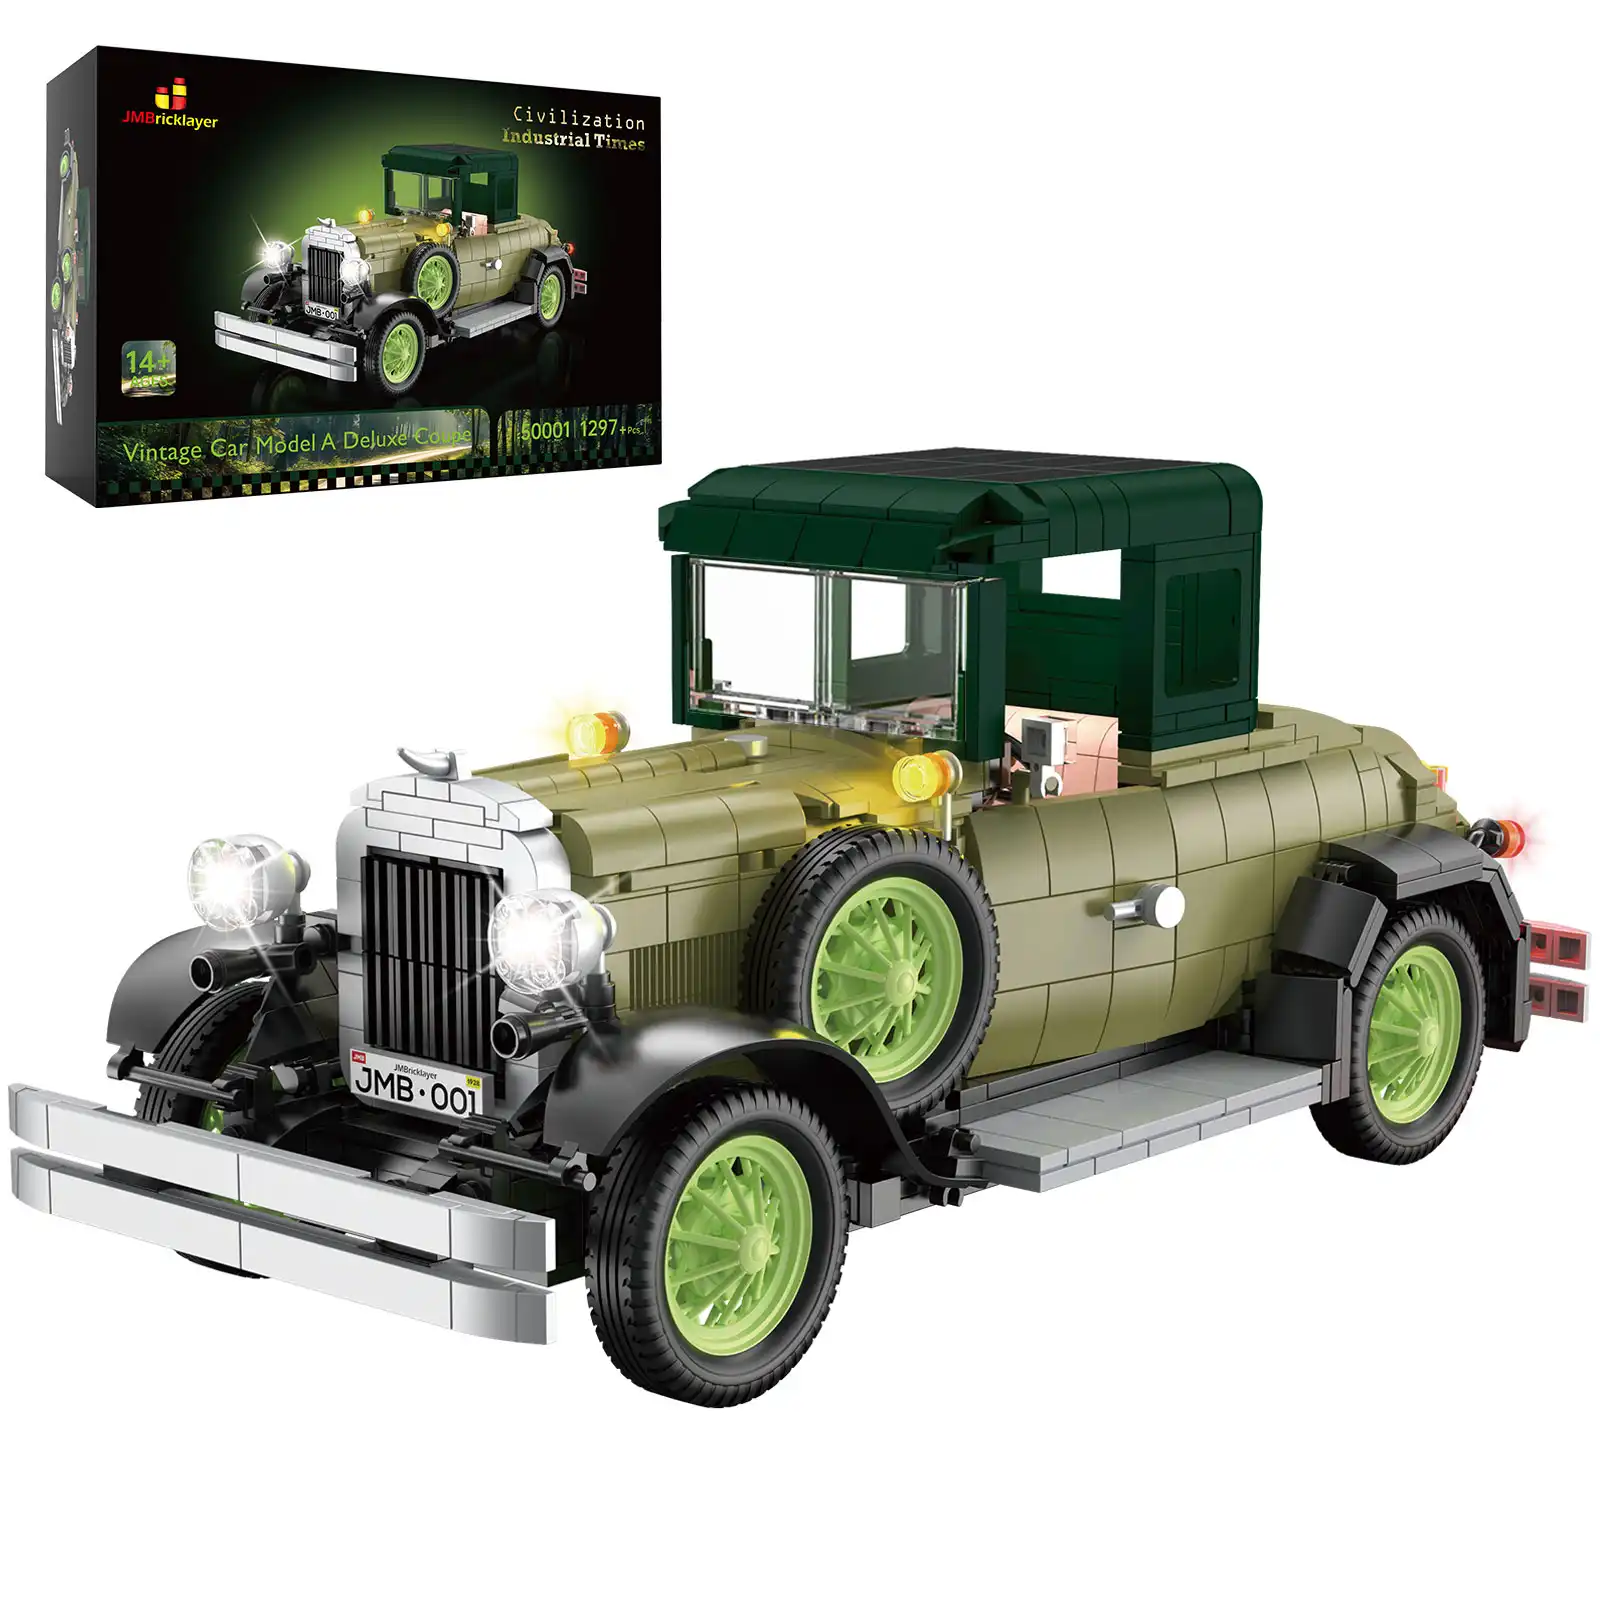
- Set number 50001
- 1297 pieces
- $69.99 is the official retail price on this. (At time of review the set is on sale at $59.49 so get one quick)
- Age 14+
The Build & Lights:
The set consists of 3 numbered bags but this is split in total to 26 bags over the 3. (Bag 1 has 8 bags, bag 2 has 13 bags and bag 3 has 5 bags). There is also a bag containing the lights and the battery box, that can be used if you do not wish to plug this in to a USB. Sets that comes with a light kit I would always recommend checking the lights and cables before you start just in case you end up with a faulty wire. Thankfully I have never had this issue what any JMBricklayer set I have reviewed.


The set begins building the chassis of the car and it is mainly brick-built, with a small amount of Technic, nothing elaborate if you don’t like too much Technic style building. There is one step early on where the instructions state this is a difficult part. I think in this instance JMBricklayer are being over cautious because the step, while a little unorthodox, was very simple and I personally had no issues with it. There is nothing in bag 1 that is difficult or over engineered except the steering of the front wheels where part selection could have been a bit better here as the finished structure can look stressed when you move the wheel arm.


Bag 2 is a massive amount of parts, so you need space if you lay out parts like I do with alt brand builds. (I tend to do this because there usually is a lot of parts in some of these steps and it makes the build easier for me). Really though, it is a good job I did this as this bag is probably 75% of the whole build. This portion contains some nice techniques to achieve the look of the build. I really like the bonnet or hood depending on what part of the motoring world you come from. The doors are a good idea but seem they will be flimsy if played with. It’s a technique I haven’t seen before where the door pilar is part of the front of the body build and sandwiched together where you essentially hang the door on the 2×4 plate that is sticking out. It works, but will it stand any test of time?


The build section to connect the steering wheel to the front wheels is straight forward and looks to be sturdy. I can’t see this bit being an issue if played with.
The trunk or boot (again depending where you are from), is a well made addition, it is where your lights transformer is hidden and you can store your USB plug inside if you don’t want to have lights on and wires on show. Most of the lights are installed in this bag and are really straight forward in this build and are easy to hide under the floor of the cab.

JMBricklayer have again added one piece in this set I am not a fan of, but hallelujah there is only one flex tube, and in my set did not need trimming down. In fact, it actually looks good and works well at the front of the car. There is one single sticker too, a simple 1×4 tile license plate. If you have to have stickers in a brick set, I would say this is acceptable.

Bag 3 is literally the finishing touches and the roof which can be taken off and a small side build representing a folded soft top can be installed instead. This while great if you want to do this you have to pull one of the interior lights out of the connector. Personally I like the roof and can’t be bothered with the hassle of making it a soft top.


JMBricklayer have done something in this set that LEGO just can’t seem to understand. They put their clear scratch-able pieces in a grip seal bag separate inside the main bag. So my clear window pieces are totally scratch free in this set.
One thing I just can’t get around is the colour choice on the wheels. This is my only real negative in an otherwise great set. The colour chosen is a bright lime green! It has a feeling of ghost car vibes with these wheels on. Maybe it’s the look JMBricklayer are going for, but in total honesty it would have looked nicer with the same silver they have done the bumper pieces in.

Overall if you can ignore the wheel colour this was an enjoyable build and looks good overall. A nice mix of techniques no boring stages and a build for the builders wanting a bit of a challenge but no stress.
The Score:
- Build quality 7.5/10
- Look of the model 9/10
- Instructions and presentation 9/10
- Part selection/colour choice 6.5/10
- Lights 8.5/10
In conclusion this could have been a truly epic build if the wheel colour had been different, the wheels are too big not to notice the colour choice. If you are pretending it is a ghost car for Halloween the colour choice is perfect. I would have gone maybe with silver as stated earlier.
But I give my review score mainly on the whole build and instructions etc too not just on the wheels. I give this one a solid 8 out of 10.
Affiliate links and discounts:
Amazon: https://amz.run/50001 (15% discount code: THEBRICK valid for one month from publishing this review)
JMBricklayer: https://www.jmbricklayer.com/product/model-a-50001/
15% off code JMBTBP15 (valid for all non-sale items within the store)
JMBricklayer Vintage Car Model A (50001)
Review
Thank you
Your Review is appreciated
What is your reaction?
 YES!
YES!
 I like it
 It's OK
 Not Sure
 No!
No!


