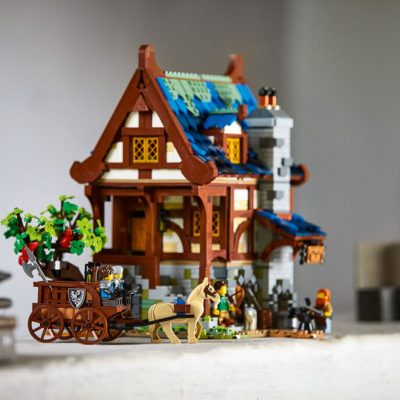
The next big set in our collection to get the LED Light Kit treatment is the incredible LEGO Ideas Medieval Blacksmith (21325) set, with big thanks once again to our friends at LeLightGo for sponsoring and supporting us here at The Brick Post!
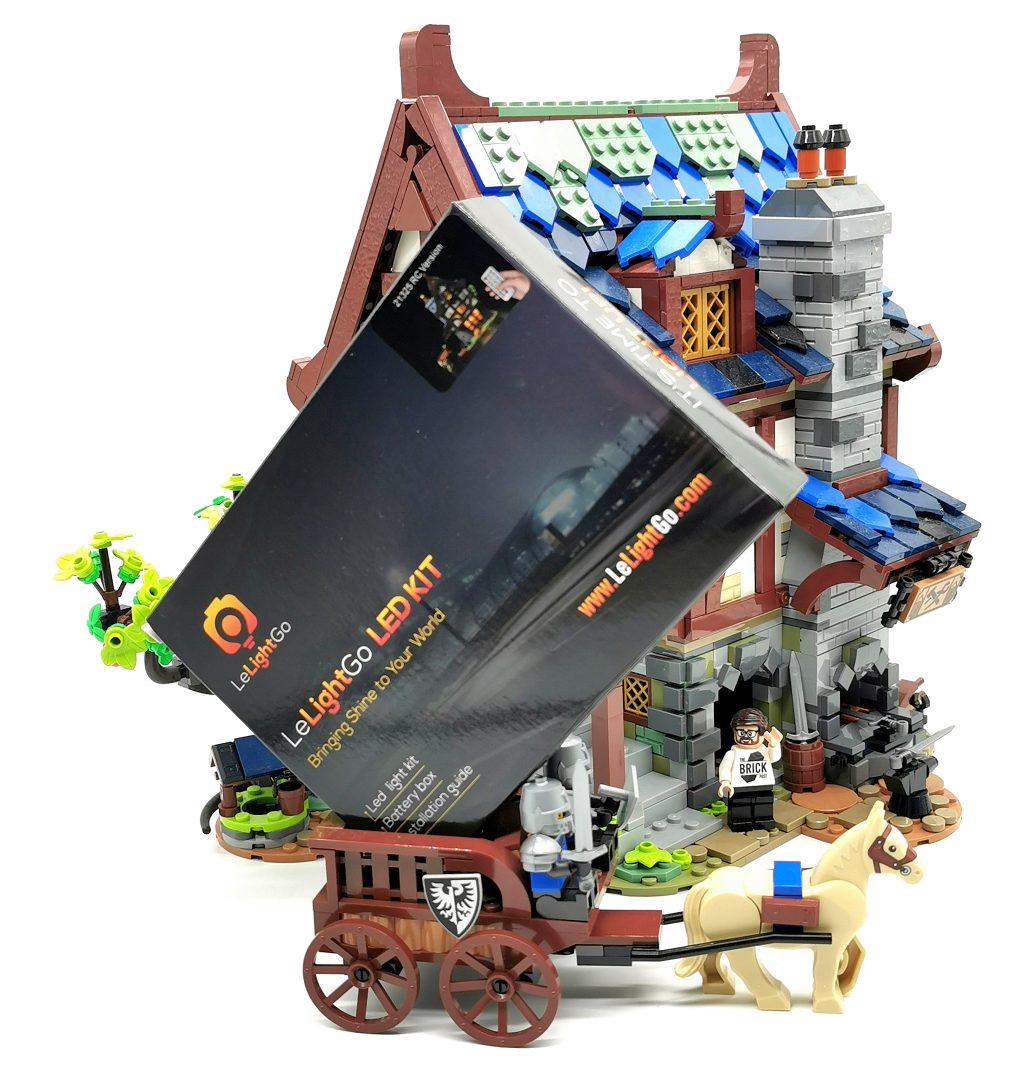
If you’d like to grab a light kit for this particular set click here, otherwise click here and browse their entire collection and set which one(s) grab your fancy. Don’t forget to enter thebrickpost20 for a whopping 20% off your order.
From ordering off the LeLightGo website and receiving the package felt a lot quicker than usual and I’m so happy it was as I couldn’t wait to get the Blacksmith lit up. With my love of LEGO Castles and Knights adding this set to my collection anyway was a huge deal and my very first dip into that theme, having missed out on the earlier, classic, sets of the 90s.
Once again I decided to install this light kit on an Instagram live stream and for the most part went exceptionally well, although the LEGO tree did keep falling apart and I almost lost the will the live. This was purely down to the how the tree is constructed and not LeLightGo, if you own this set you know what I mean.

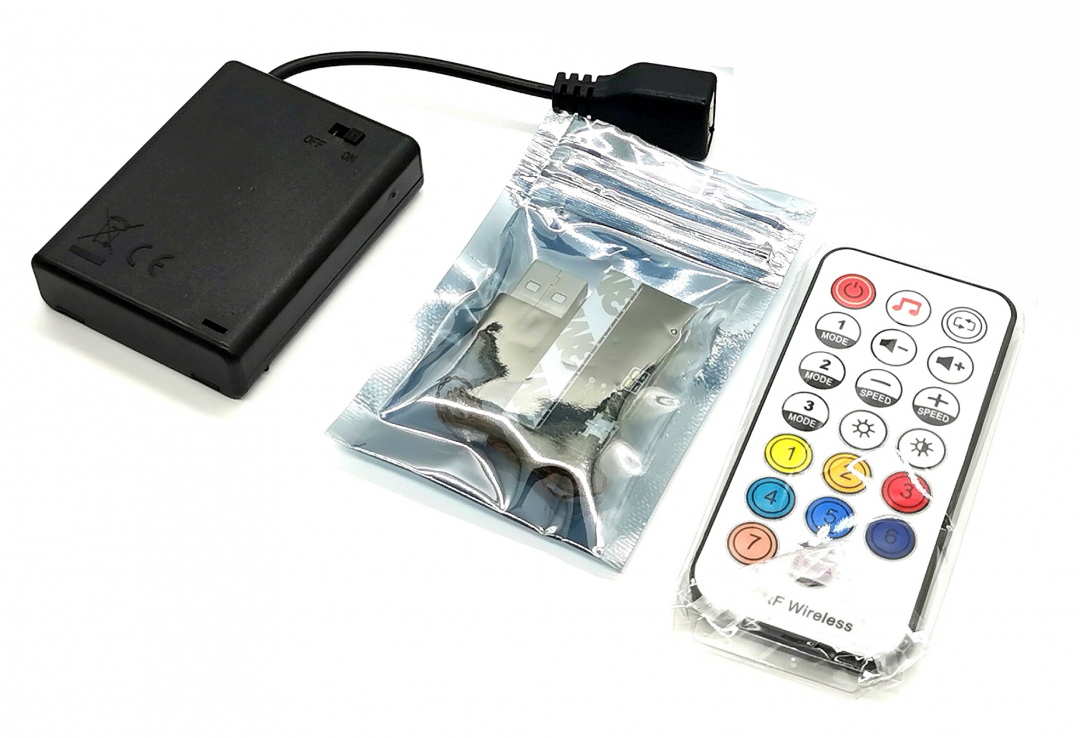
There were only a few LEDs in each bag which made the whole process from start to finish really quick and easy. Again you get a handy plastic box that contains every you need, apart from two CR2032 batteries for the separate Horse Cart battery pack. As this is the remote control version of the light kit you get one in the box which already has batteries in, you’ll need to pair it to the light kit by holding down the power button for some time, which I totally forgot to do whilst live and looked somewhat embarrassed.

Starting off with the tree you attach the 1×1 transparent studs to the empty bricks, one near and Apple and the others on top of the leaves, wrapping the wire down the trunk and under the big curved LEGO piece which hides the cable out of sight. Once at the bottom the 1×1 transparent blue stud goes into the Well and represents the water, this in fact randomly flashes when in, to act as the shimmer which water naturally gives off, it’s actually quite smart.

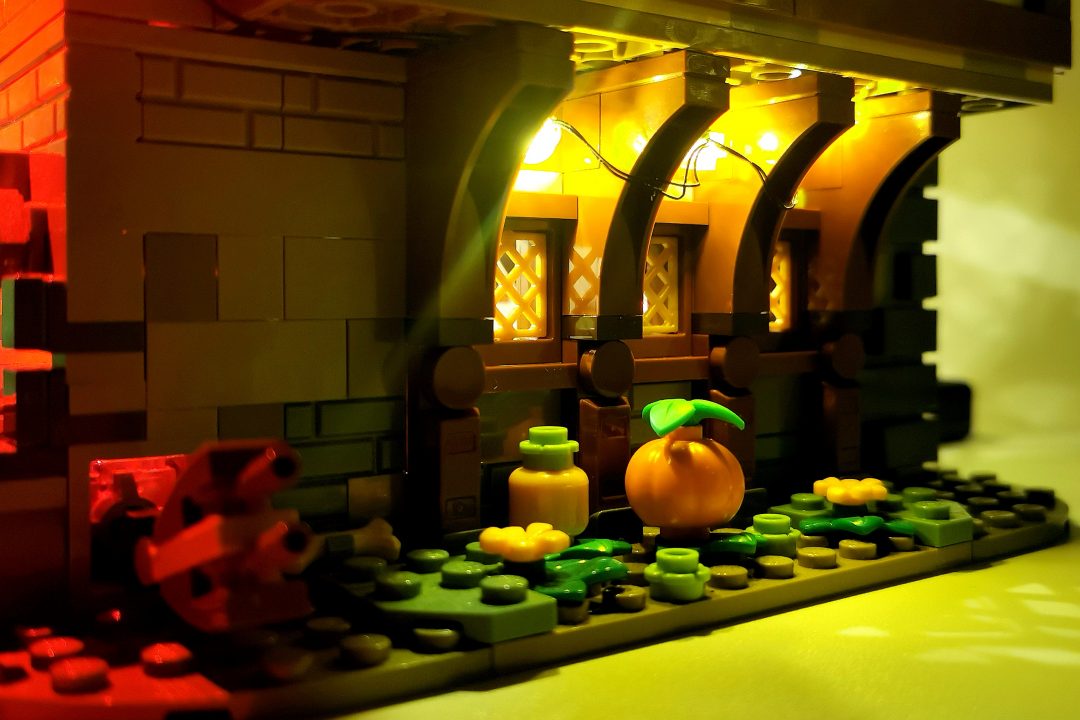
The next couple of bags add 1×2 and 1×4 plates to the under side of each floor, I really like it when the LEDs come attached to Brick elements as they usually only require a quick push and they’re on!
I particularly like how the ground floor and first floors look when lit up, it gives the whole set a rural and authentic look, just like candles would have done in real life, many years ago.
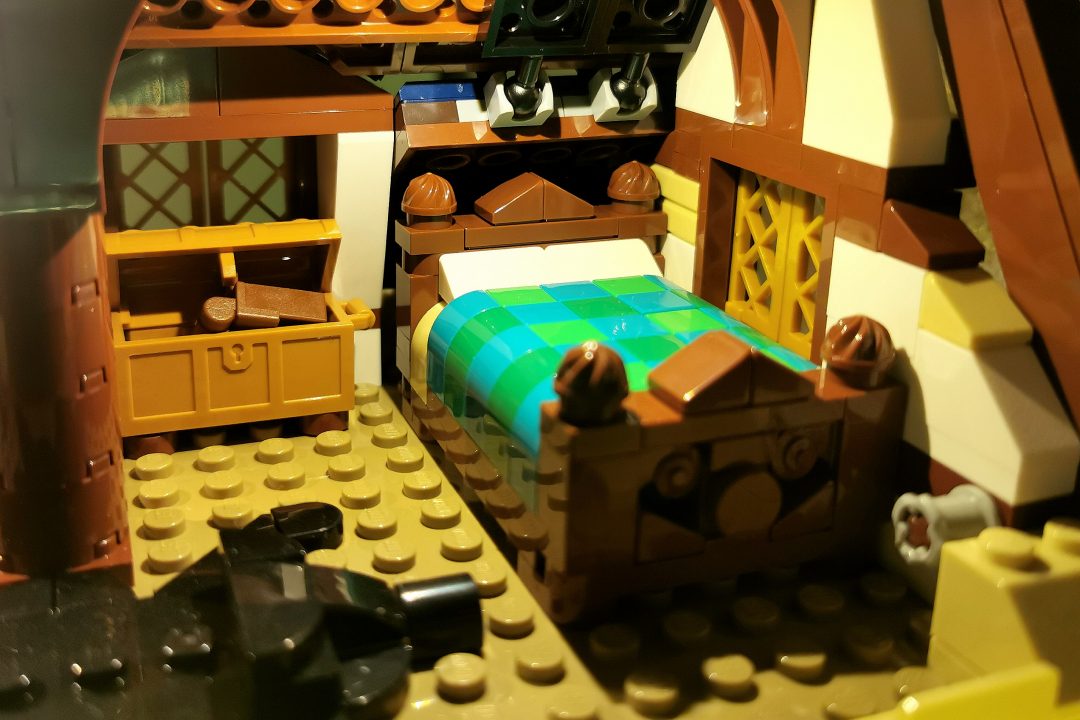
In the attic you affix a rather long LED strip to the underside of the larger rood piece, again making it super easy and lights up the attic room amazingly well. There are a few more 1×2 plates here and they attach to the support beams in the centre.
Once all the lights have been fitted you then gather all the loose ends and drap them out the back of the building, make sure you get the cables in the right order in the main connector board as then the remote control will make more sense, being numbered 1 to 5.
Once everything is connected and you’ve paired the remote control, simply plug in the USB to the mains or use the battery pack include and switch it on.
Now all you have to do is sit back, relax, and enjoy the wonderful light show, oh and figure out which set you’ll light up next!
We will be adding LeLightGo lights to the new LEGO Boutique Hotel (10297) set very soon so watch this space, speaking of watching please follow us on Instagram so you won’t miss our next live stream of light fitting or LEGO Building!
If you would like this of any other LeLightGo LED Light Kit please click here, if you do make a purchase we’ll get a small commission which goes directly back into The Brick Post to help with relevant running costs etc.
Don’t forget to show us your lights and creations by tagging us on Instagram or Facebook using @thebrickpost.
What is your reaction?
 YES!
YES!
 I like it
 It's OK
 Not Sure
 No!
No!




[…] Light It Up! LEGO Ideas Medieval Blacksmith (21325) Gets The LeLightGo Treatment! […]