LEGO Trains are a new one on me, I’ve never shown a liking to them, that is until I saw the (newer) Hogwarts Express 75955 at a local Carboot last last Year. At a bargain price of £12, for the train only, I just couldn’t resist it!
Having checked it once I got home, I found there were a handful of bits missing. I hopped straight onto Bricklink to source the pieces I needed to complete it. Whilst searching I came across a selection of power function bits & bobs and it got me thinking, ‘what if I motorised this train, it would be so cool to have it fully functioning!’
After considering the idea for a few minutes I thought about checking YouTube, someone has bound to have already done it, and yep, quite a few people have successfully motorised it, and they all looked great!
At that particular time I had very limited funds and couldn’t justify spending too much on motors and the other parts I needed to get this thing moving. So I opted for, how can I put this, a more inferior product. Now, I’m not proud of that fact it’s not real LEGO, but needs must and all that!
Right, back to getting this iconic Harry Potter train rolling. I’ve never been one for producing ‘how-to’ guides and this article is far from it. I’ve taken a series of photos to share with you roughly what I did and the pieces I used to achieve the final result.
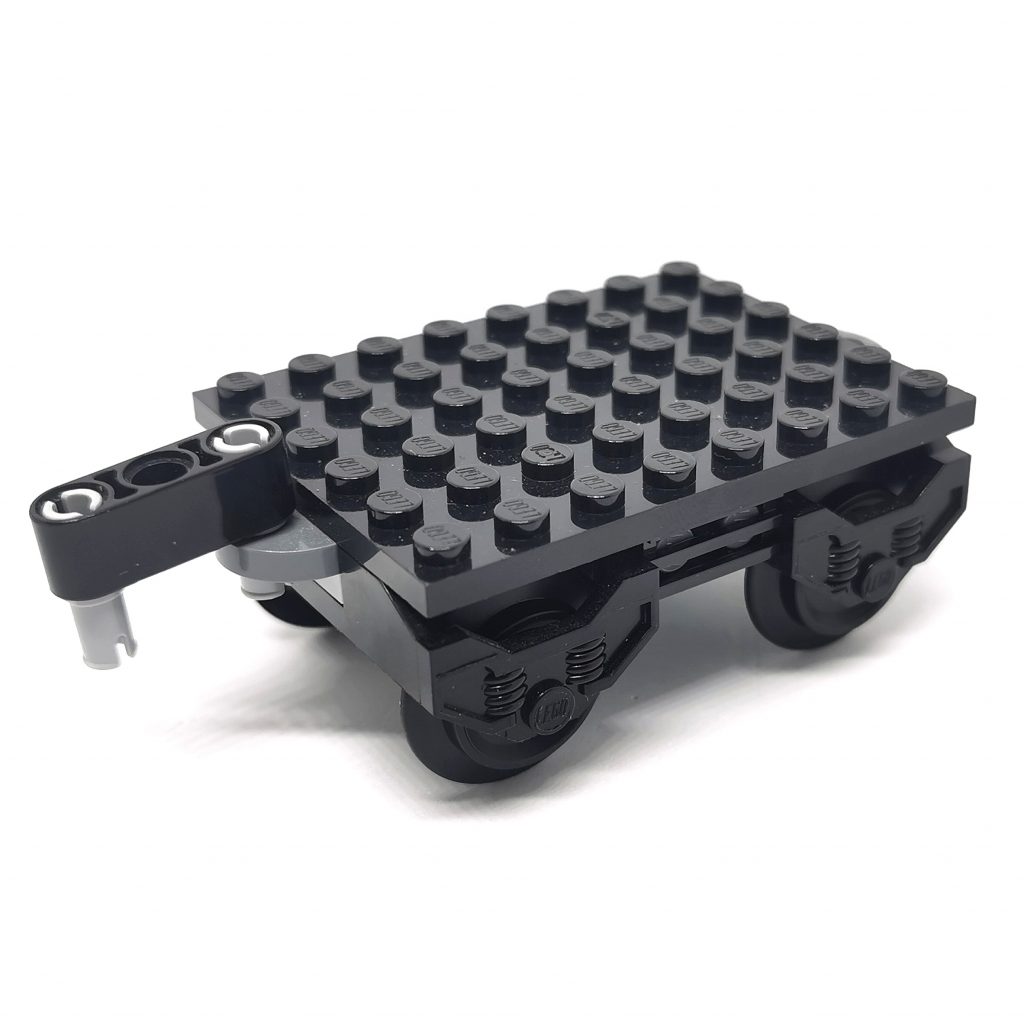
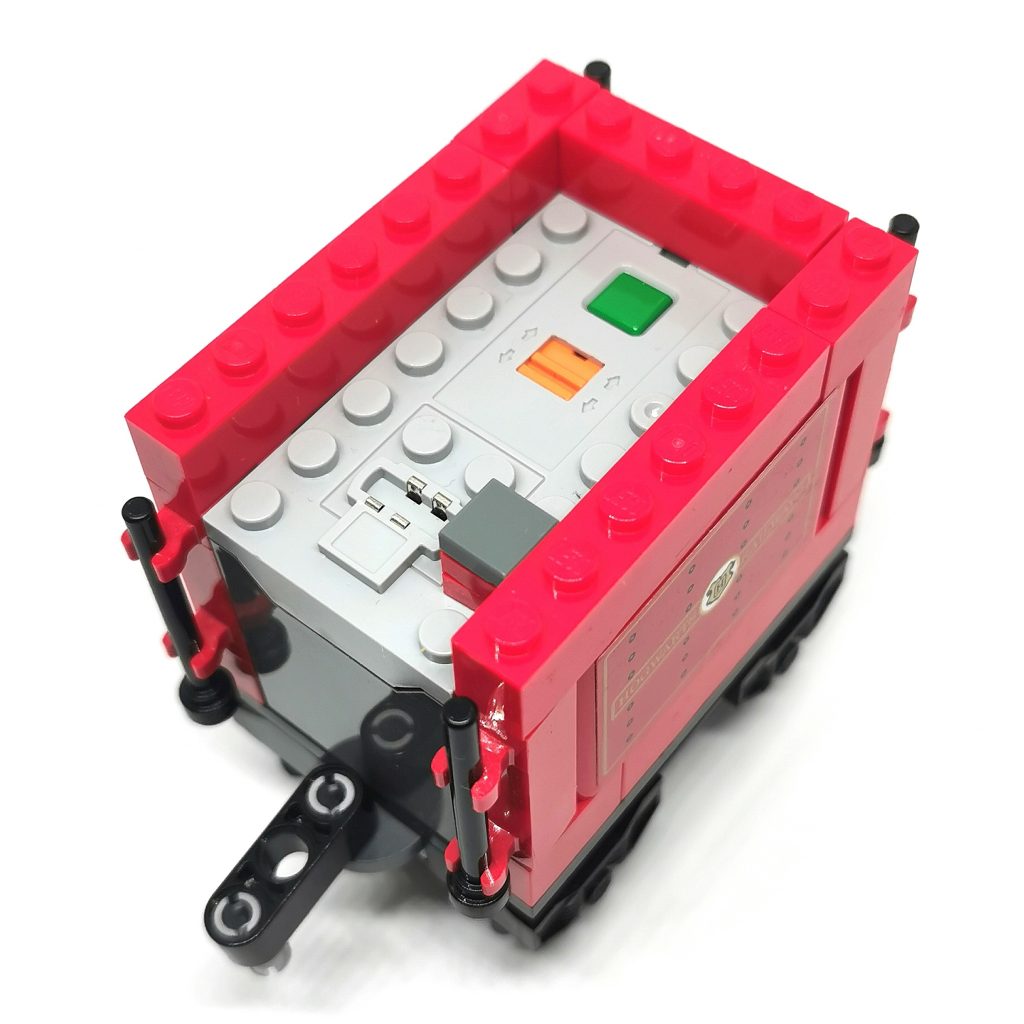
Starting with the power (battery) box. I decided that the best place for it was in the Tender, it seemed the perfect size.
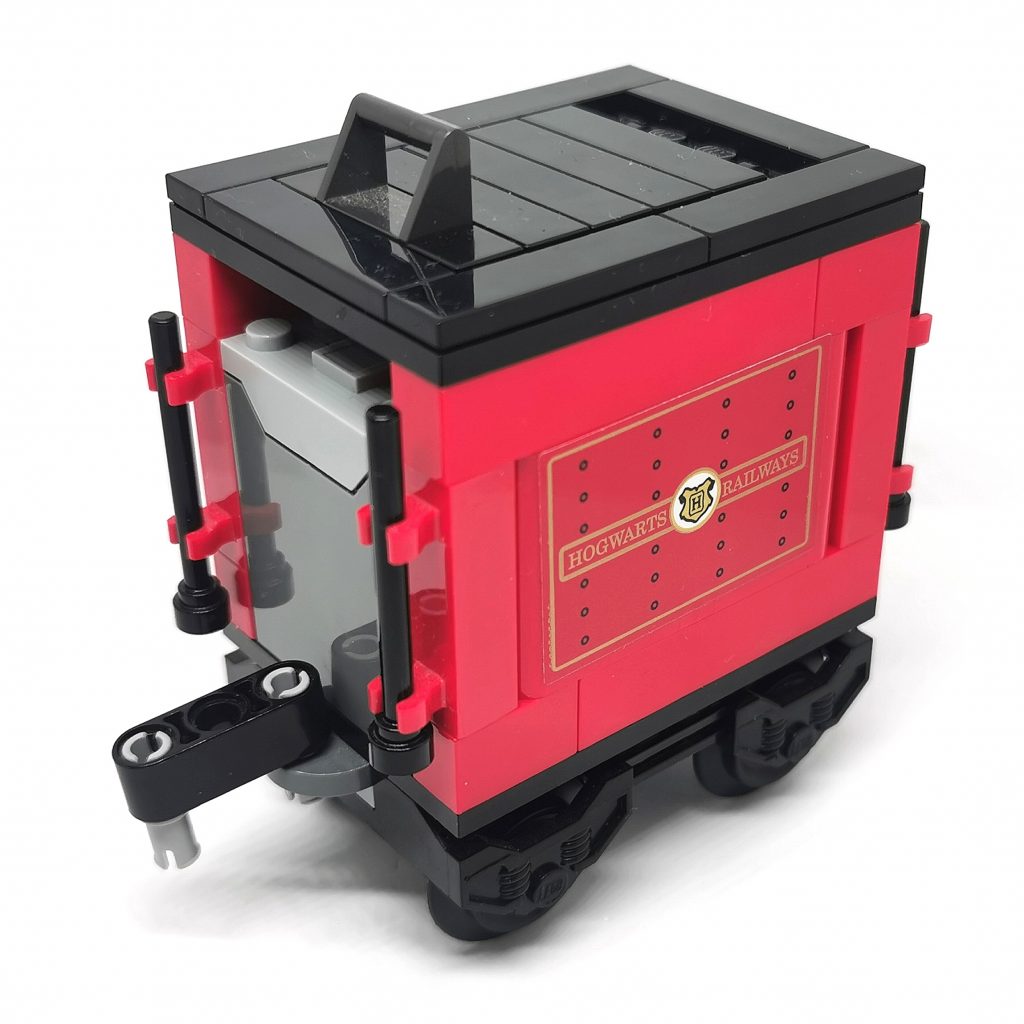
I stripped the whole thing back and rebuilt it around the power box, adding a few more bricks and pieces as i went, this allowed for the extra height where the power cable would sit. I tiled the top and hinge to give it a more ‘polished’ look, to match the Carriage.
Moving on to the front of the train and actual motor part of it.
This proved quite a trouble-some task, and took a few re-builds to get it looking sleek. The previous two incarnations were very bulky and made the front of the train look stubby.
Again I stripped this back, just as I did with the tender, leaving the front intact as I didn’t need to alter that as such.
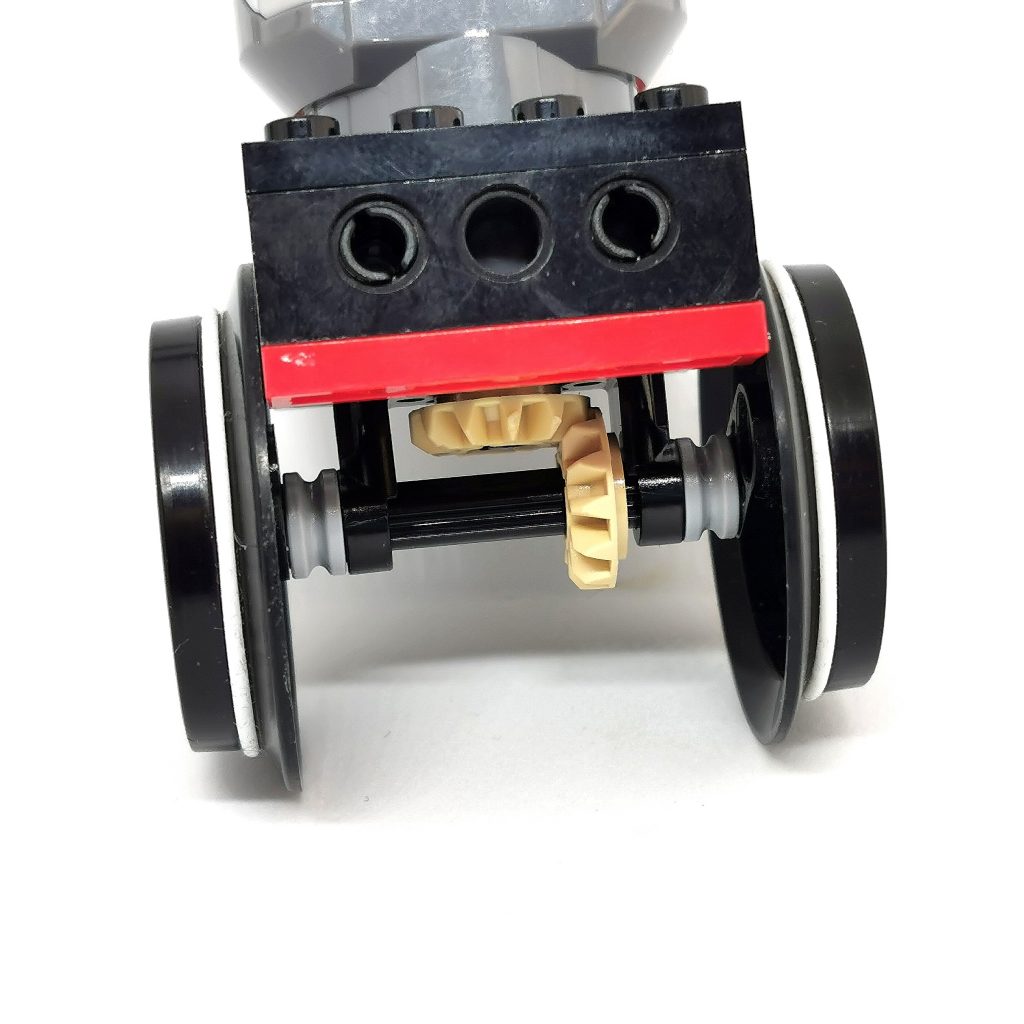
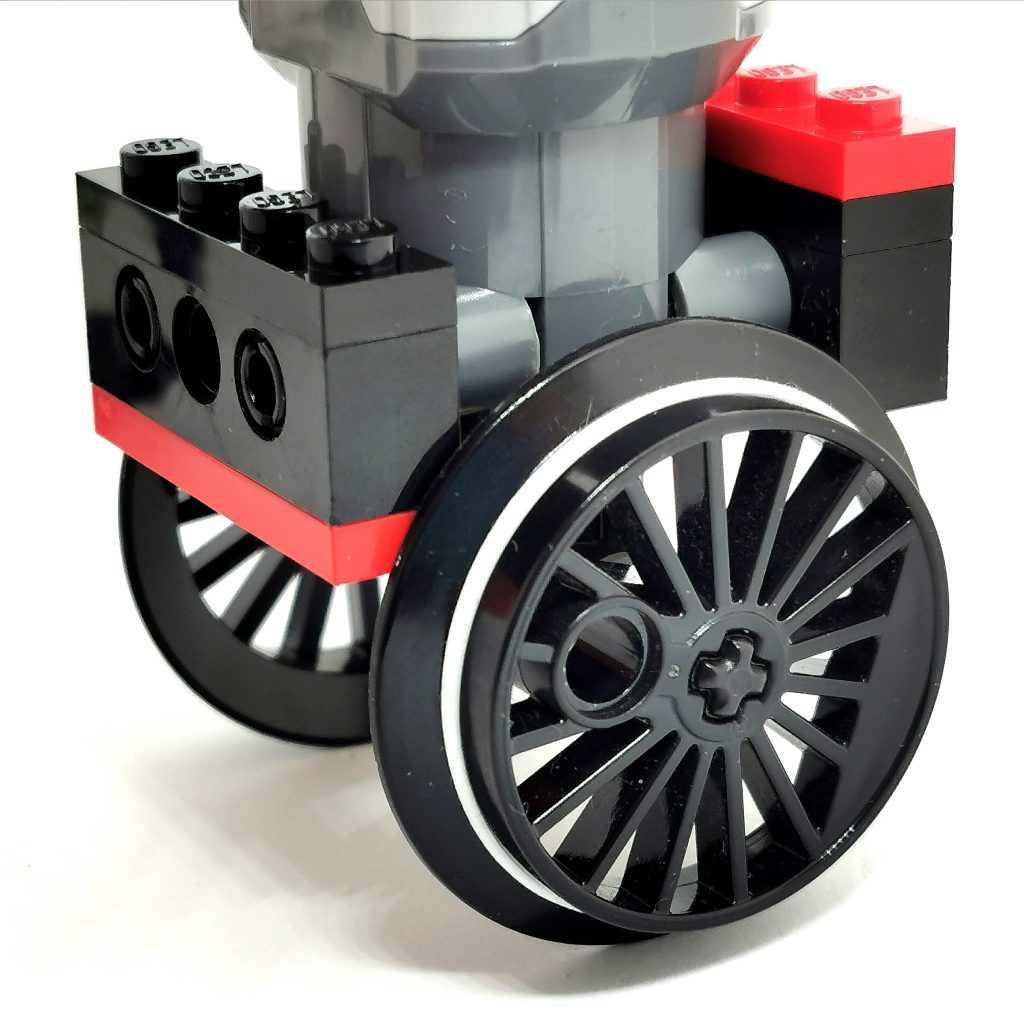
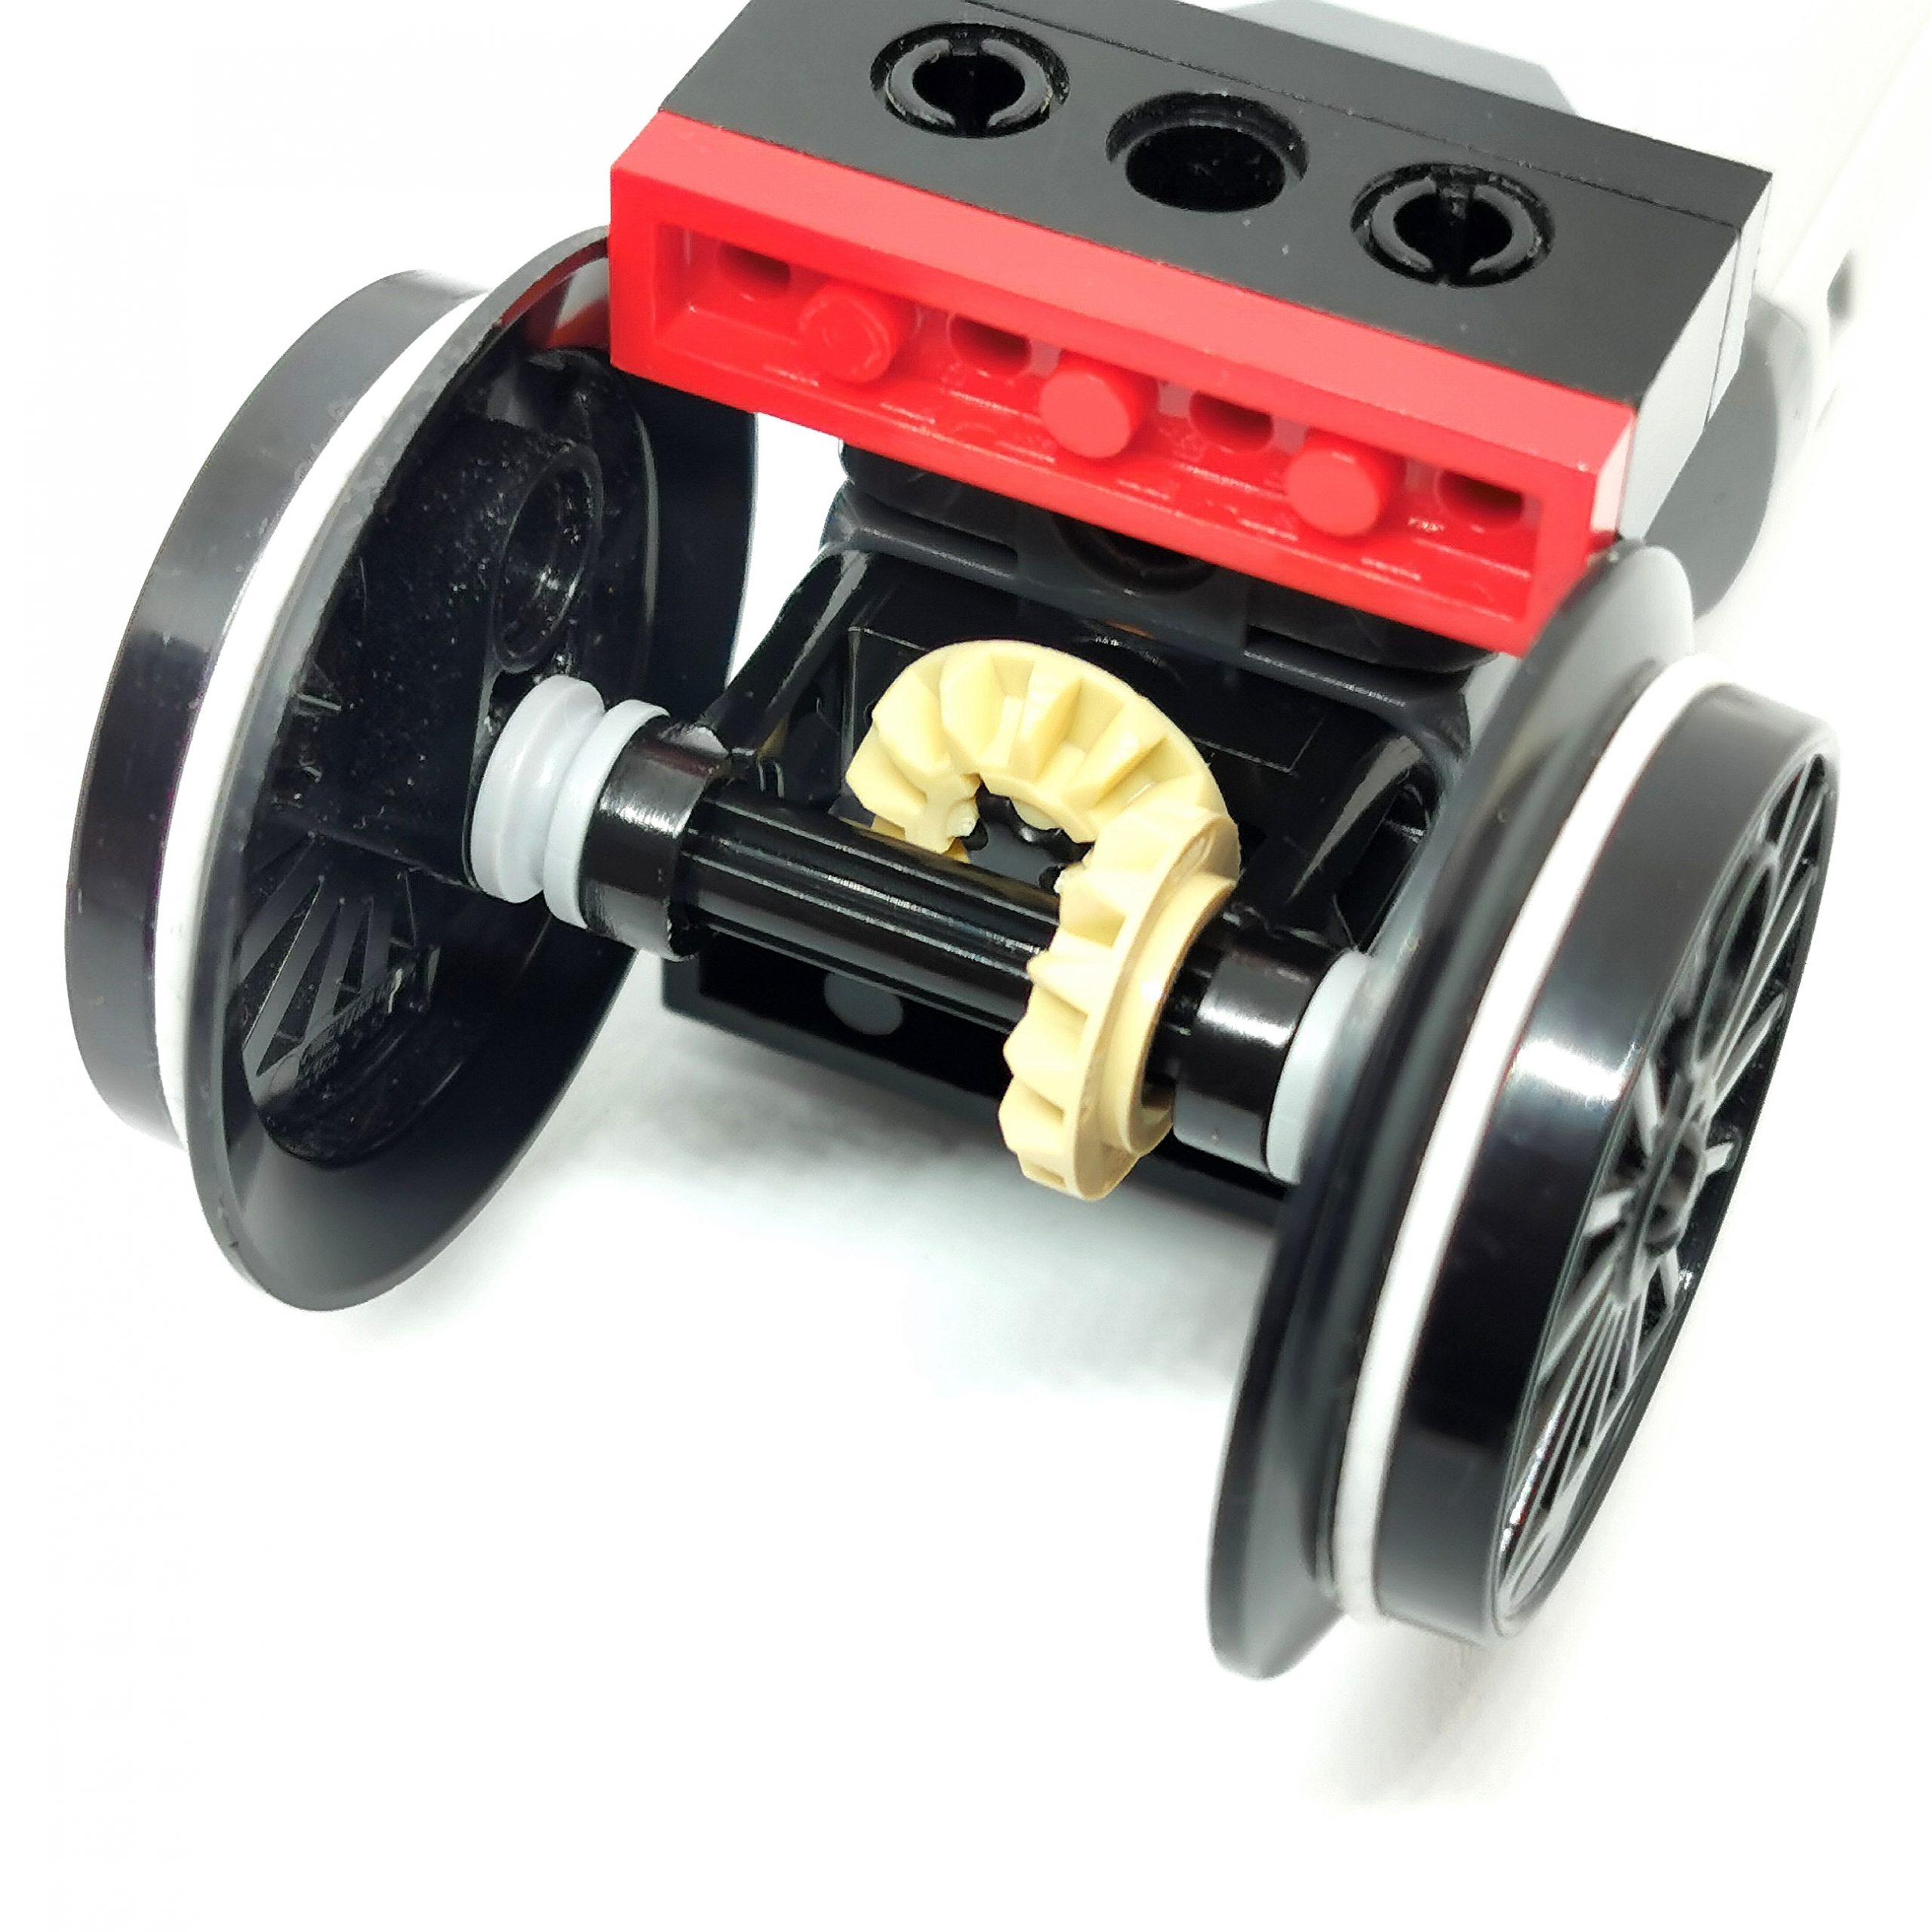
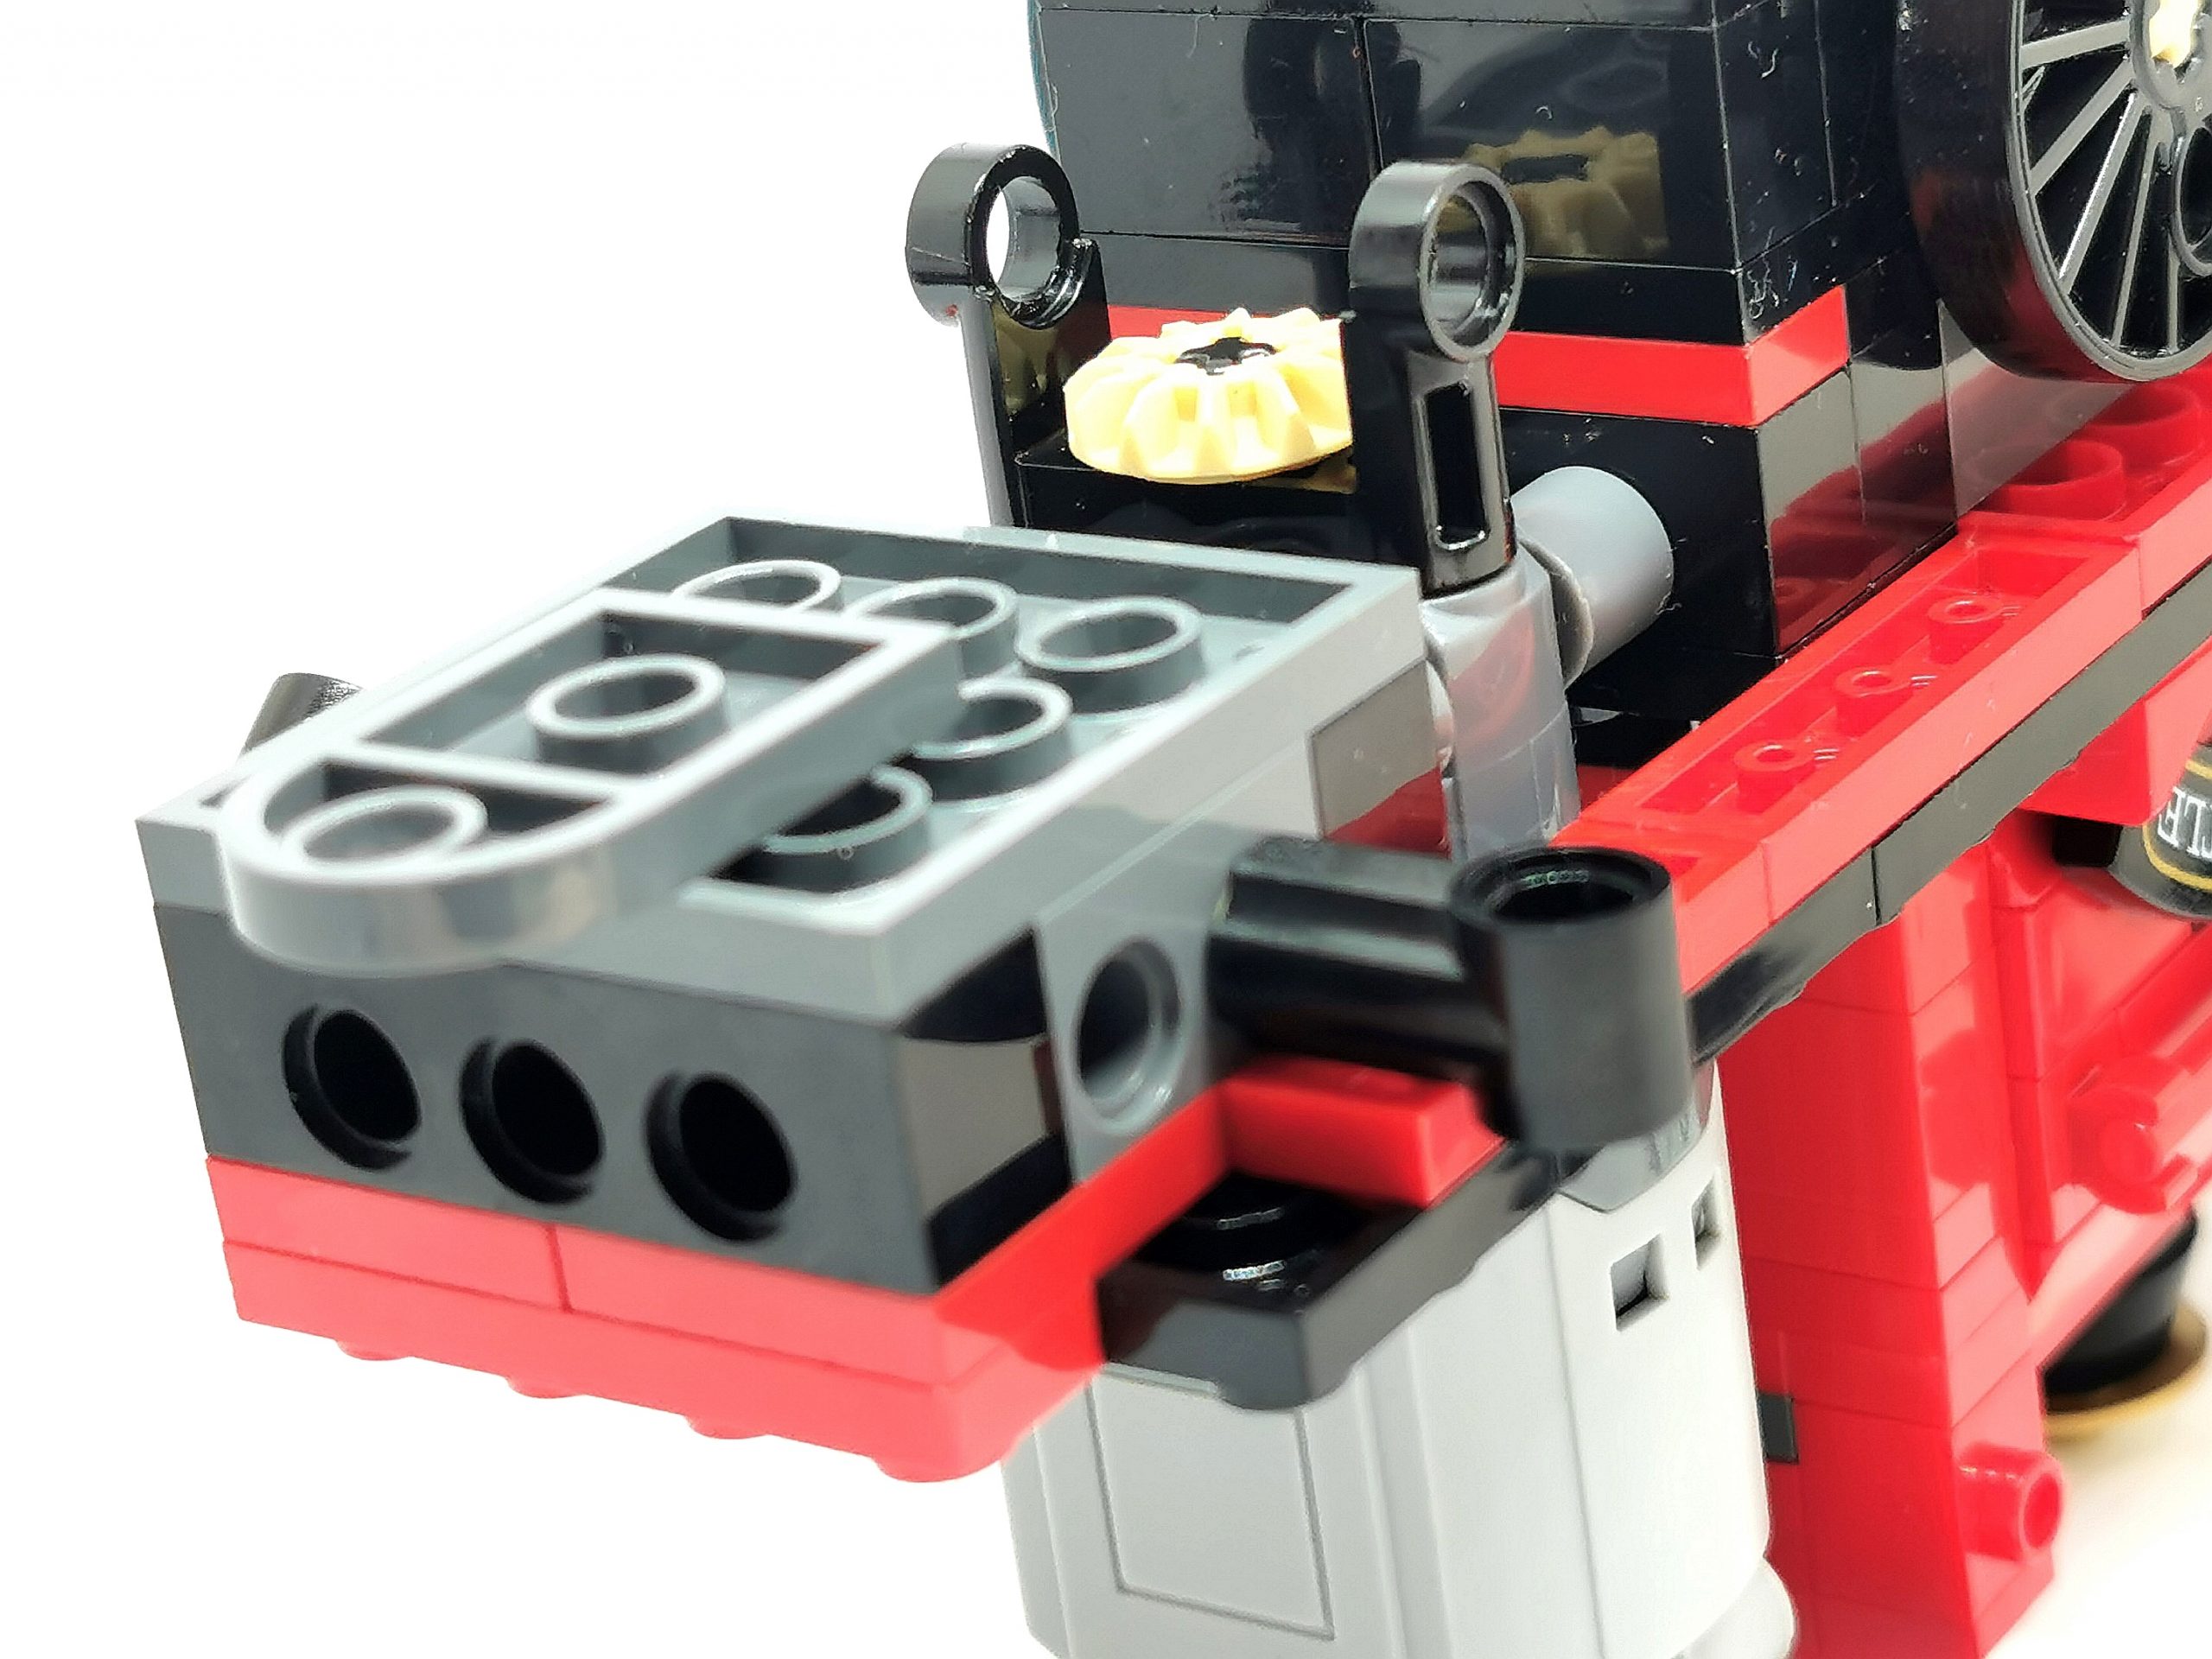
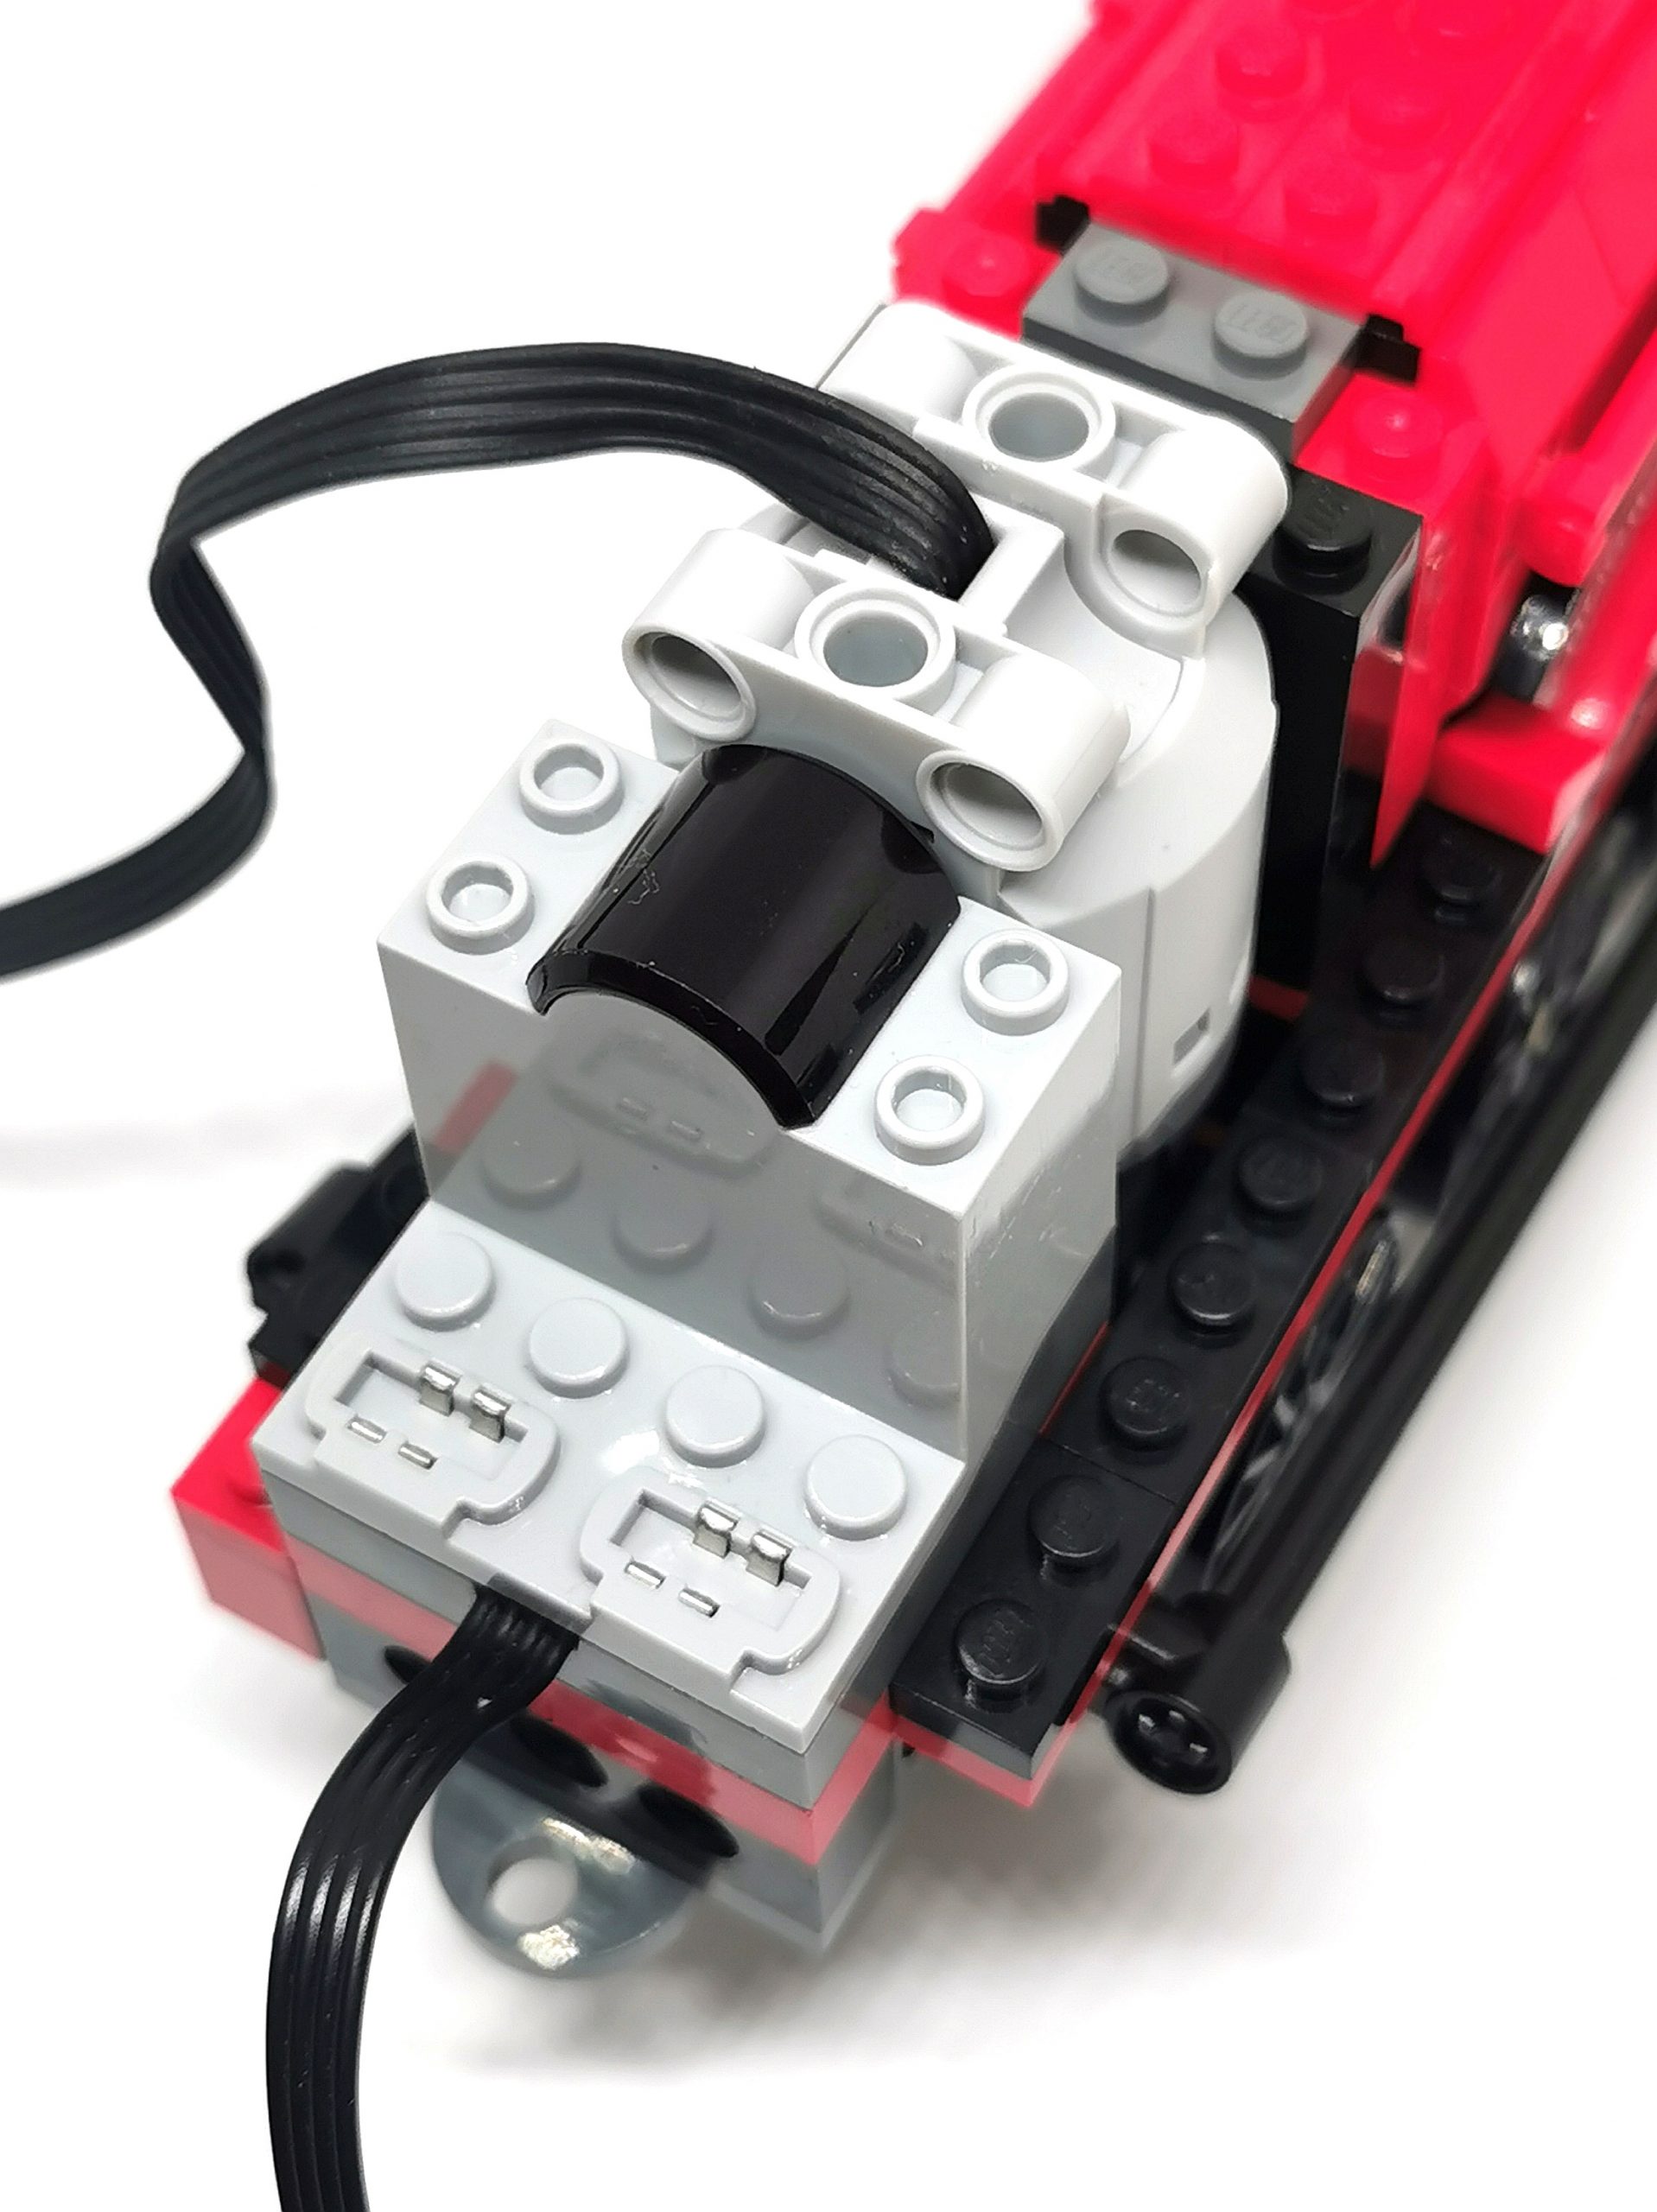
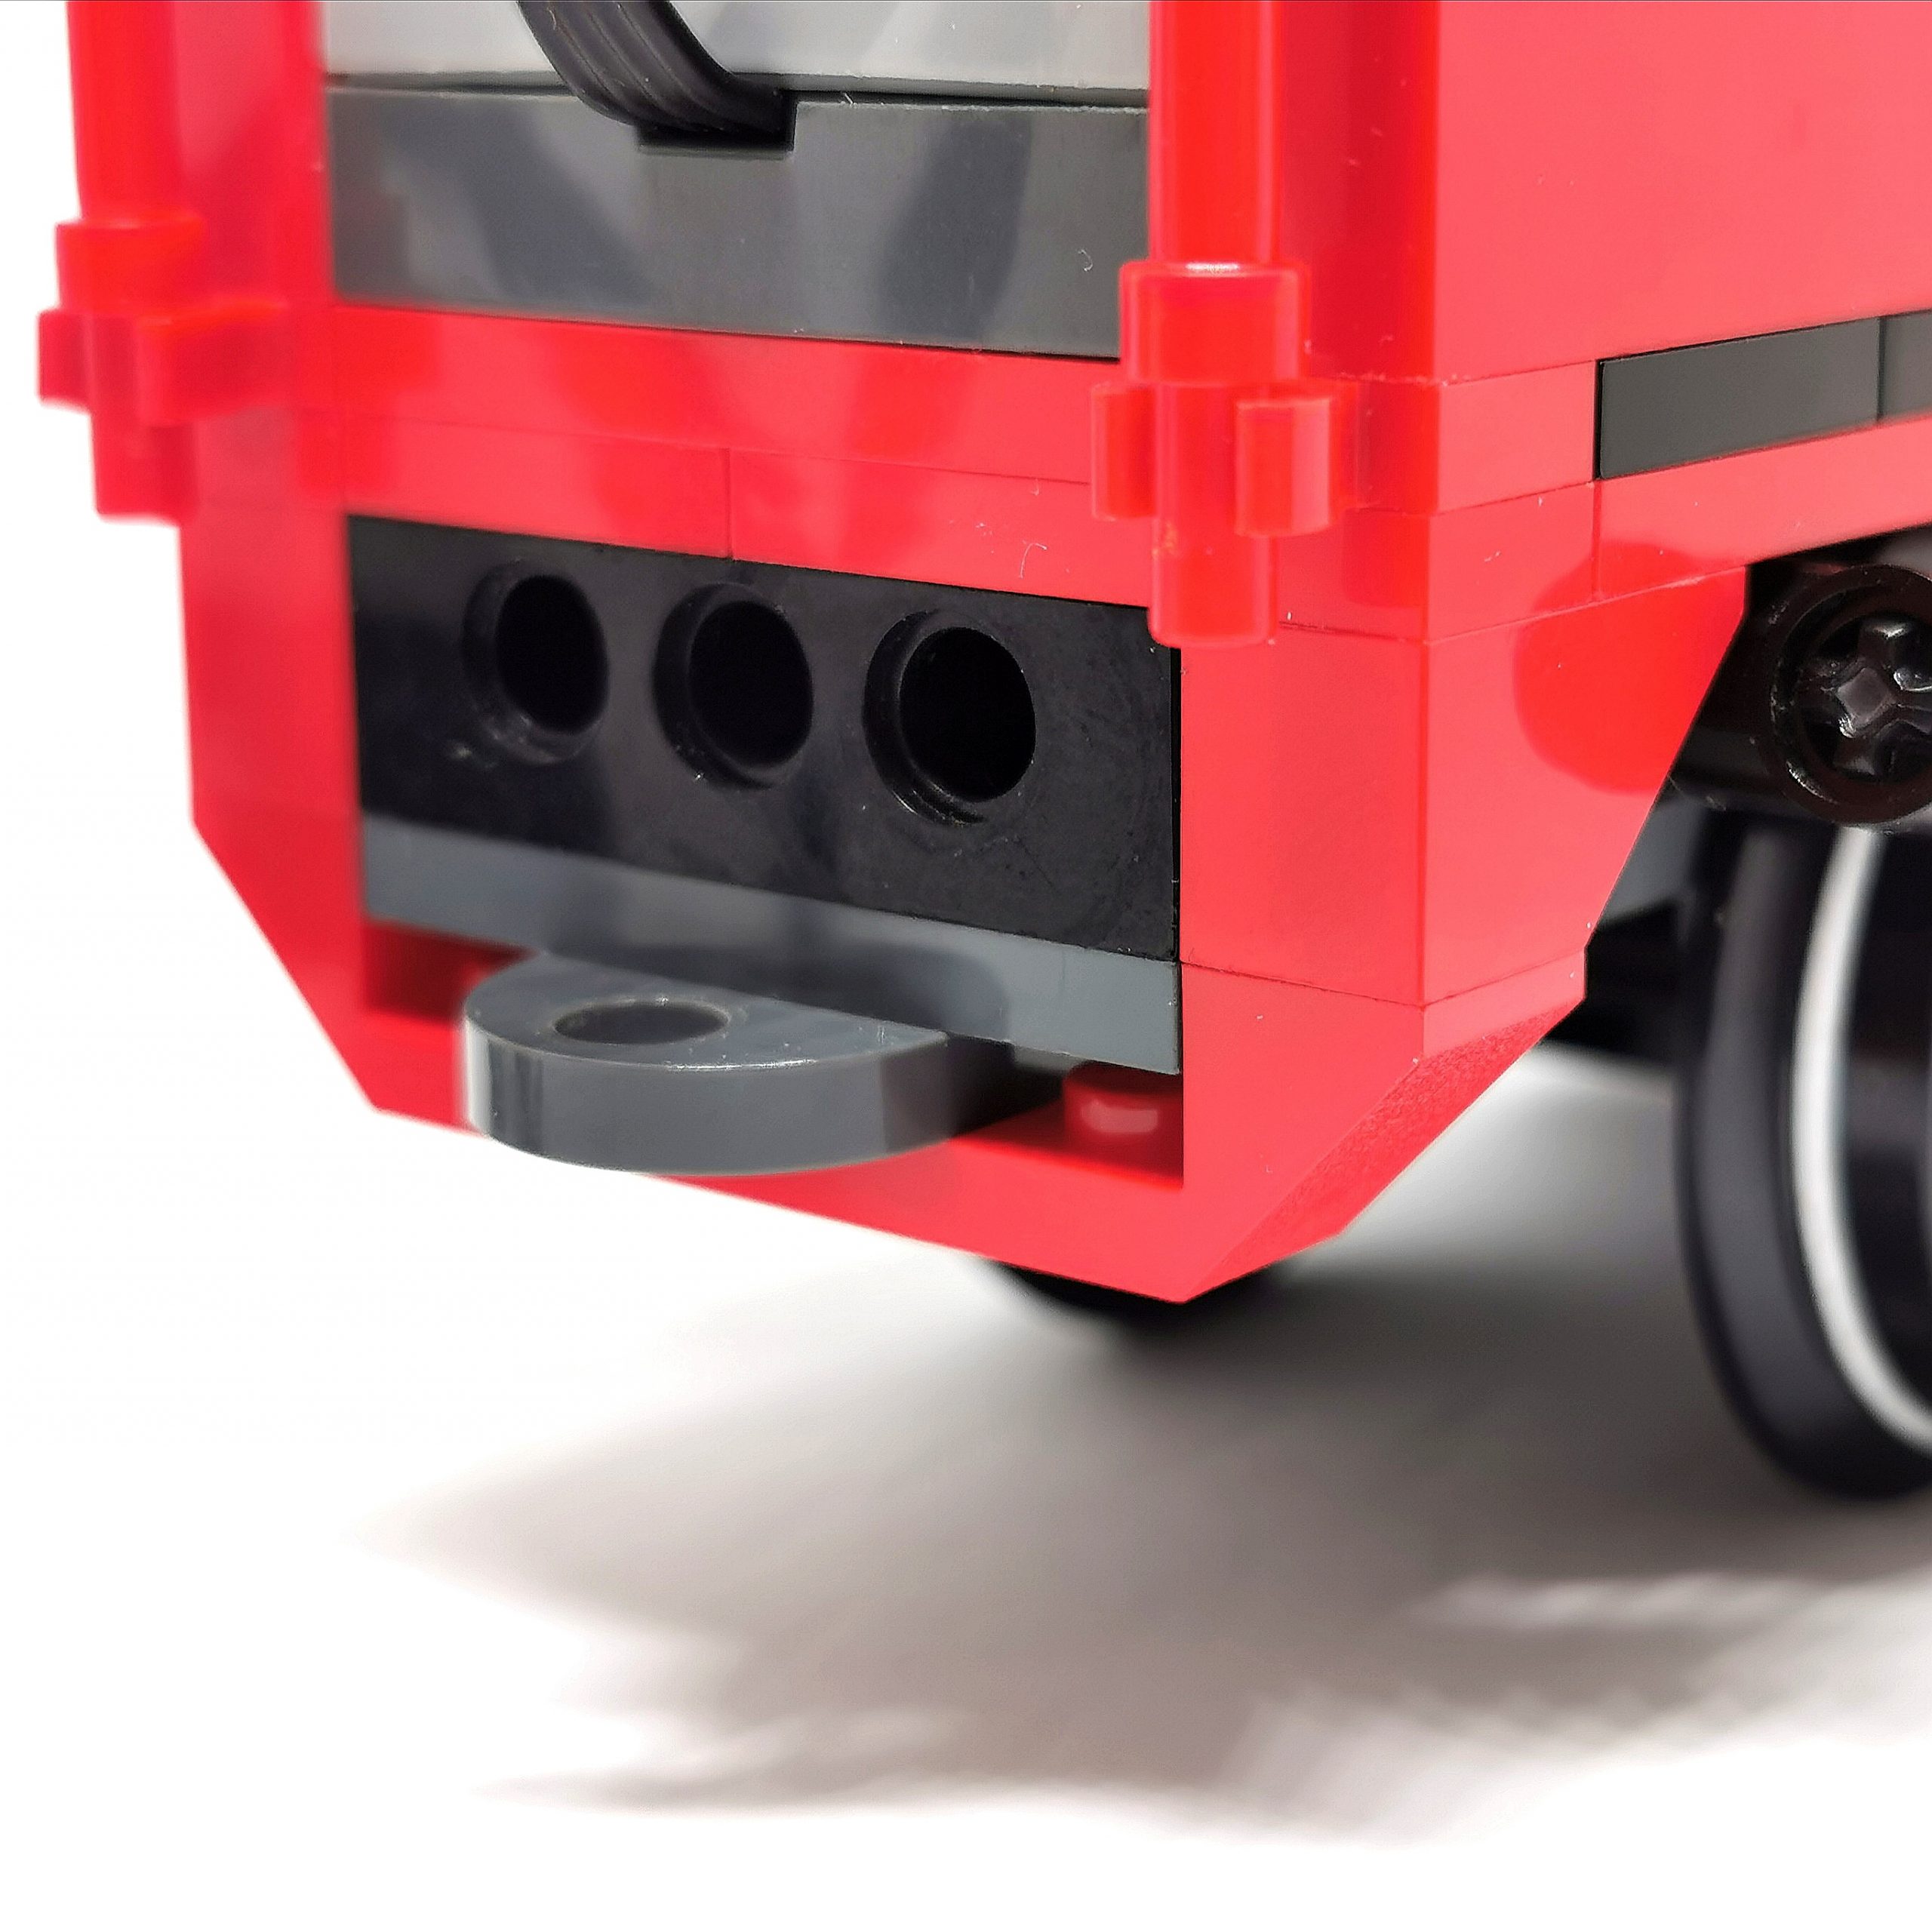
I had to replace the black Technic 1×12 brick with holes piece and replace some others in order to slot the motor down and attach the third (powered) pair of wheels. Effectively making a space big enough to slot the motor down into.
I ordered a new piece to help the two cogs stay-put. It pops into the motor and allows the cogs to sit comfortably together. The piece in question is LEGO Black Technic Connector Toggle Joint Smooth Double with 2 Pins (48496). This unique piece is amazing, it does so much and makes the whole motor and wheels feel sturdy and Unstoppable!
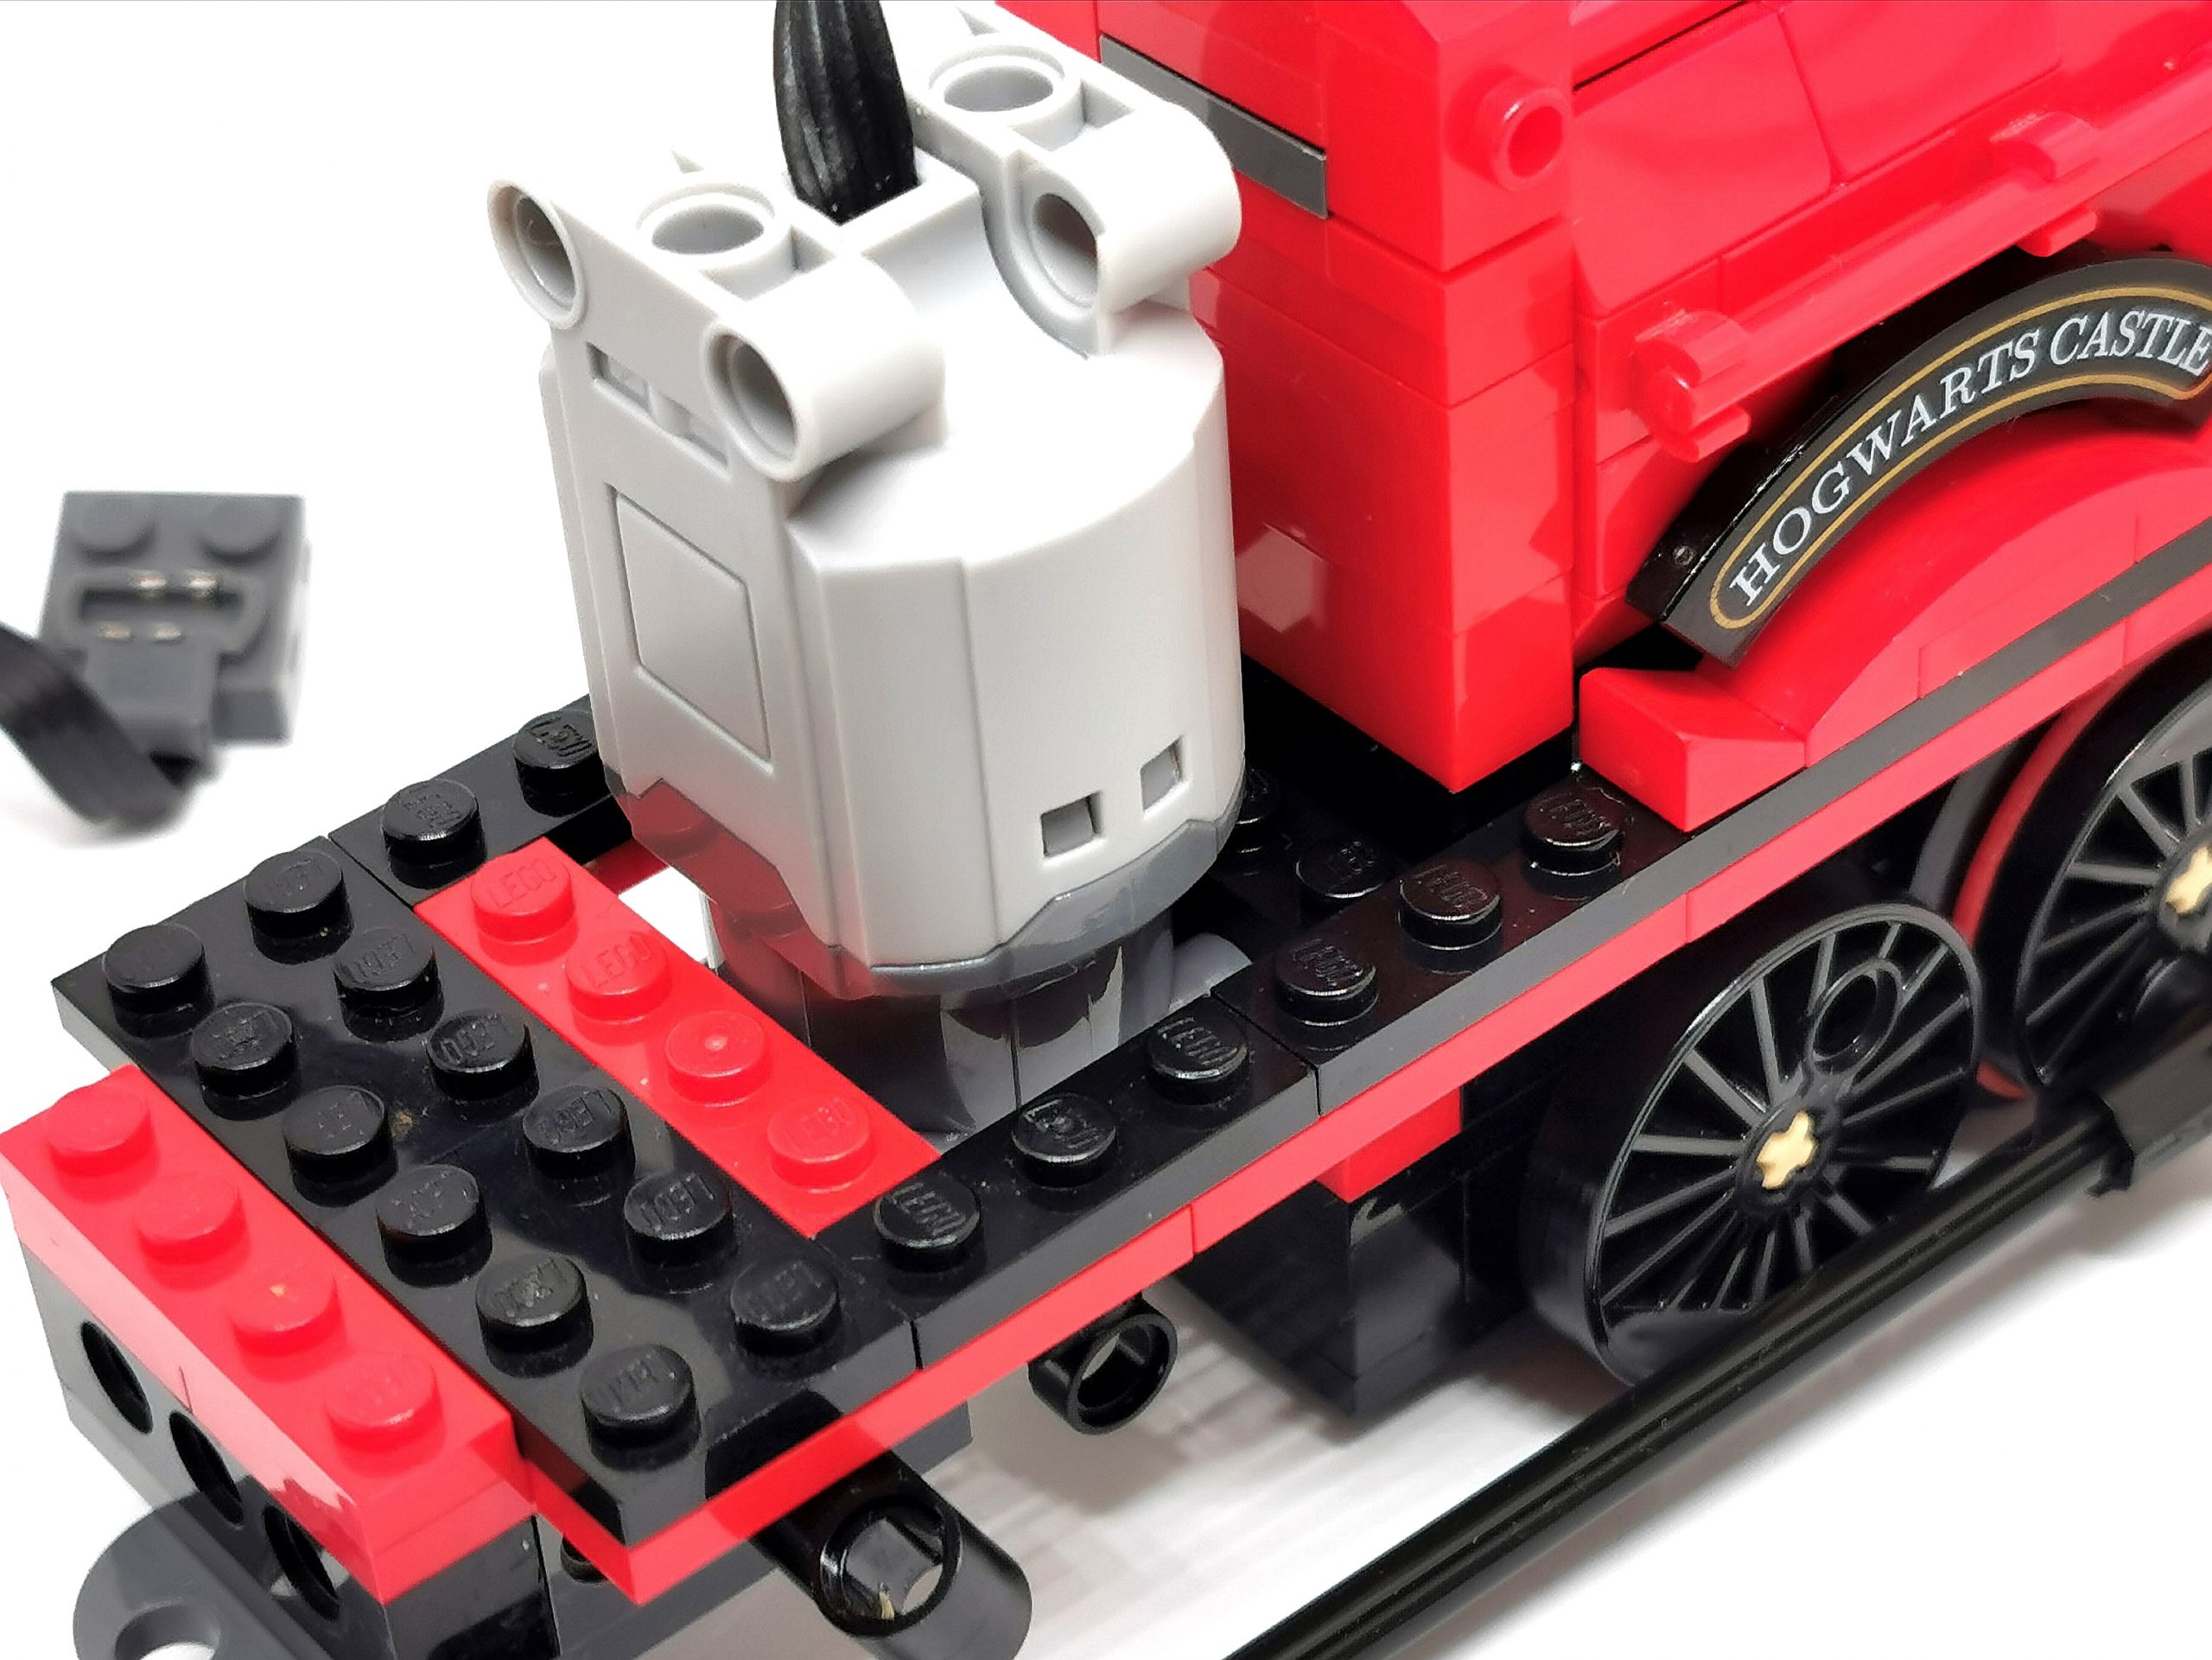
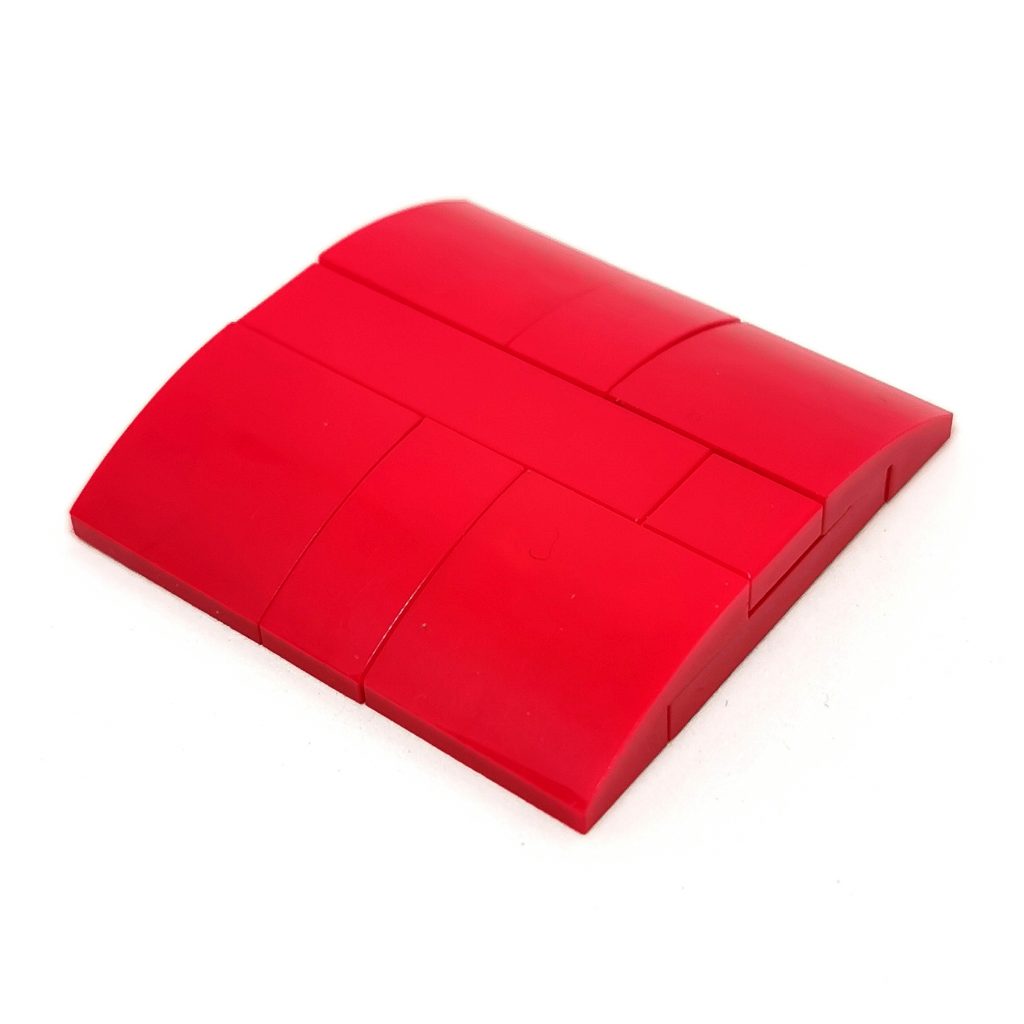
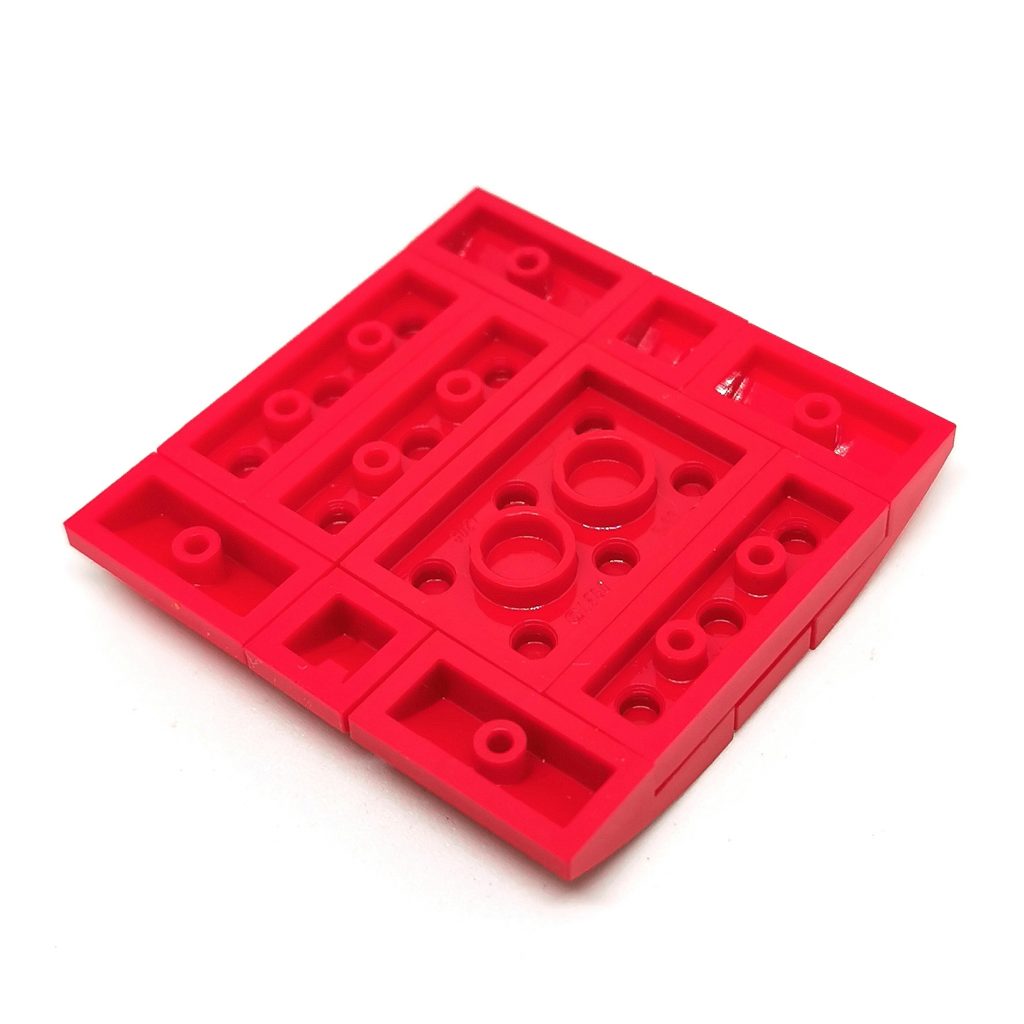
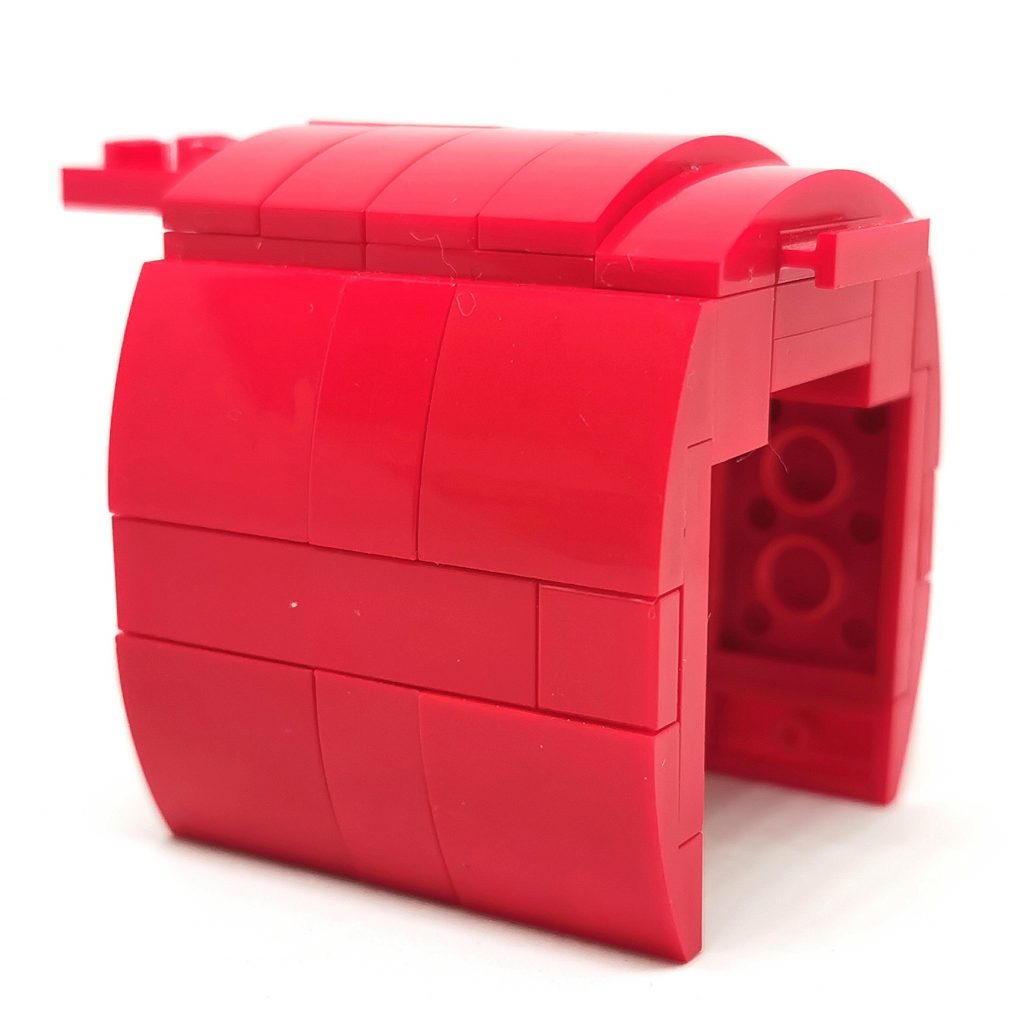
Covering the motor was the most troublesome, as it has to be curved to follow suit with the rest of the Train.
My first rendition of this had flat sides and a curved top. It worked but it was so cumbersome it just looked way out of place!
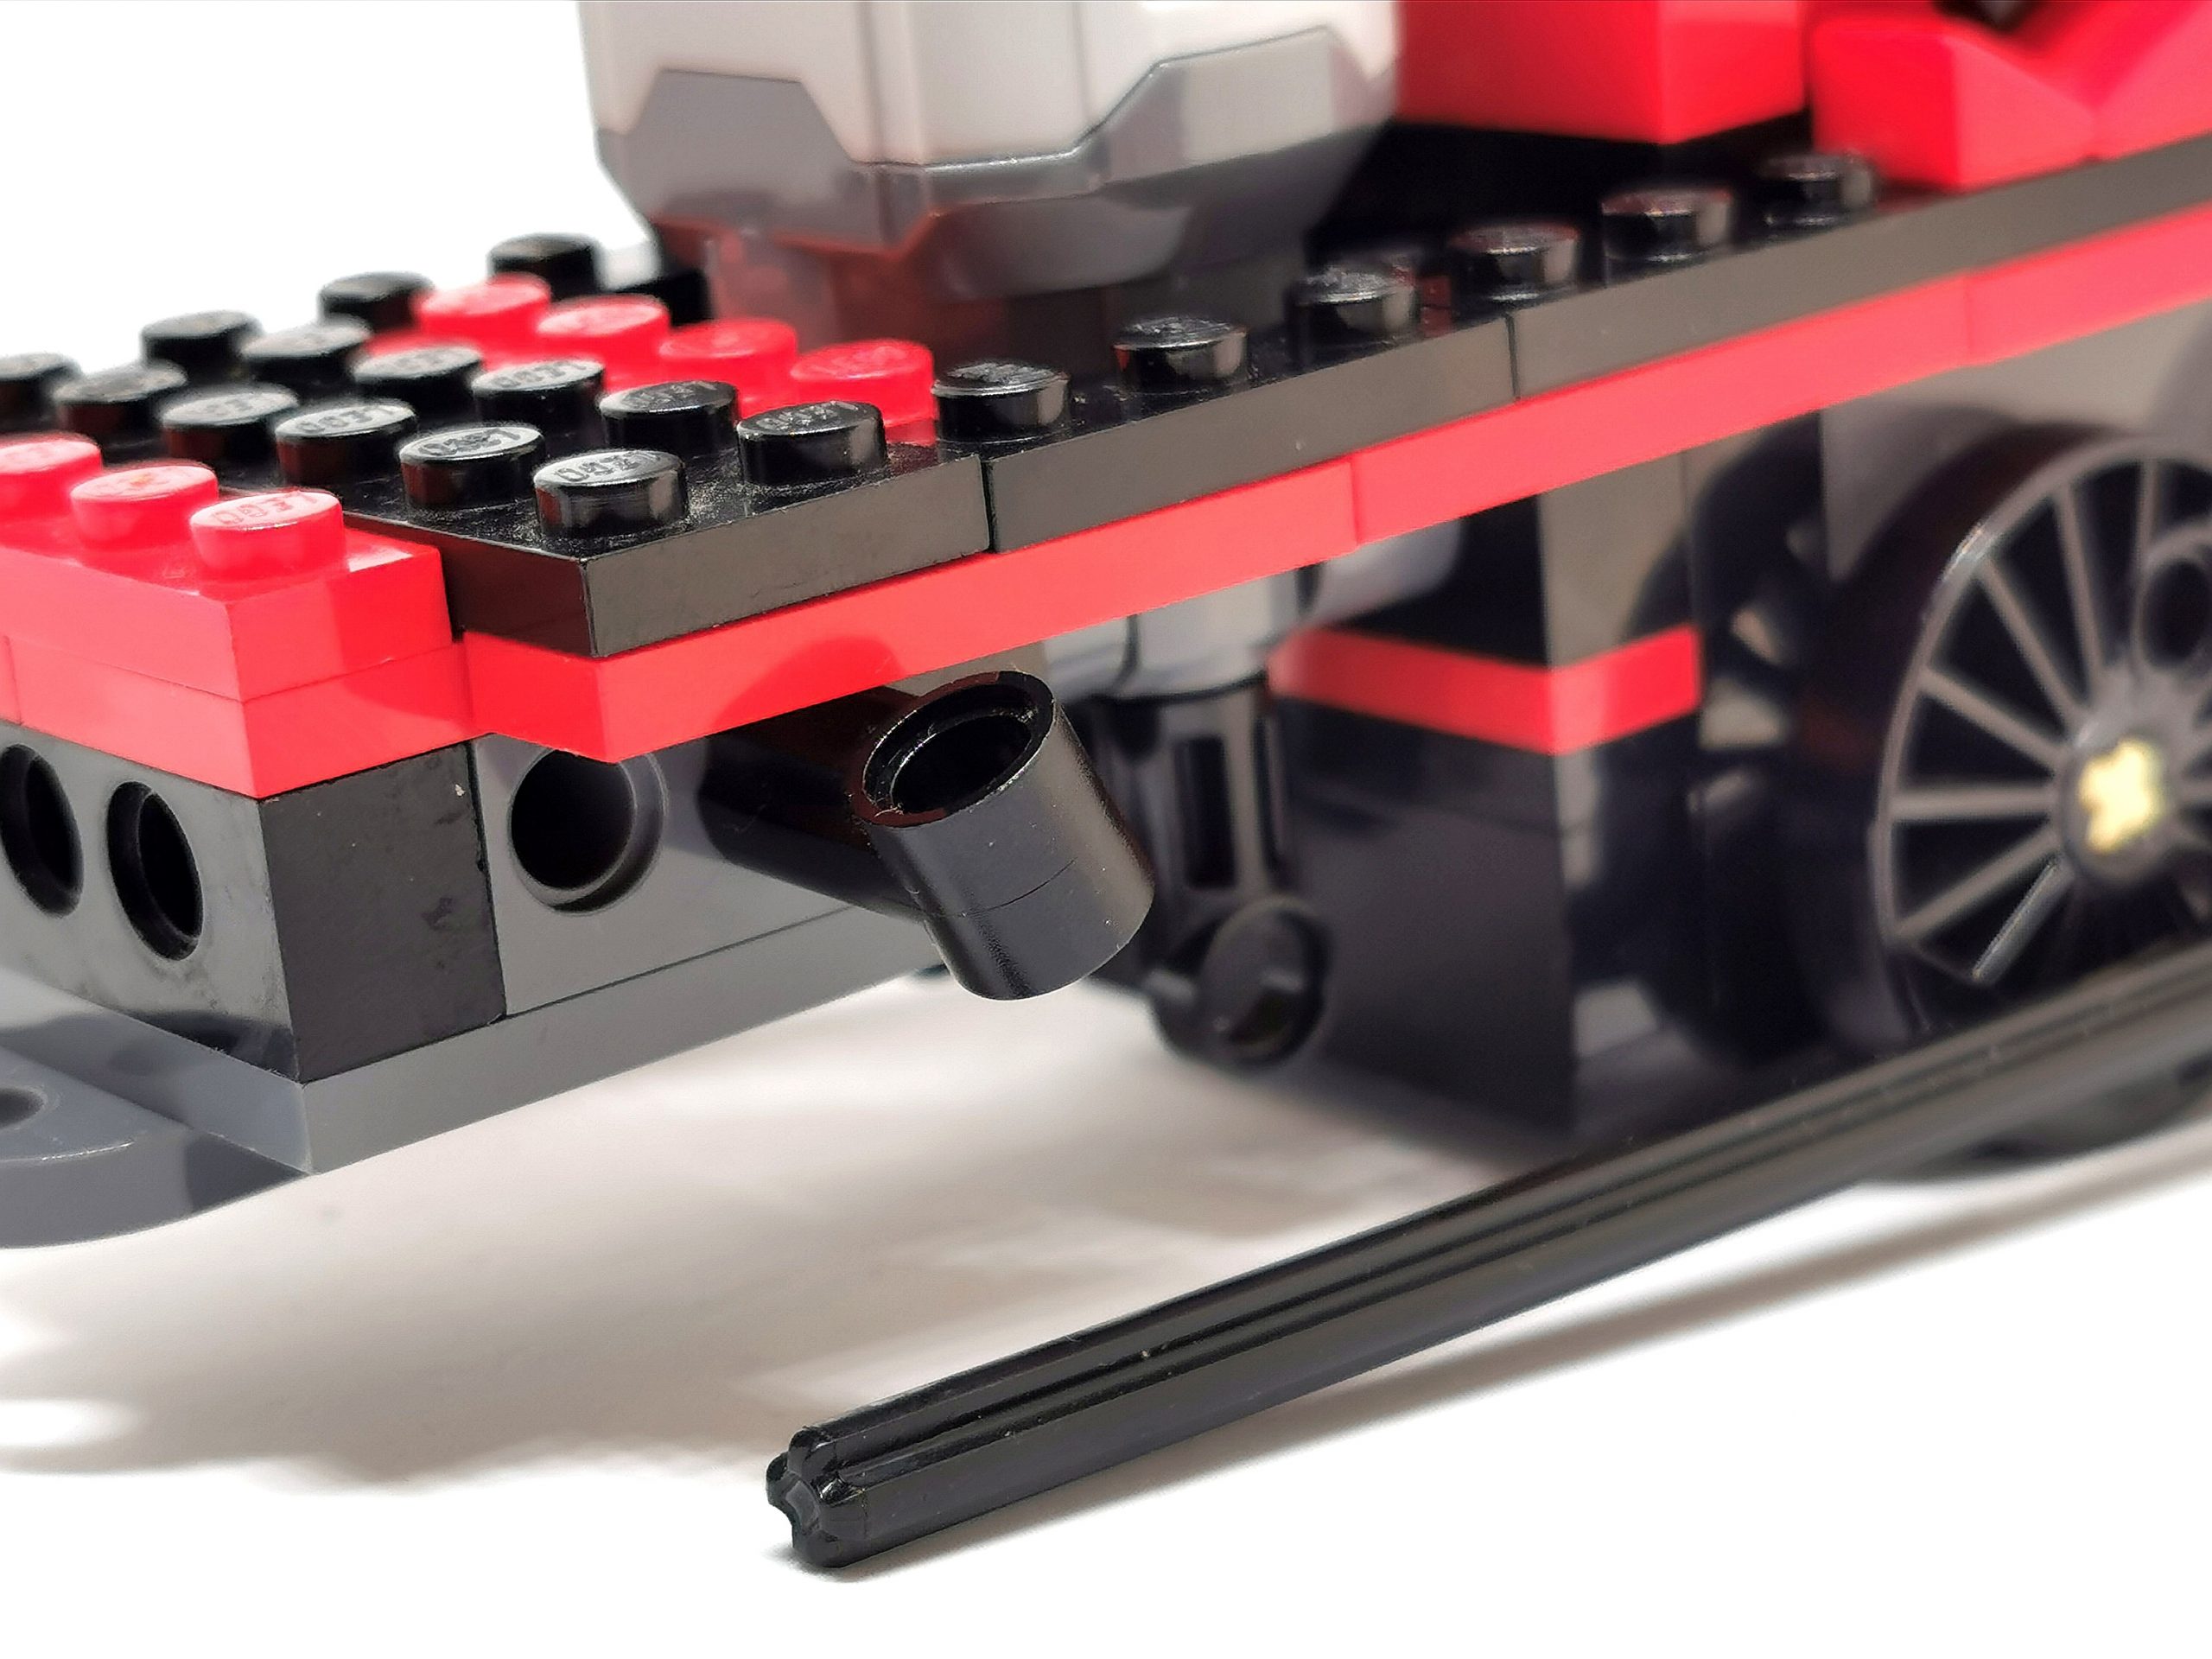
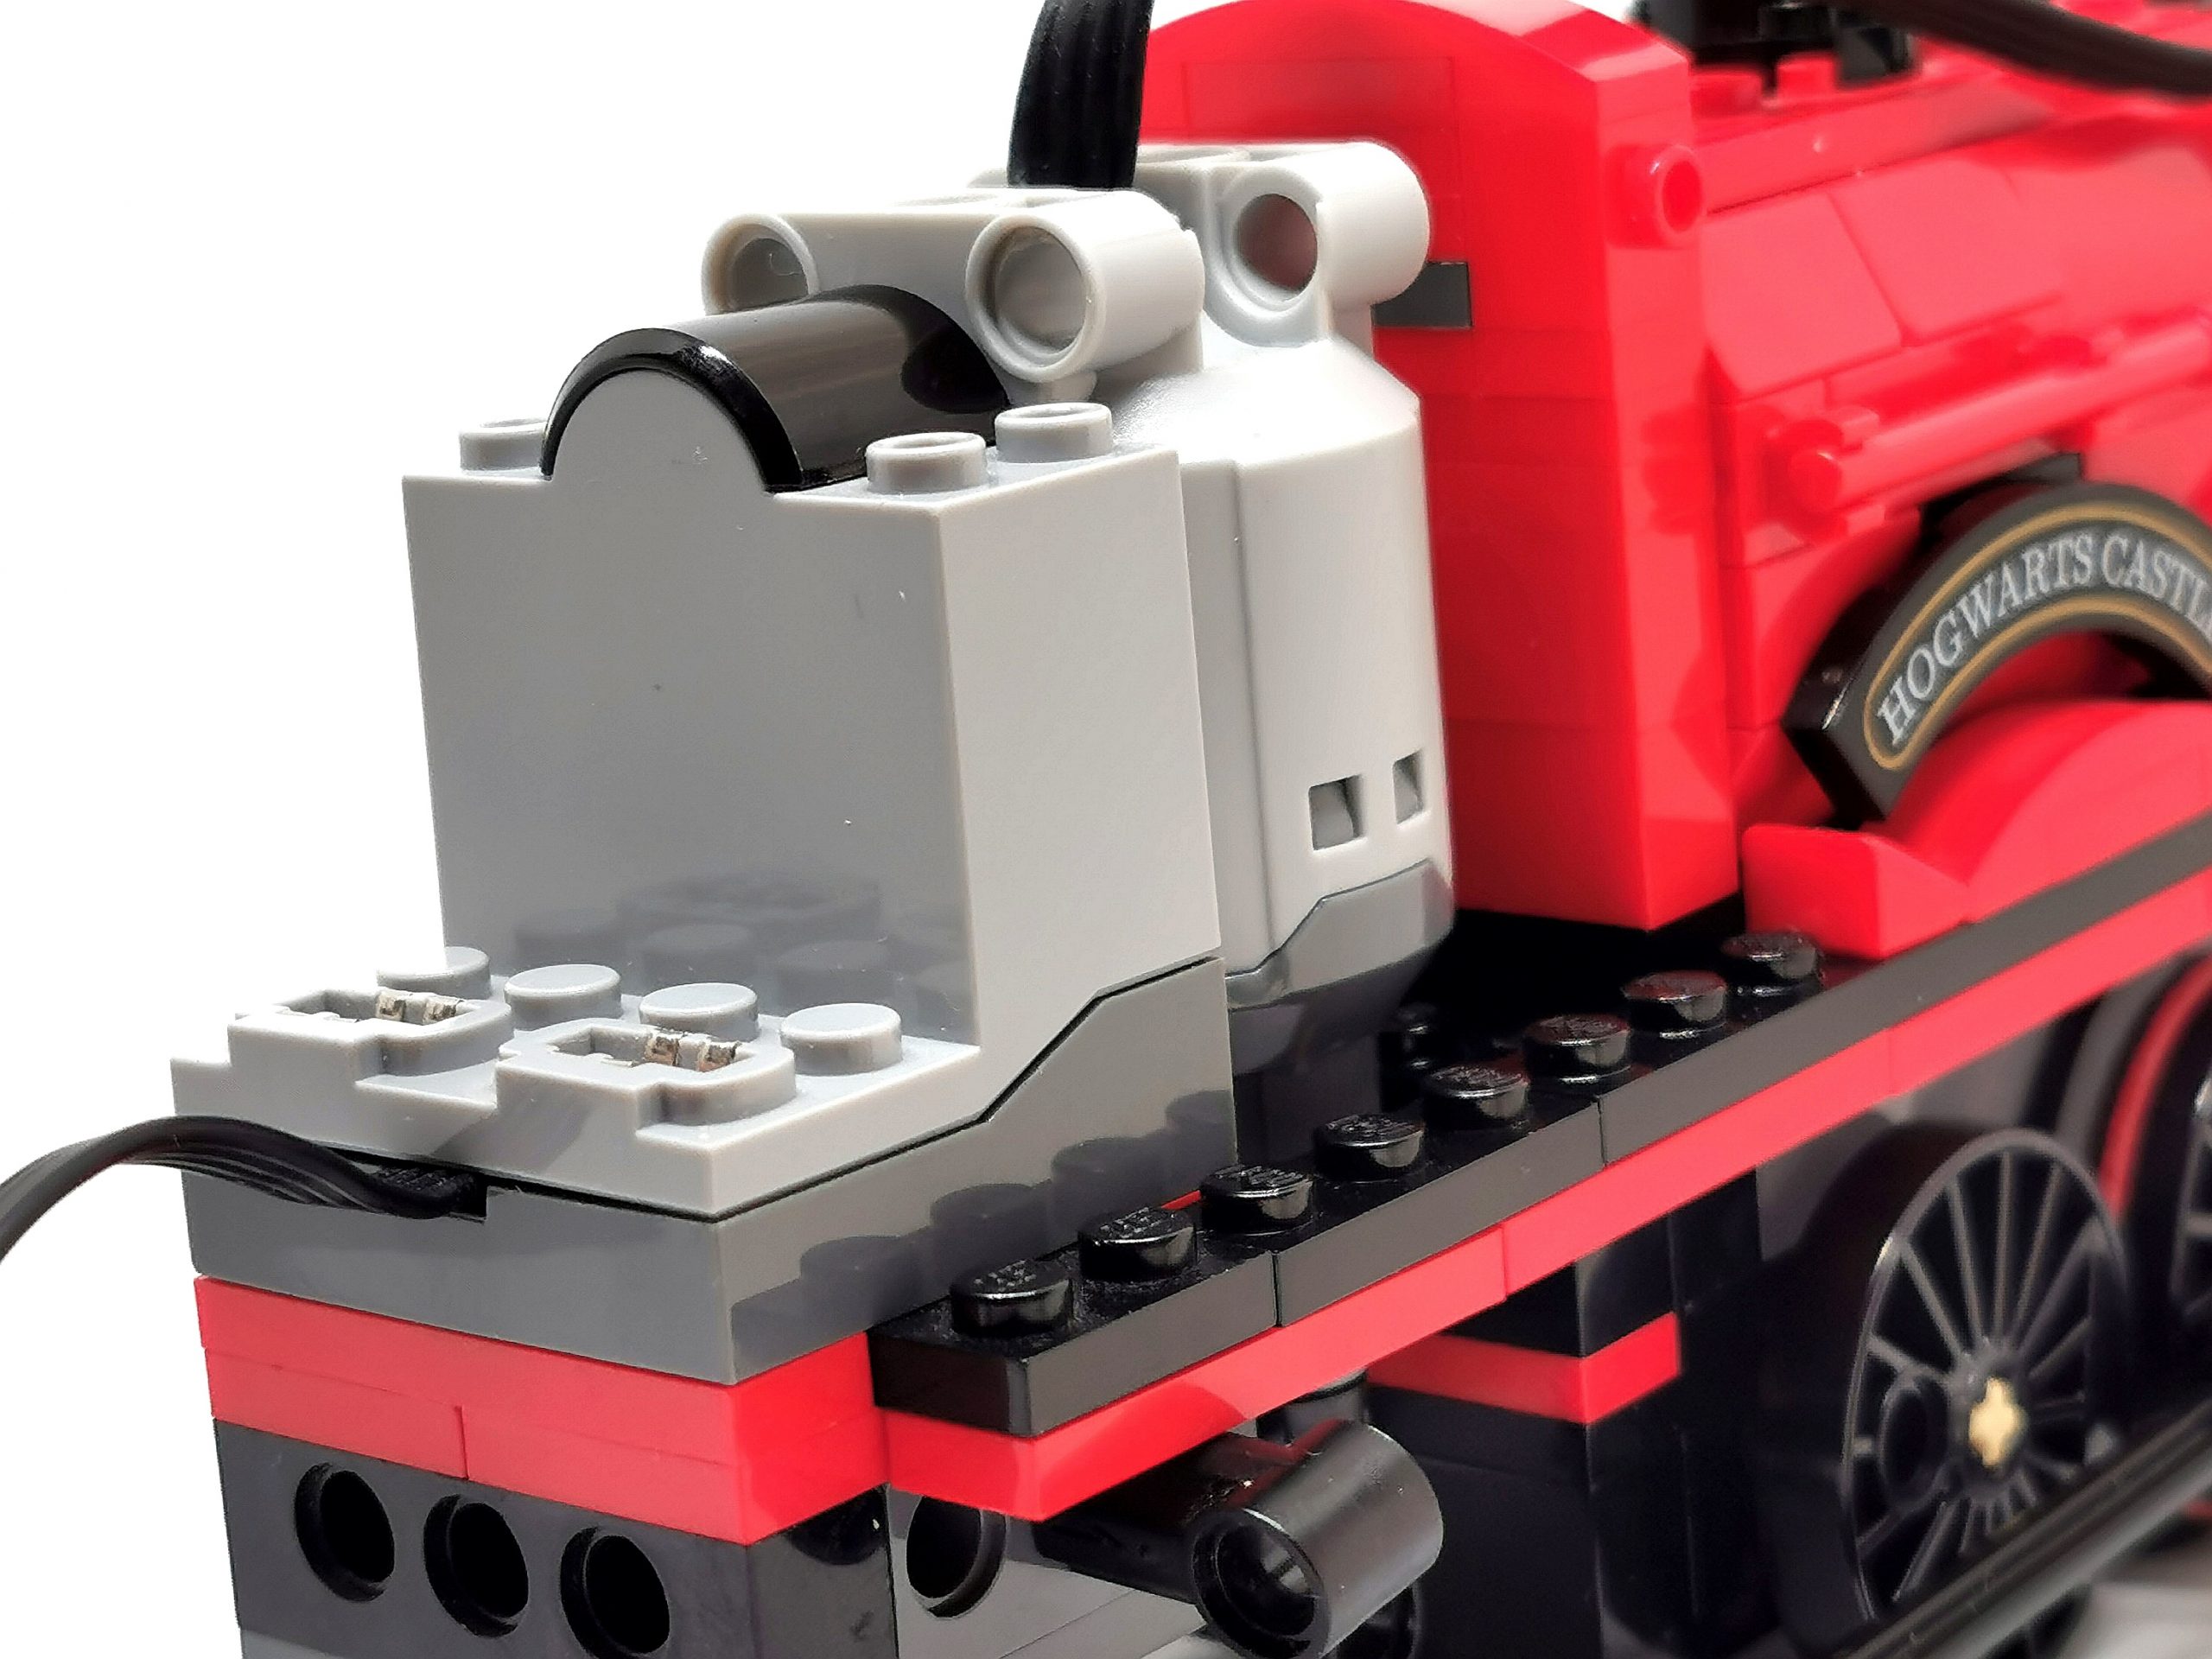
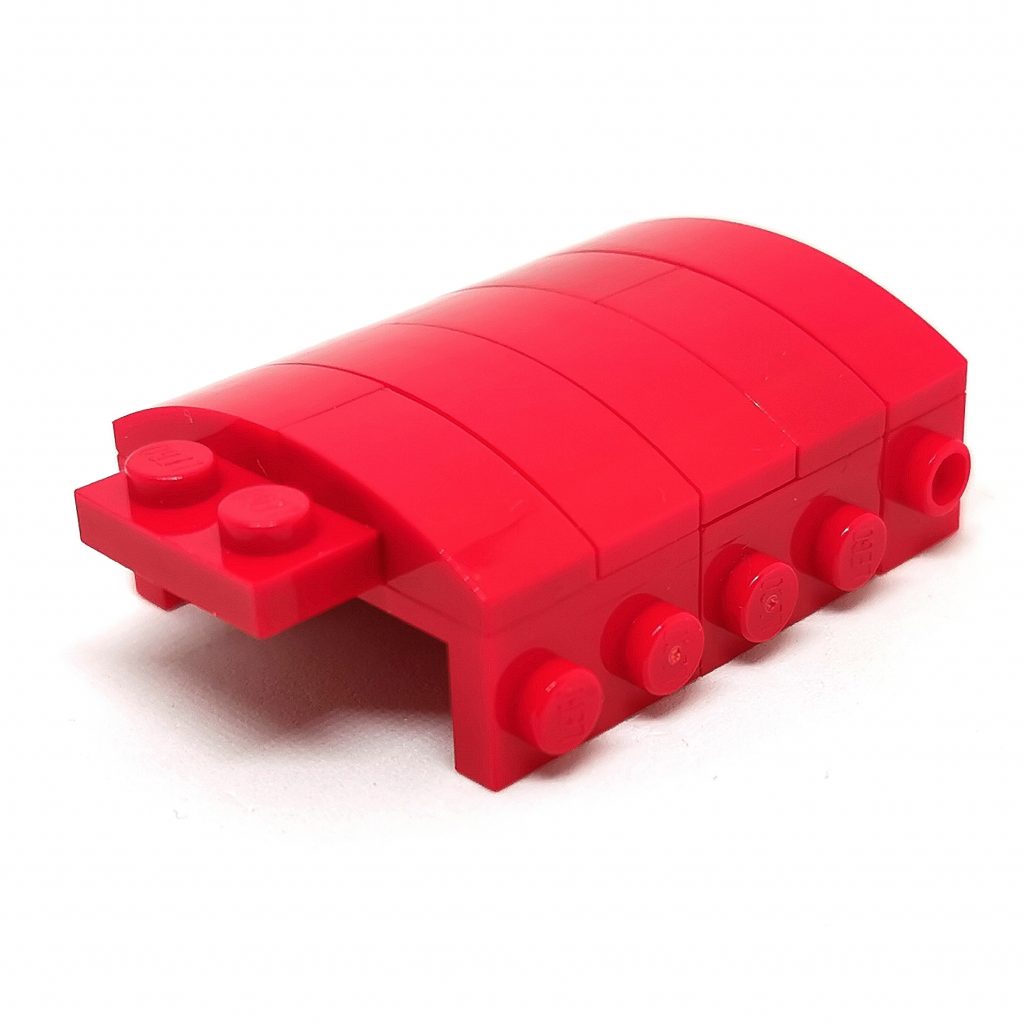
Thanks to SNOT (studs not on top) I managed to create a curve on each side and attach them to the rounded top piece, creating a more natural look, albeit slightly jutting out as to accommodate the motor. This however has left some bare studs and stops the flow of the curved edge along the side of the Train (which you’ll see later), I can personally live with that 
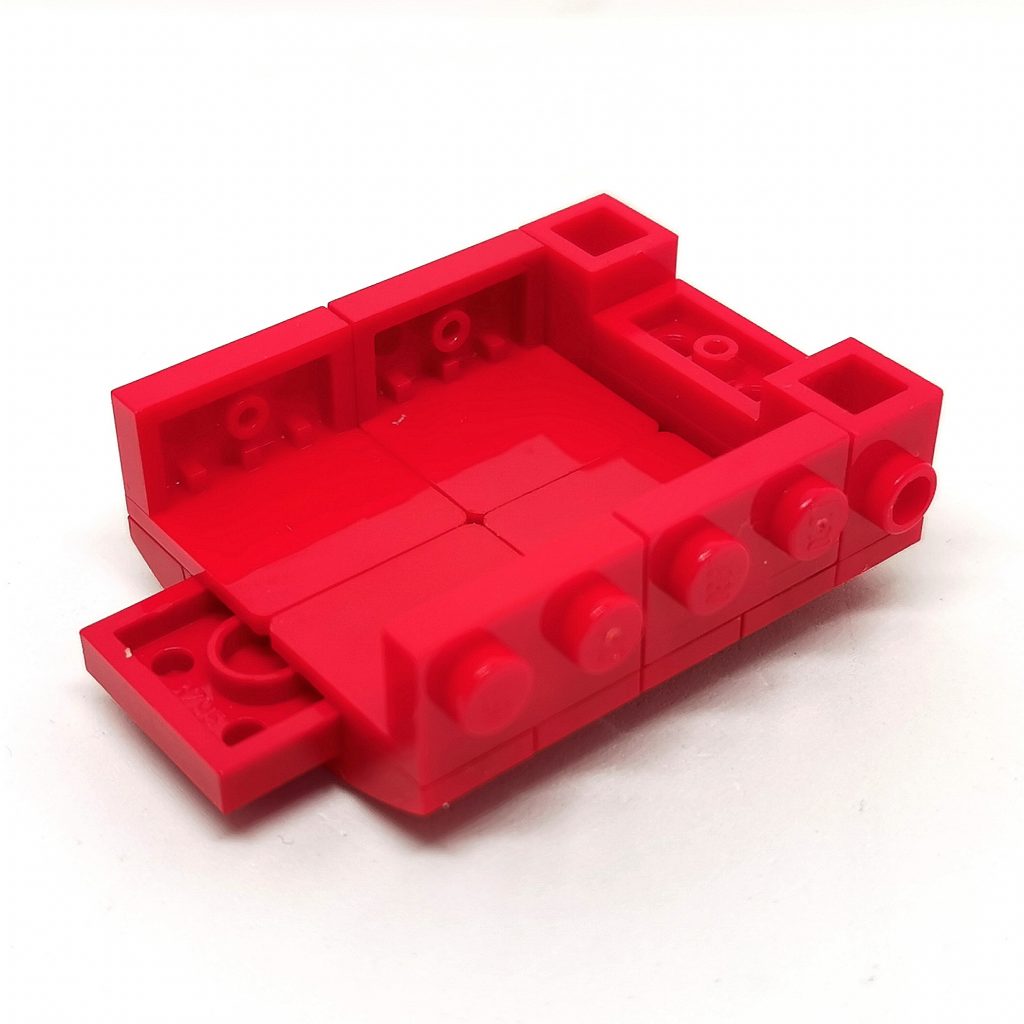
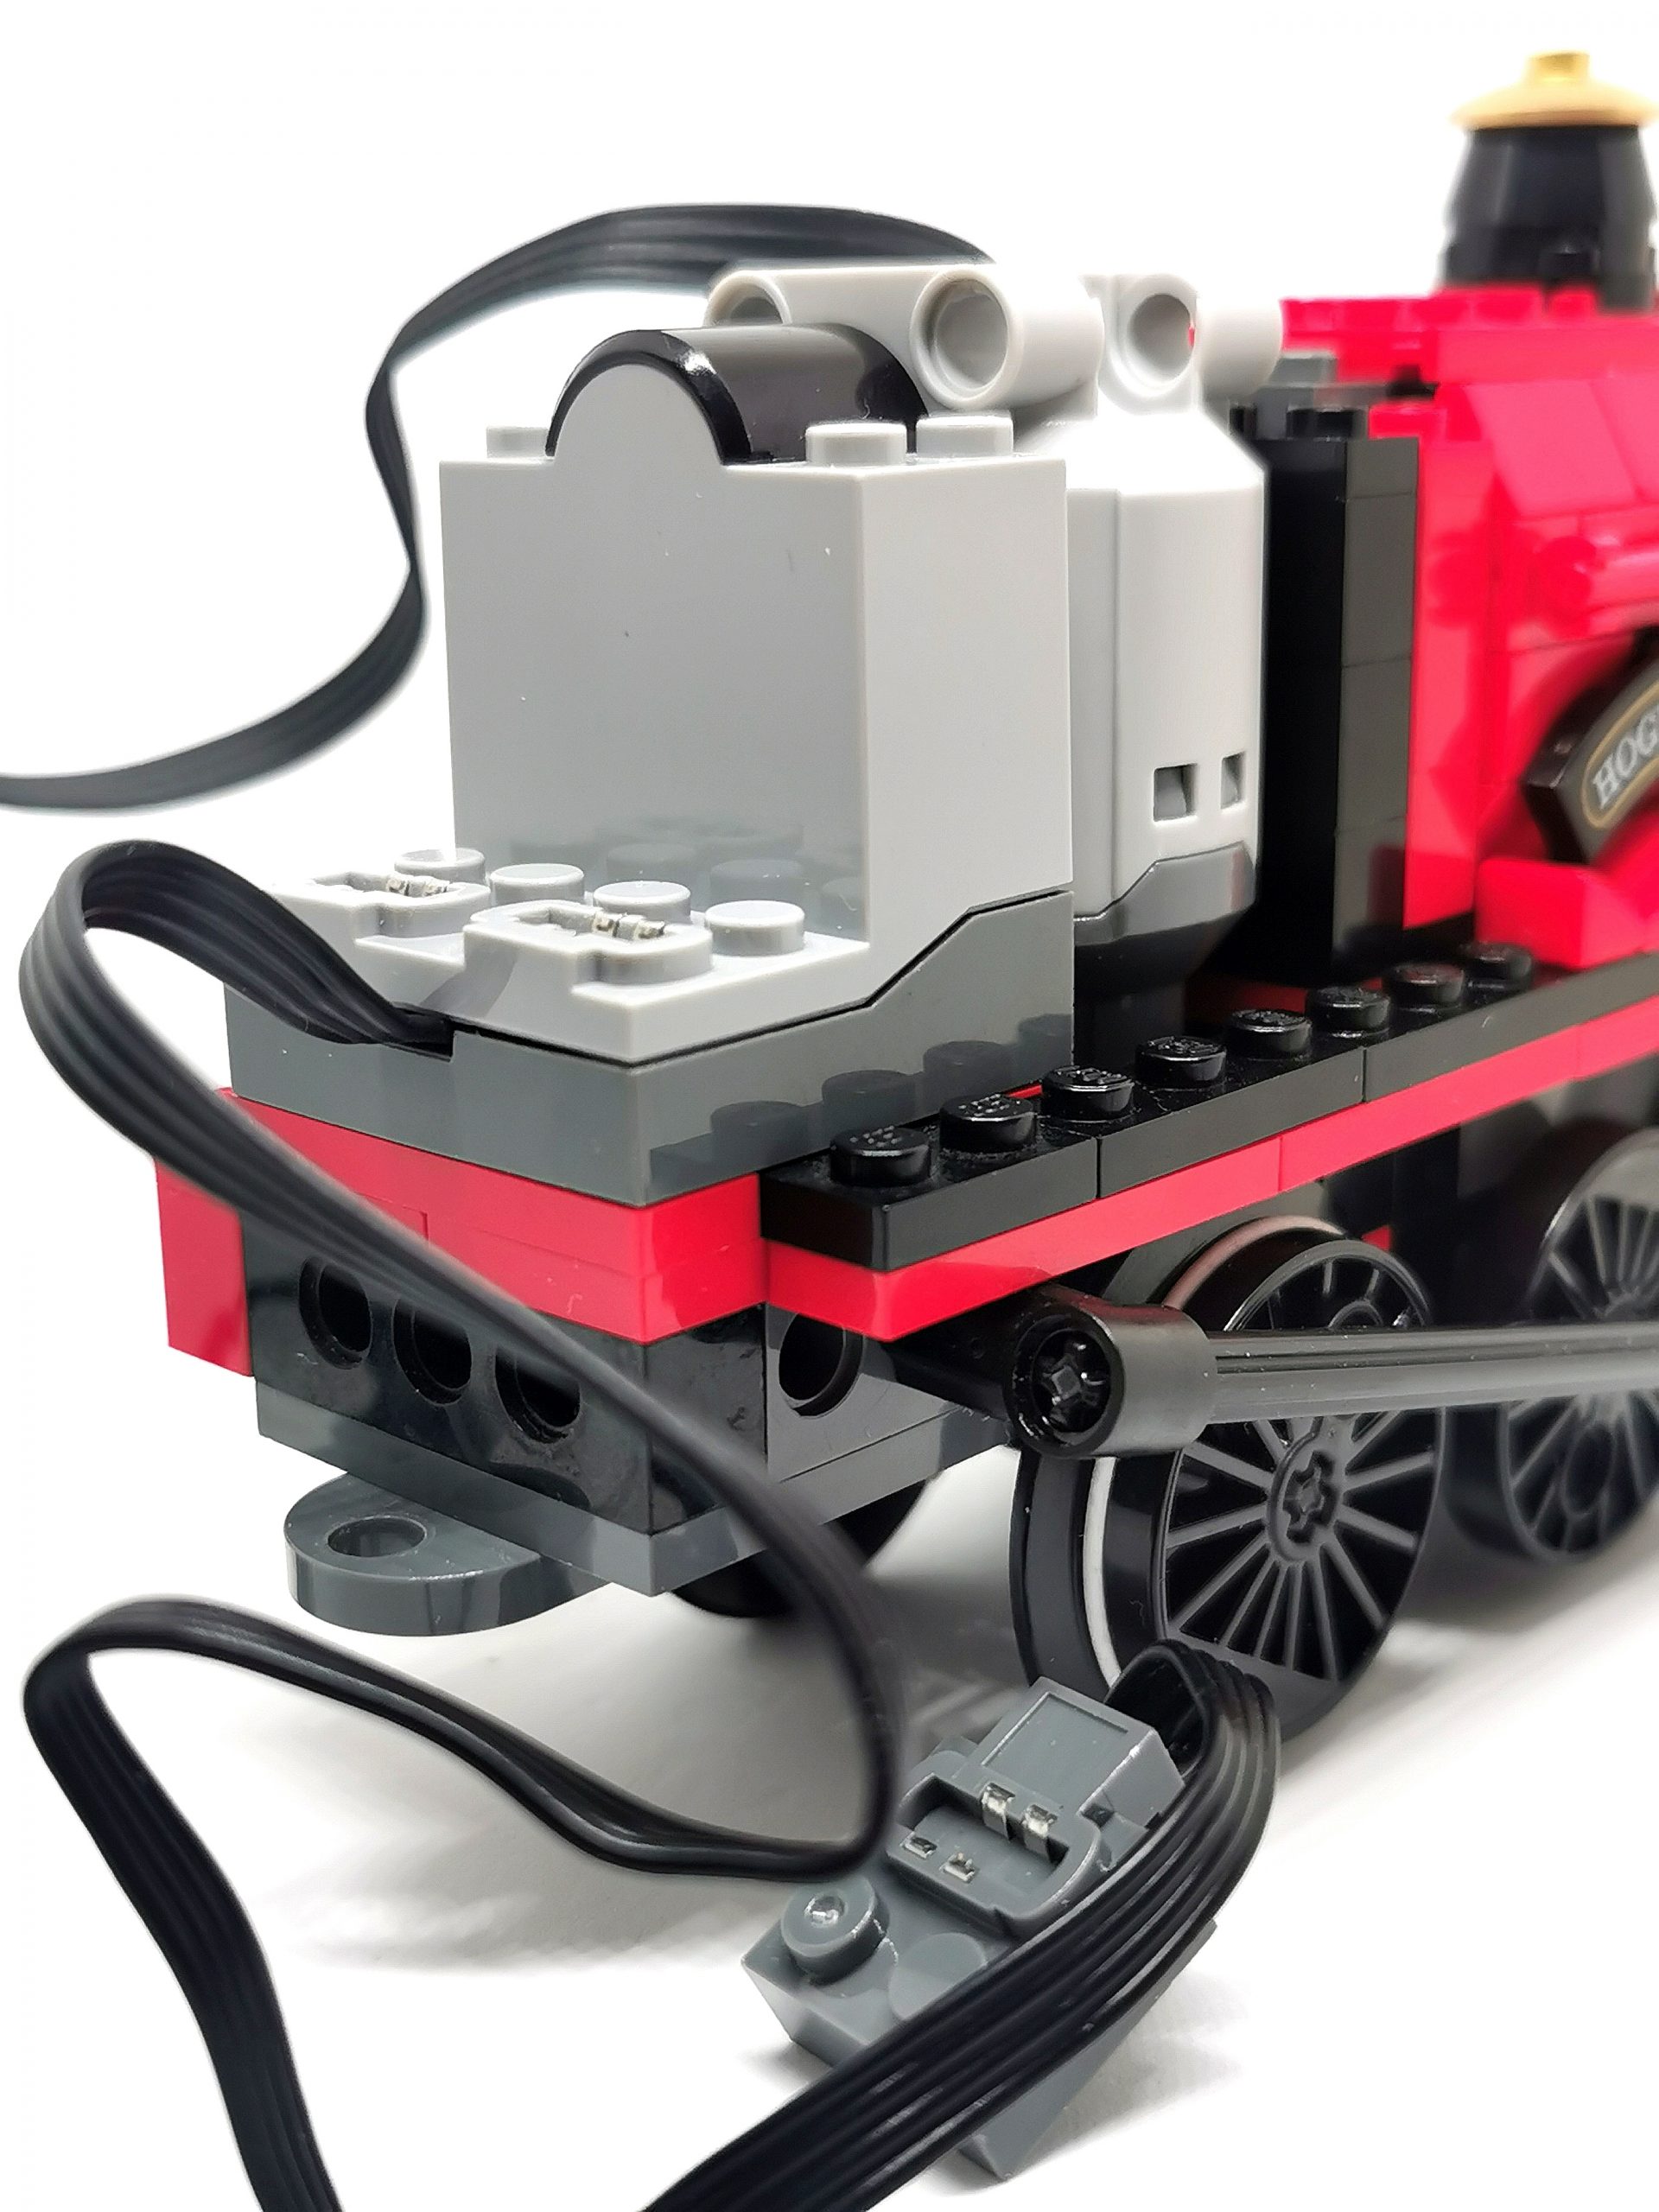
Attaching the IR sensor box was more straightforward as it doesn’t need a special place to drop through, it just sits directly behind the motor occupying a 4×4 stud space.
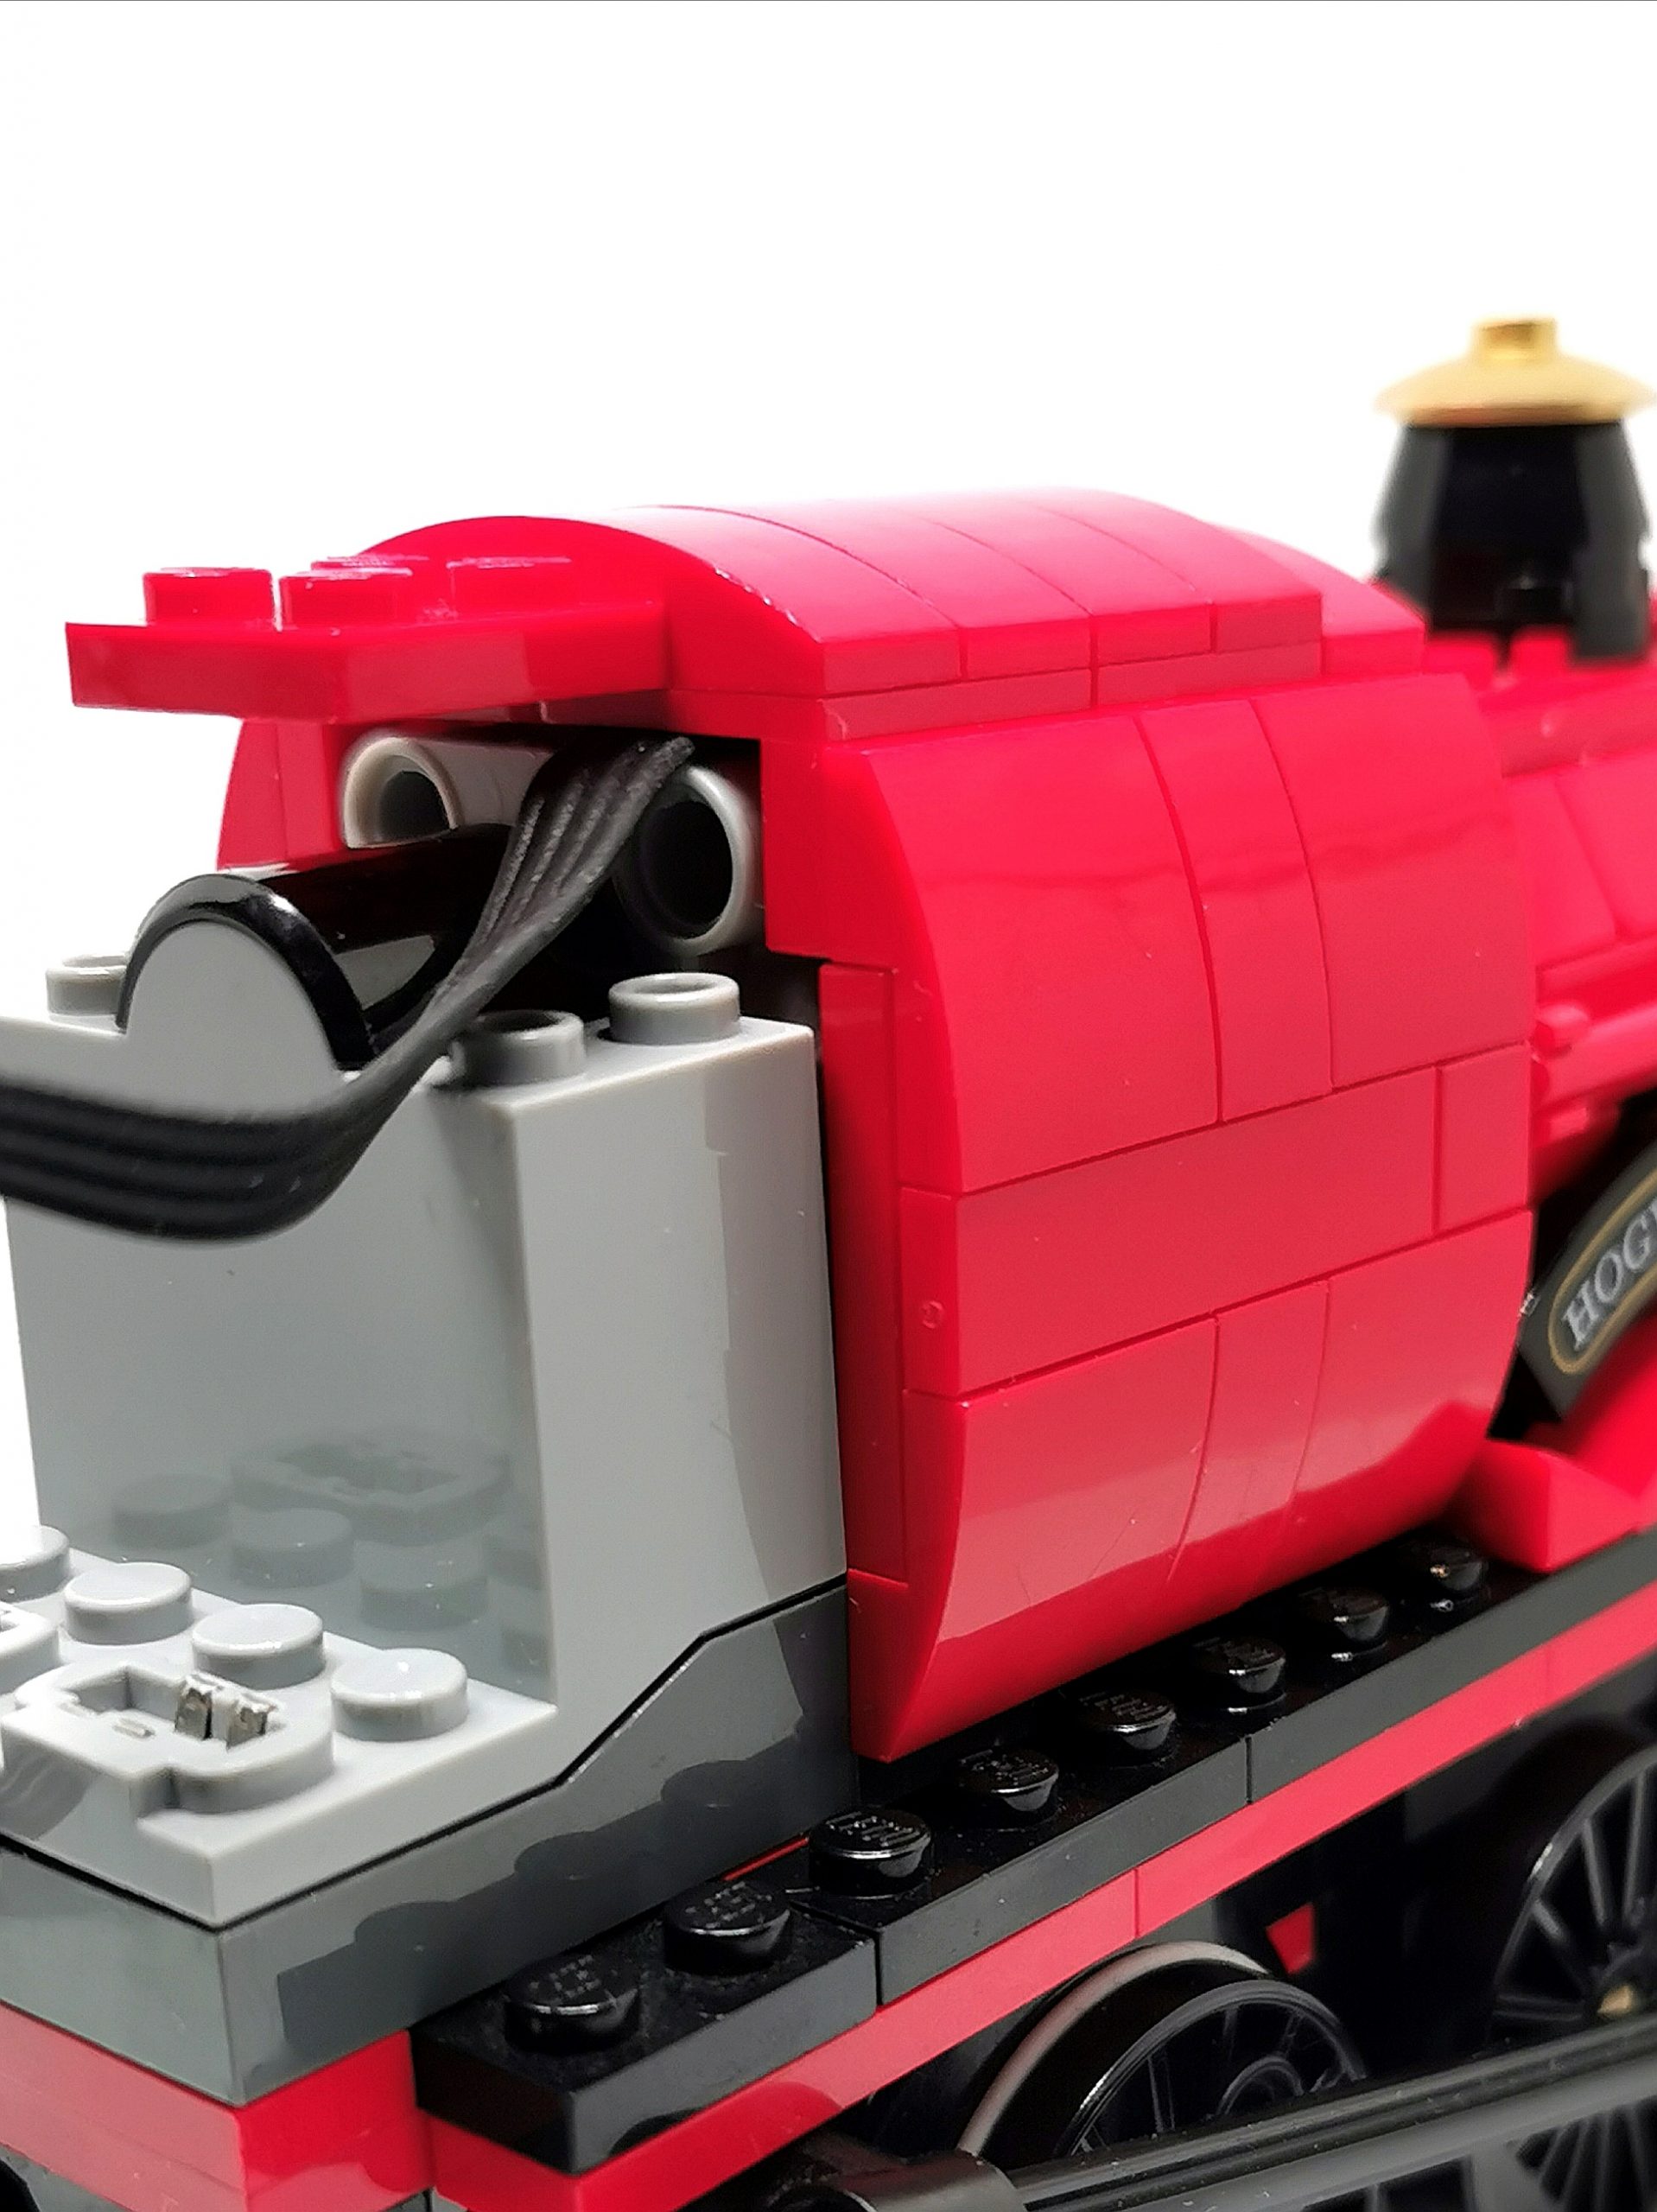
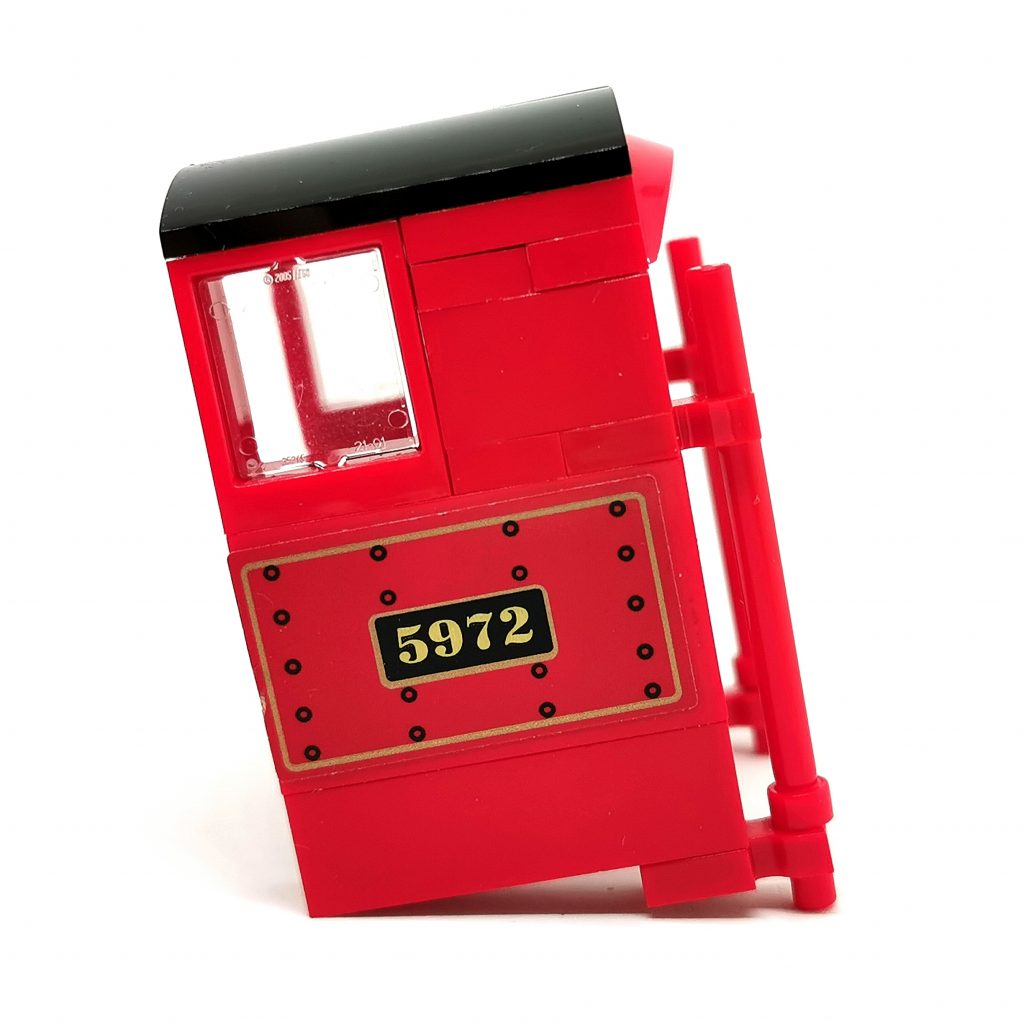
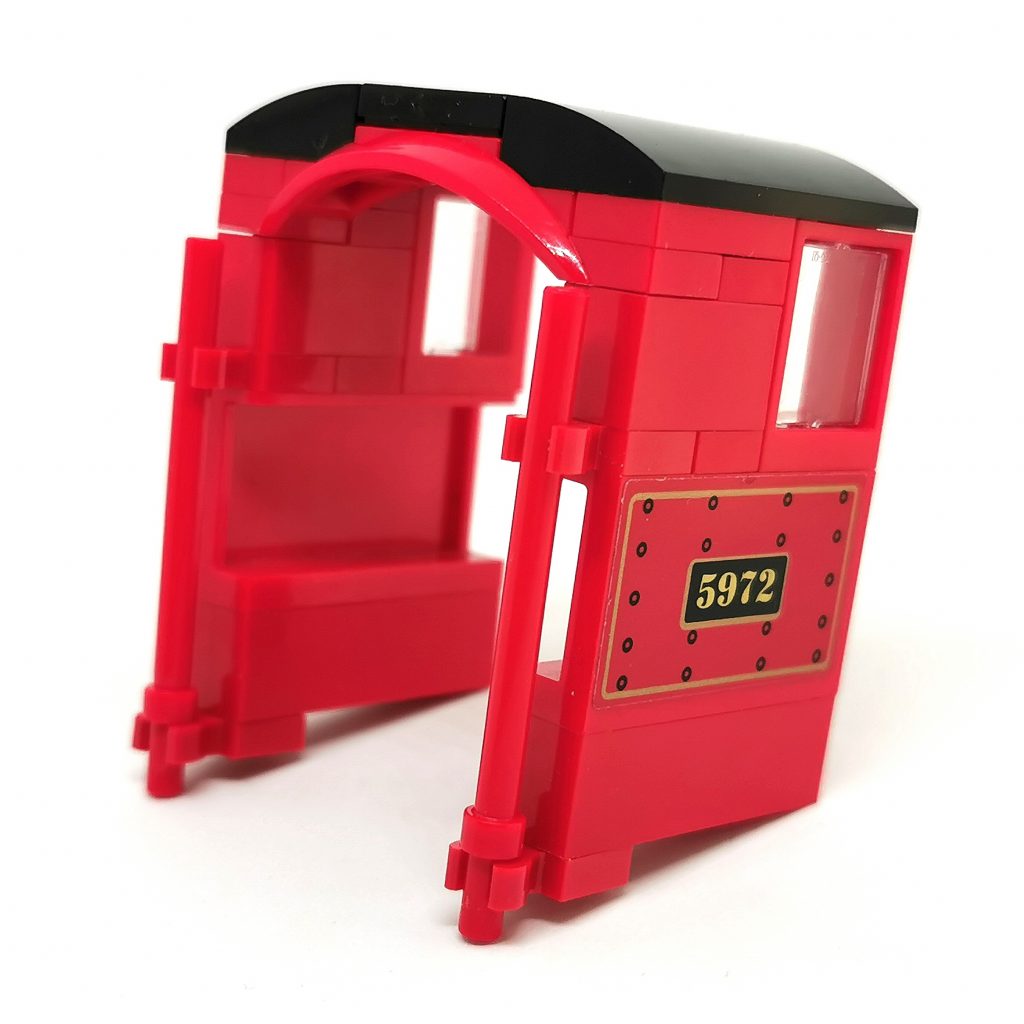
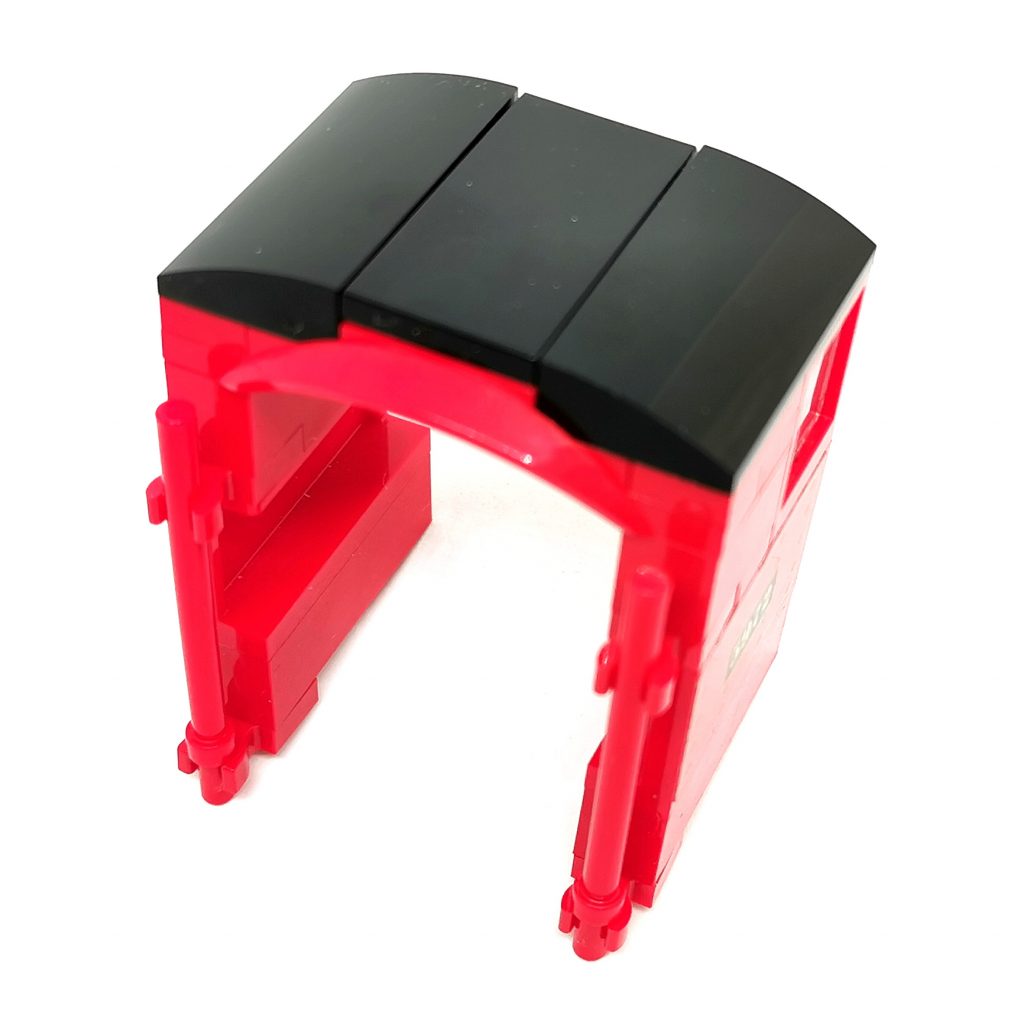
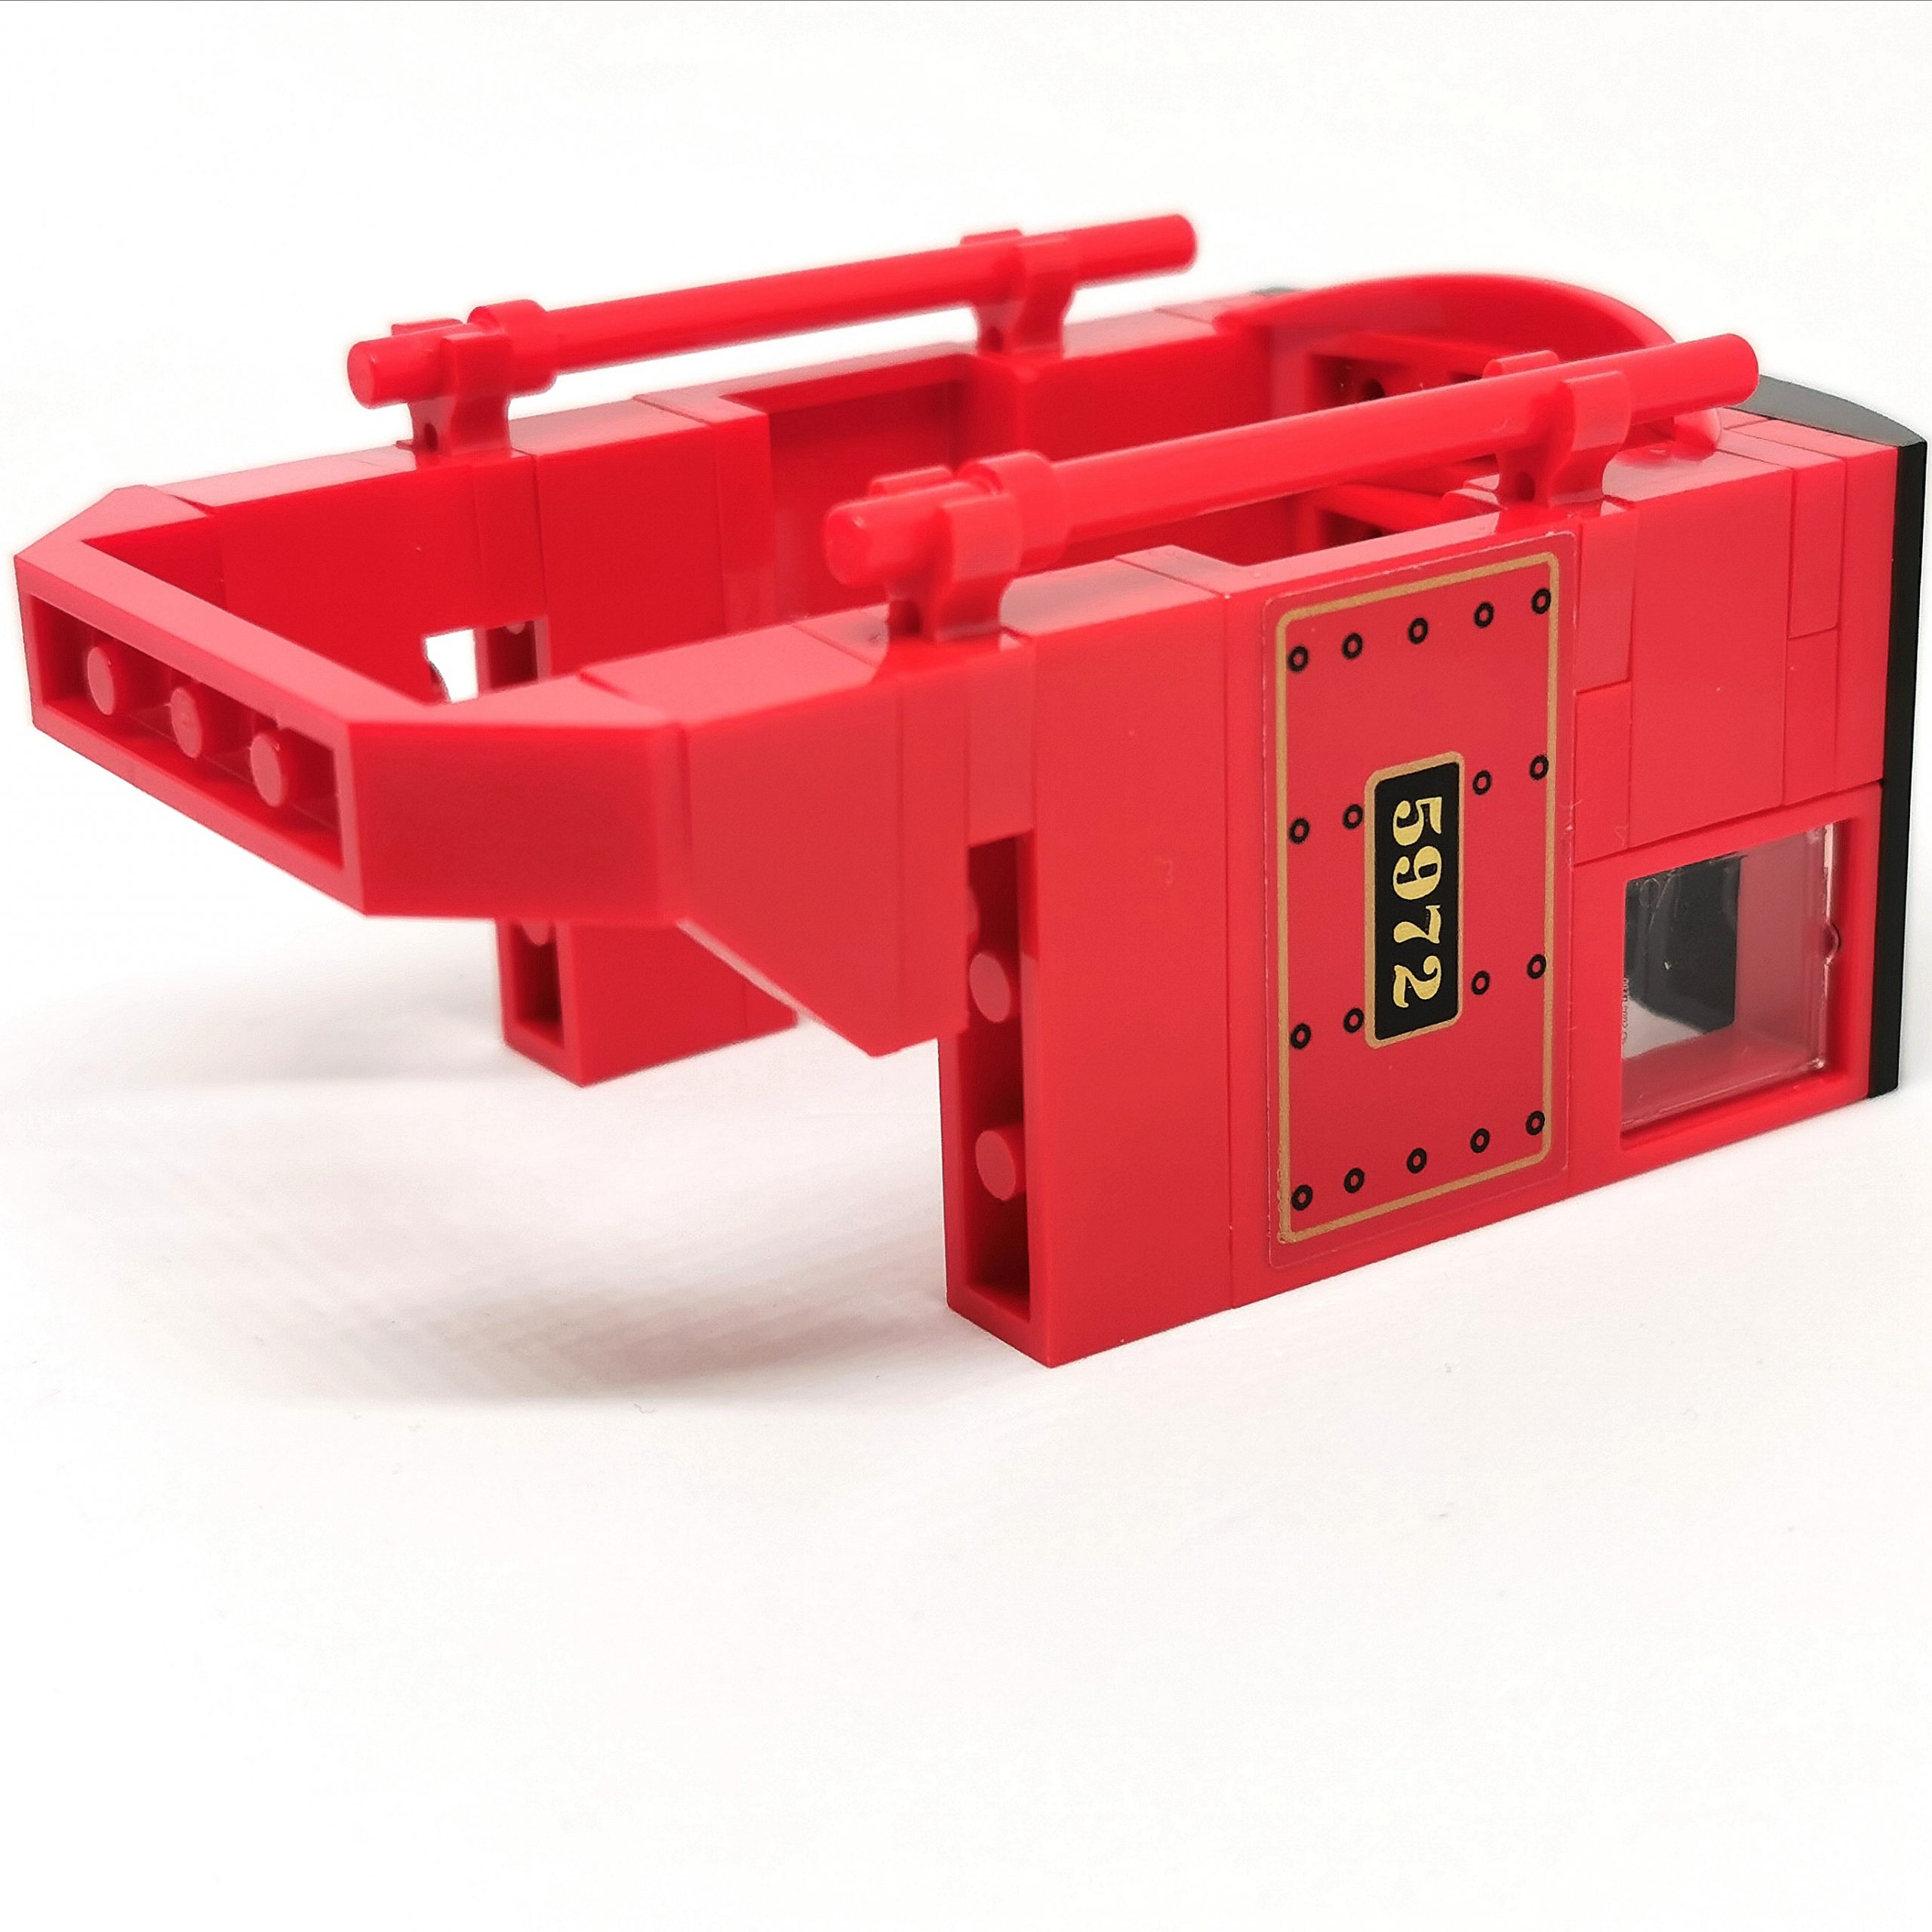
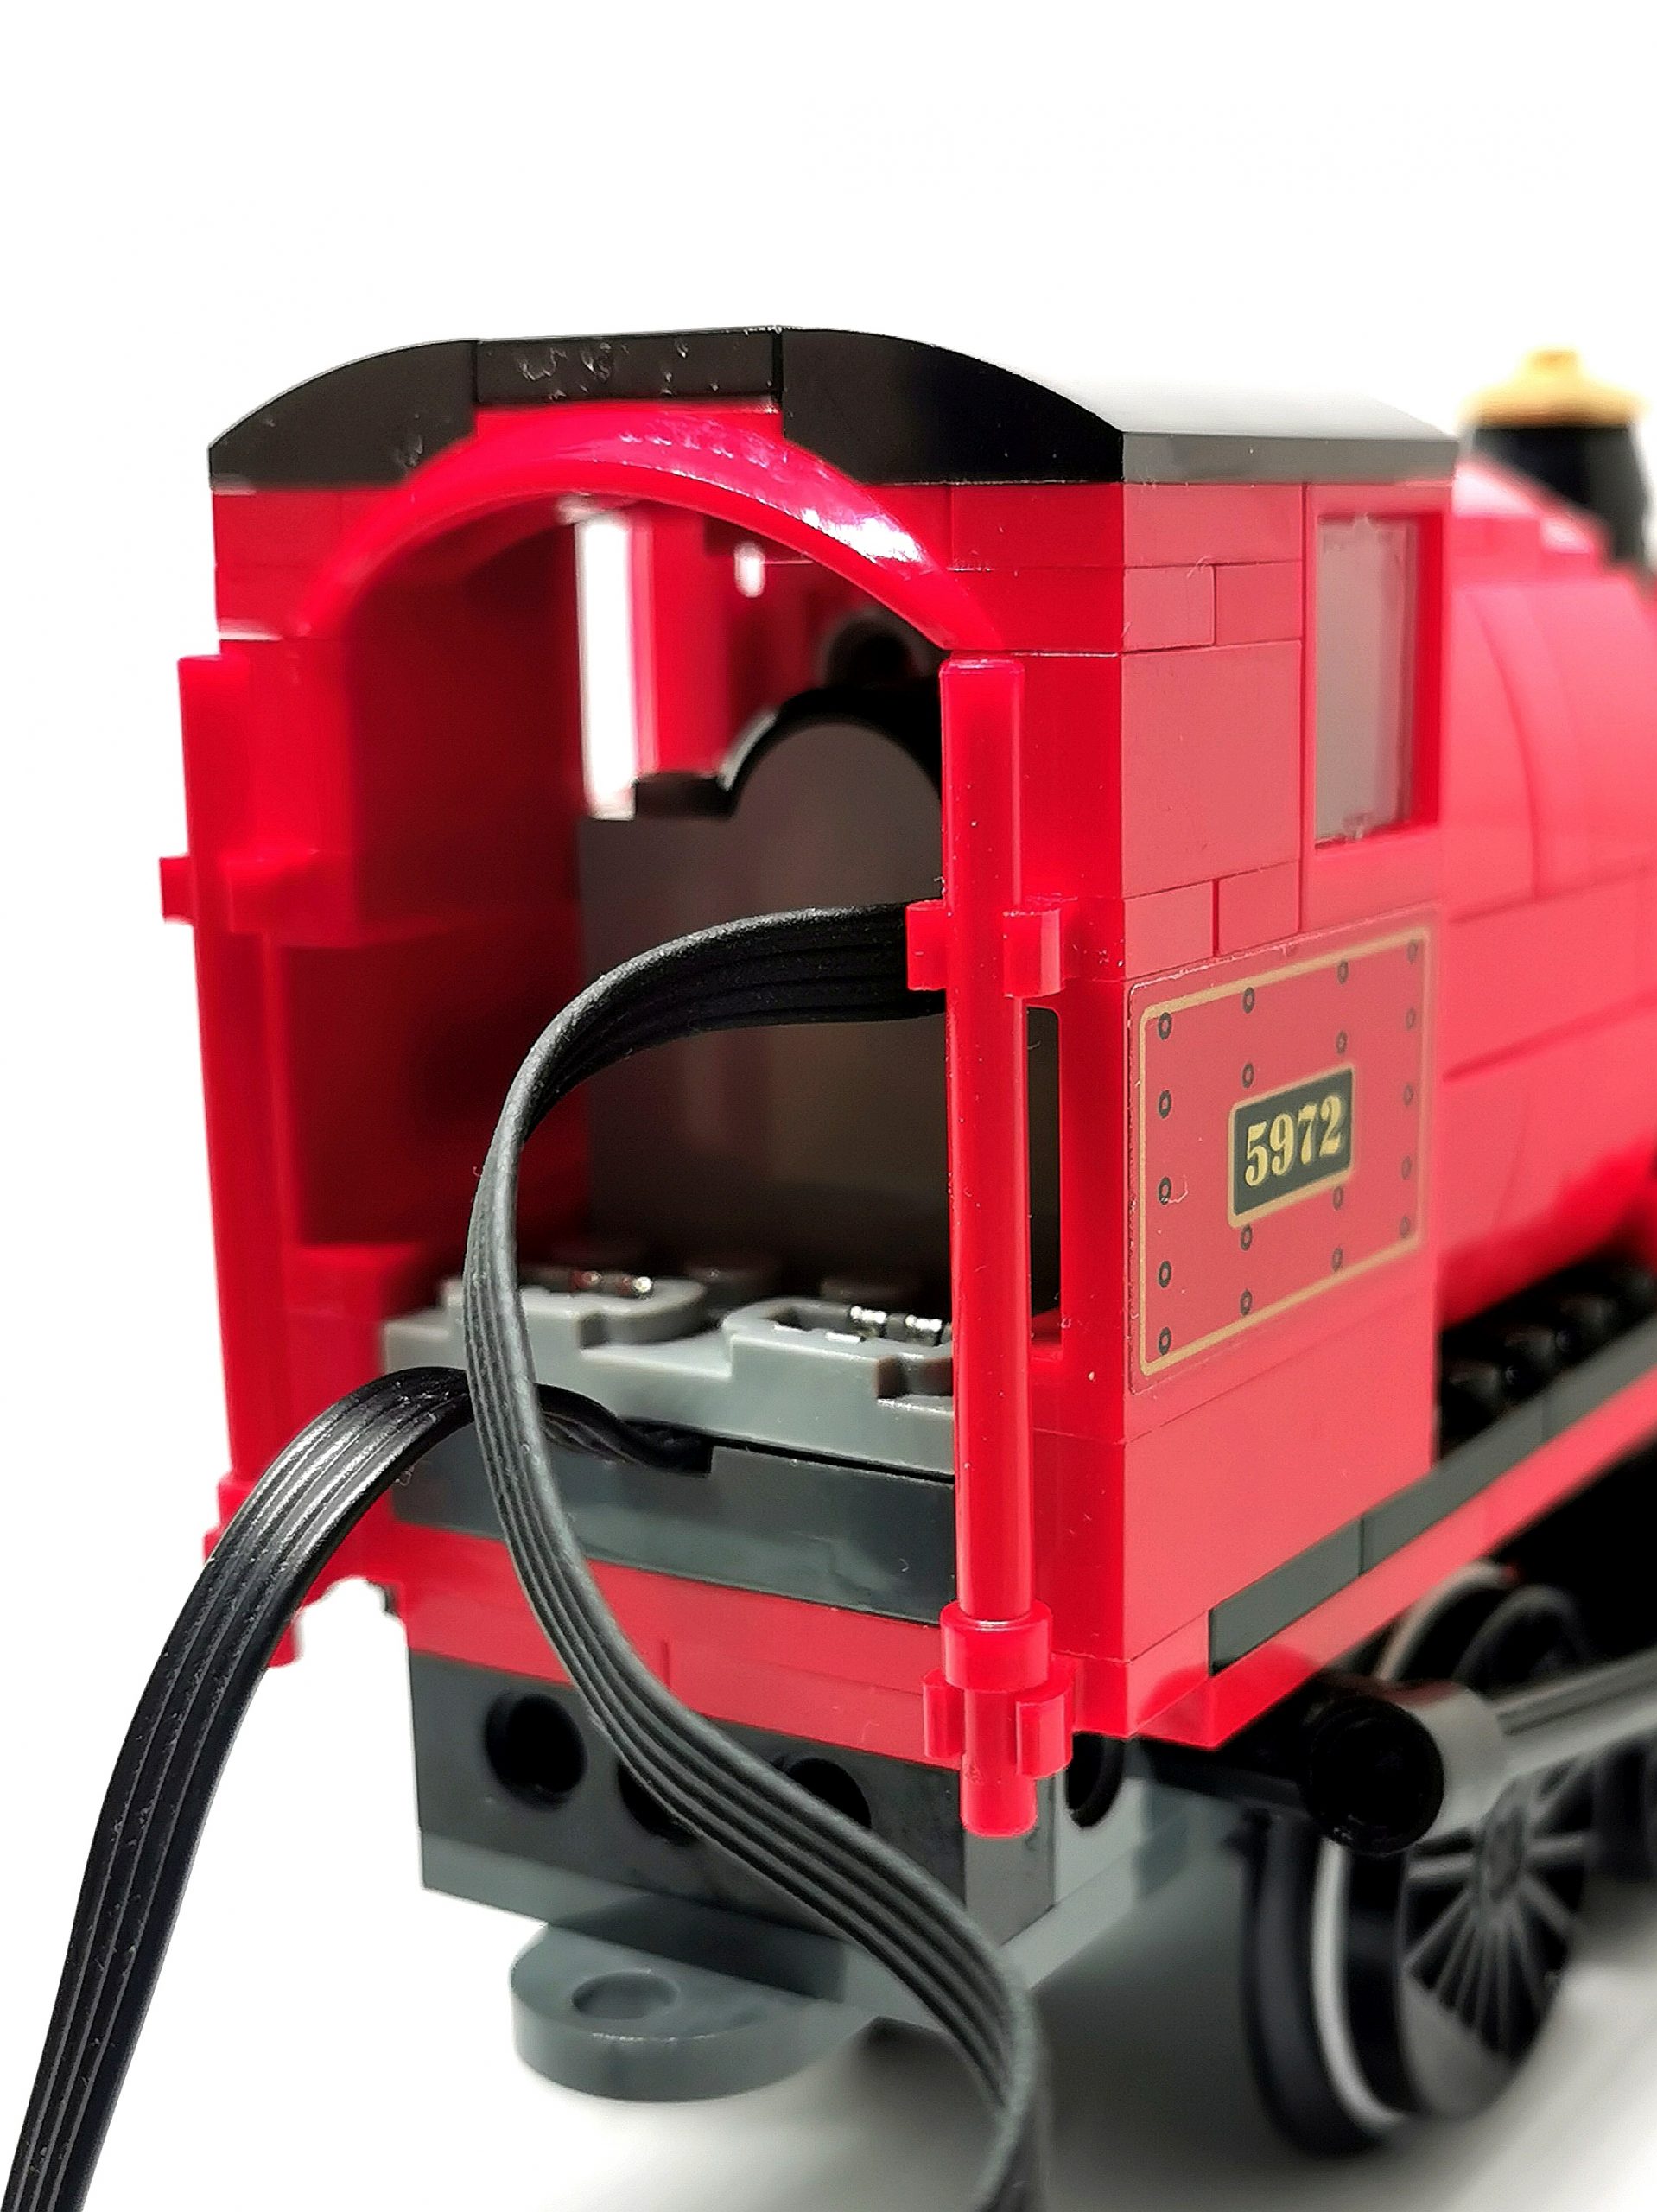
I modified the cab which houses the IR sensor a little. Added a nice archway, and closed the gap on each side.
Connecting it all up is just a matter of pluging in the power cables and setting up the controller.
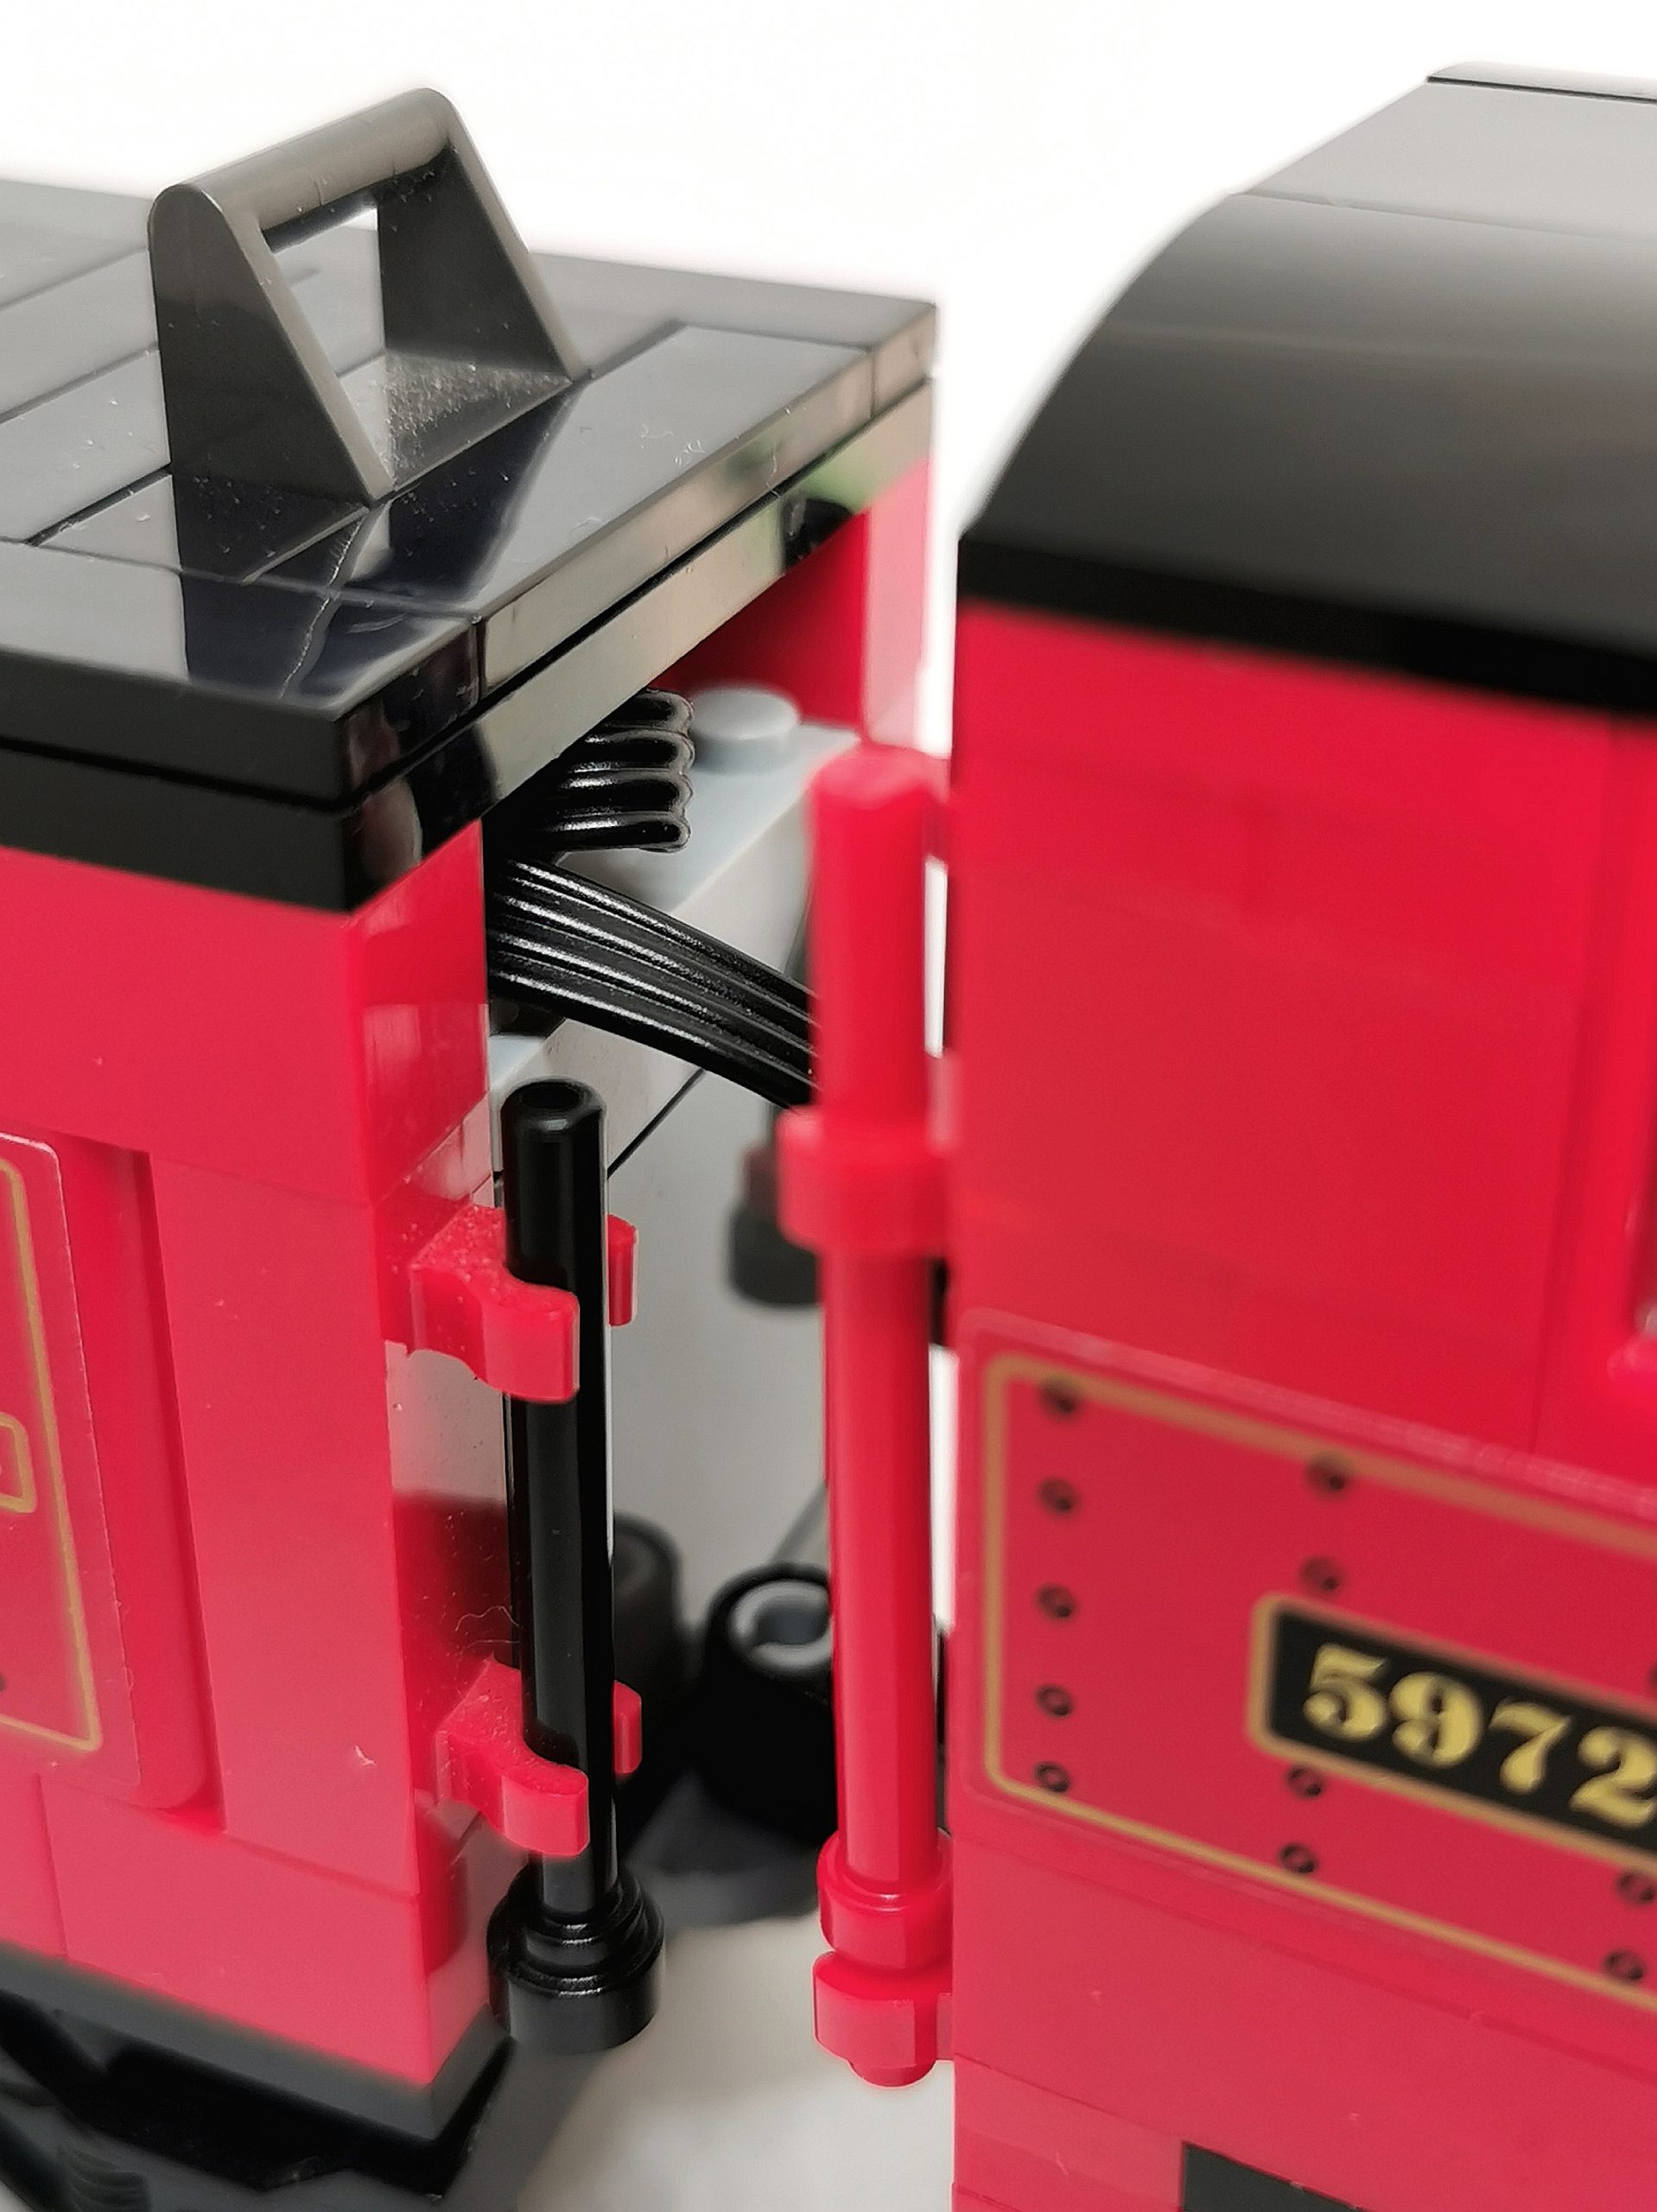
The cables themselves are tucked neatly away under the hinged lid located on the Tender. The cable from the motor to the IR sensor is slightly more tricky to hide, it’s simply rolled up and again tucked away out of sight!
Now, of course, there are differences between LEGO Power Functions and the inferior alternative, although from the photos I’ve seen there isn’t much in it size and power wise, so applying what I have done above to a LEGO Motor shouldn’t be too different.
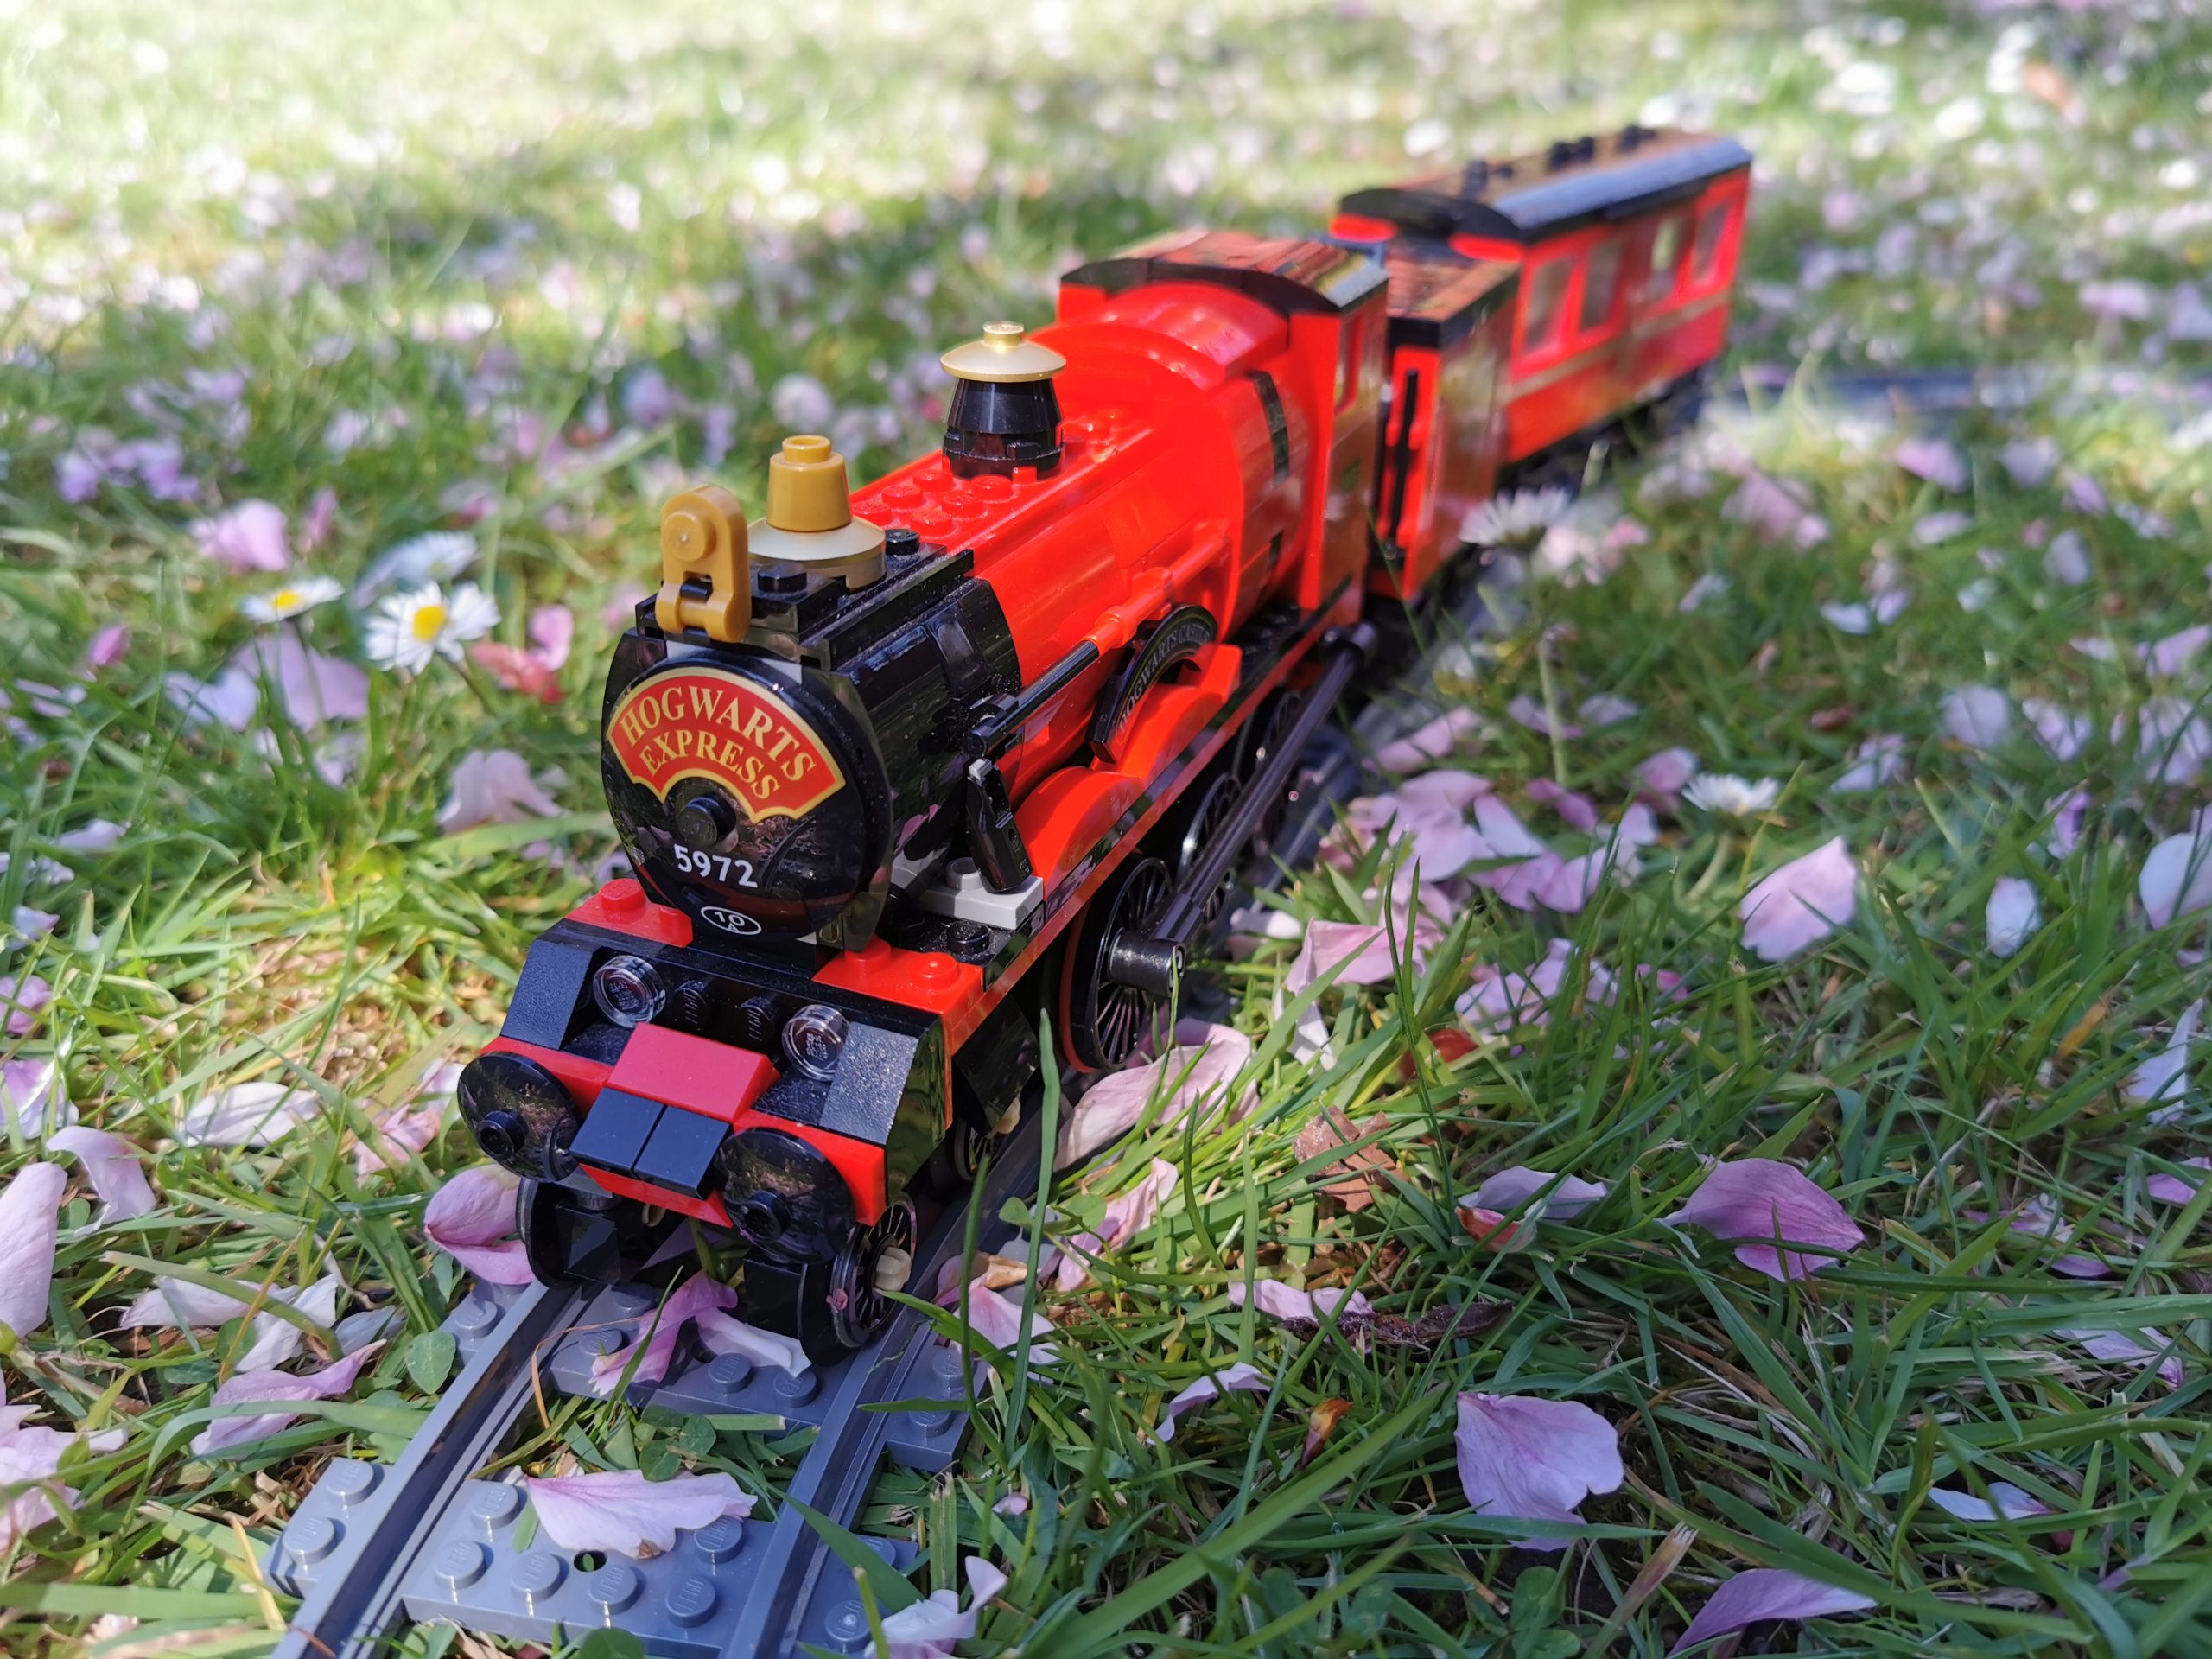
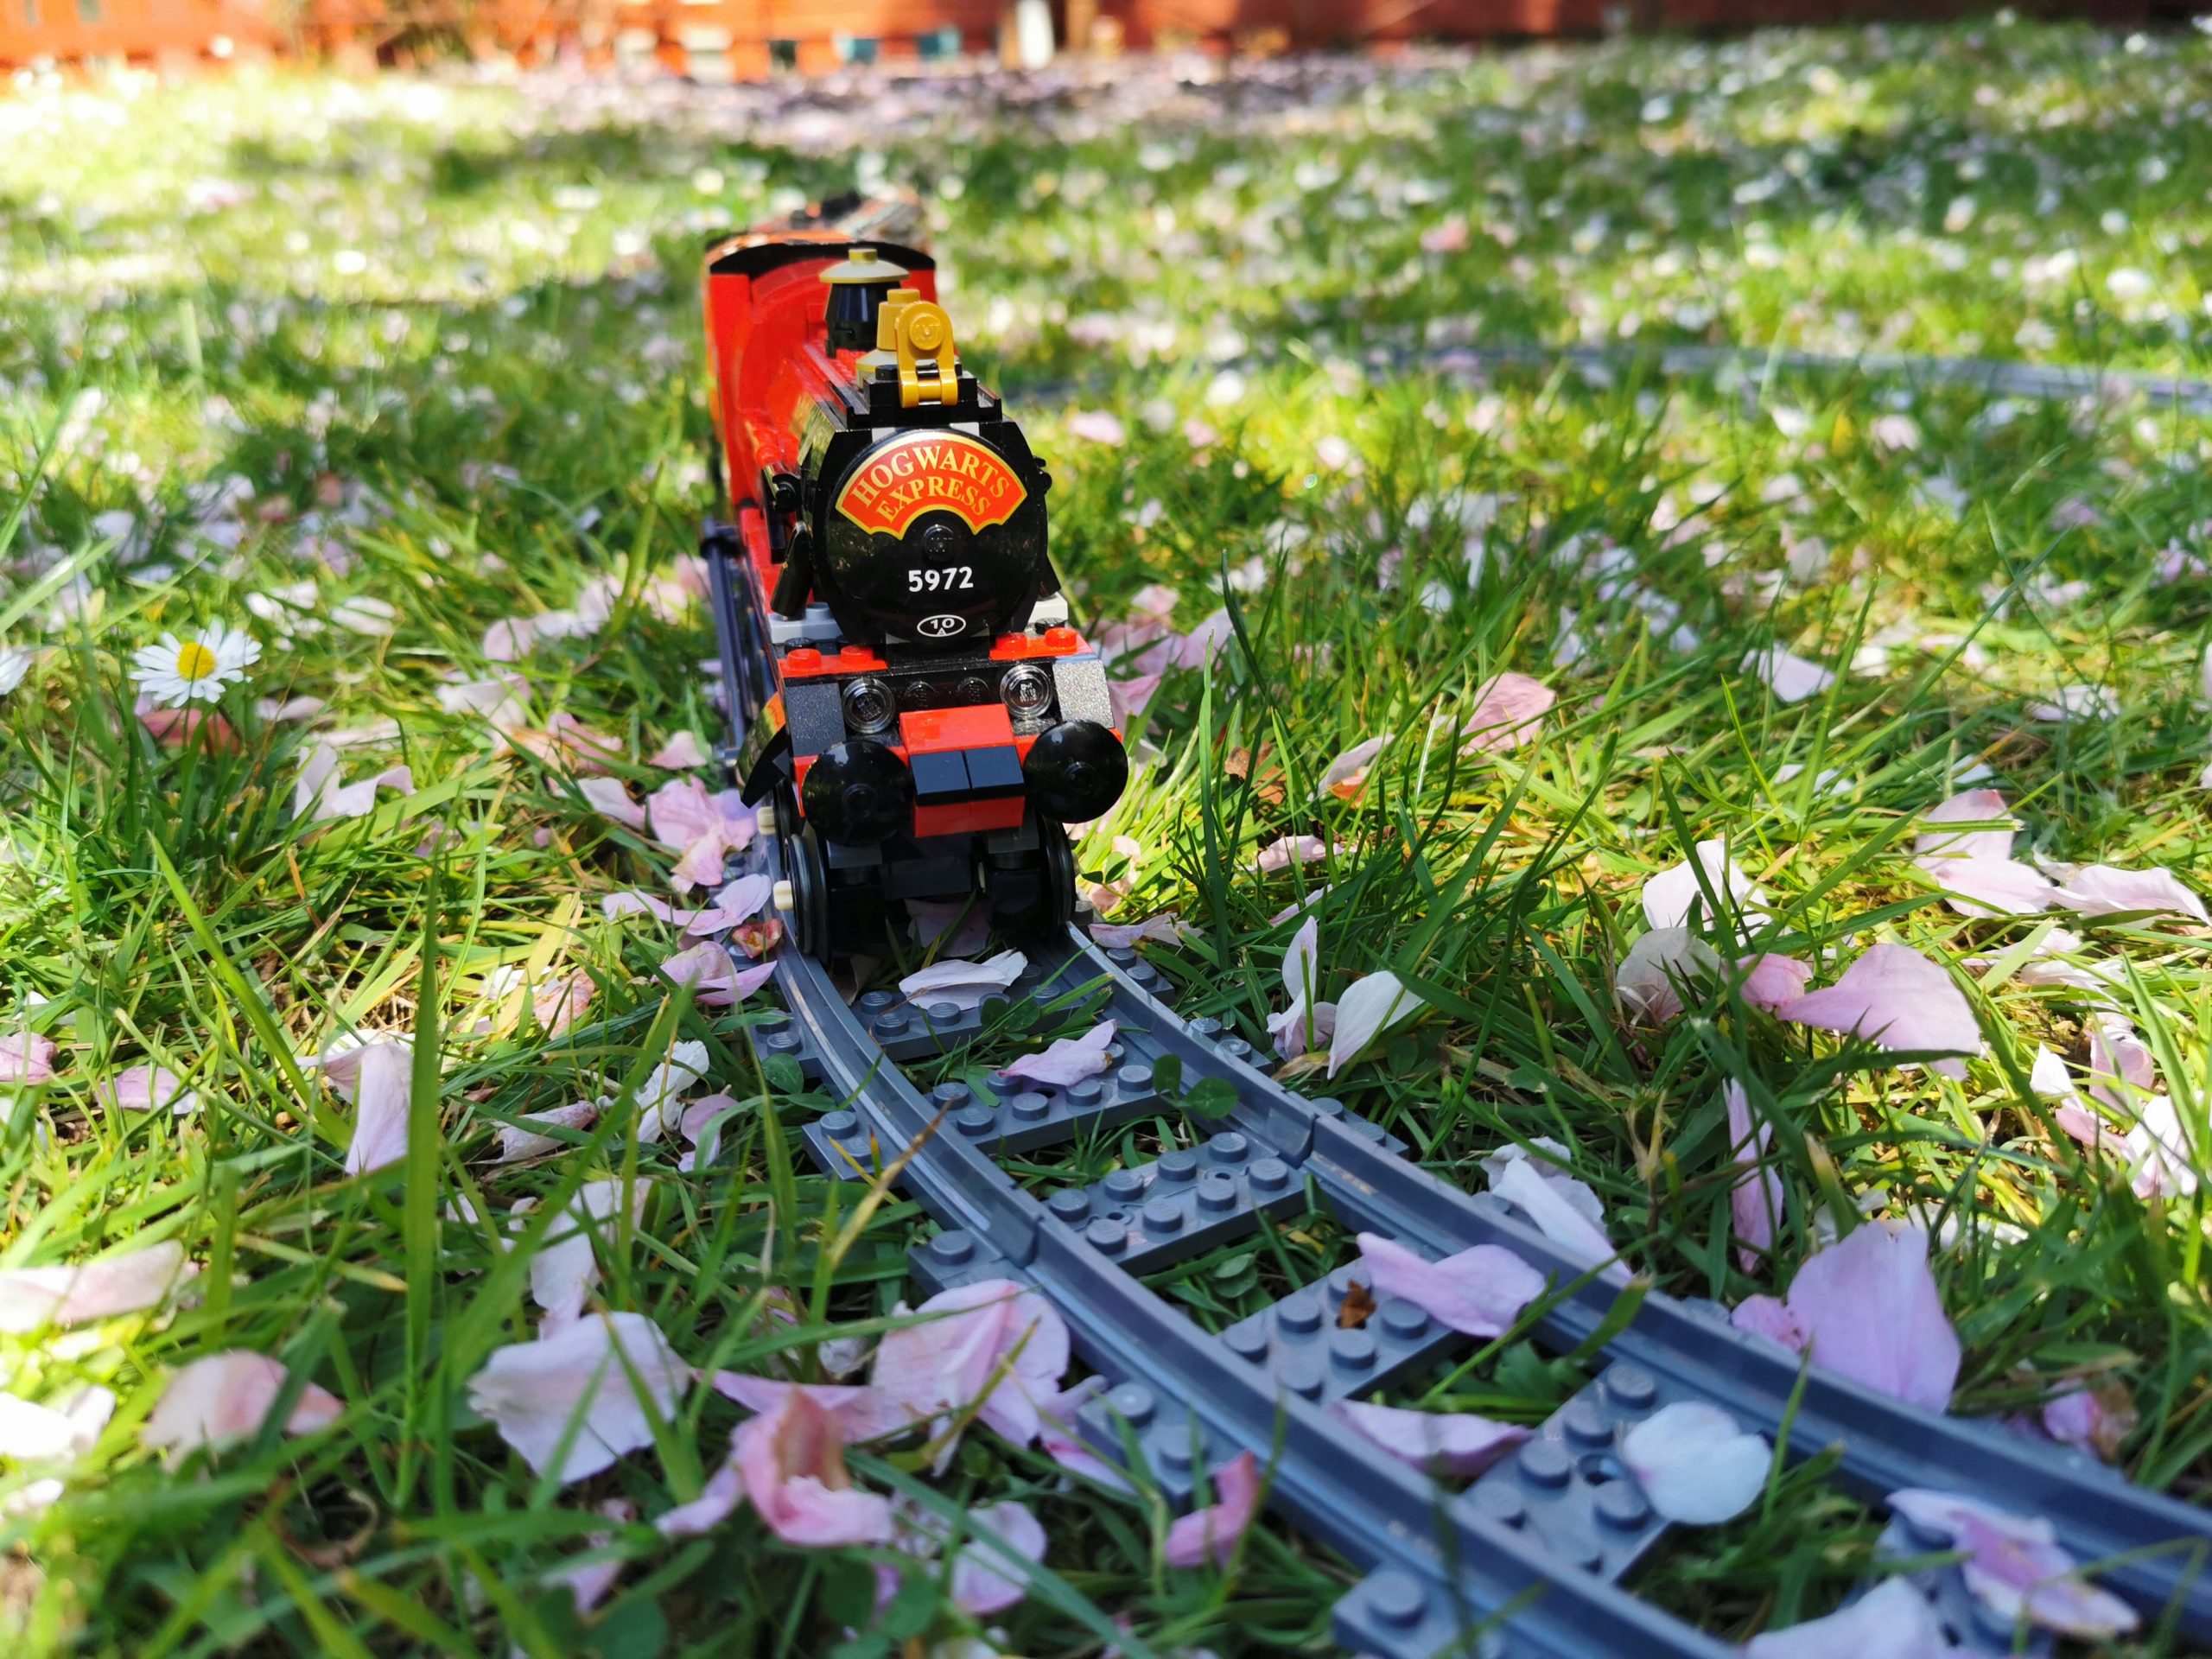
The finished result is absolutely stunning and works like a dream!
It’s sturdy enough to take a tumble and easy to piece back together if needs be.
I managed to get out in the garden and setup a basic circular track so show you all the Hogwarts Express in action.
Please feel free to comment below, ask questions etc, we are very open here @ The Brick Post and live hearing from you about all things LEGO!
What is your reaction?
 YES!
YES!
 I like it
 It's OK
 Not Sure
 No!
No!







I’m thinking of putting a M moter the front of the cab behind the fire box
Awesome! We’d love to see it once you’ve finished, we highly recommend doing it!